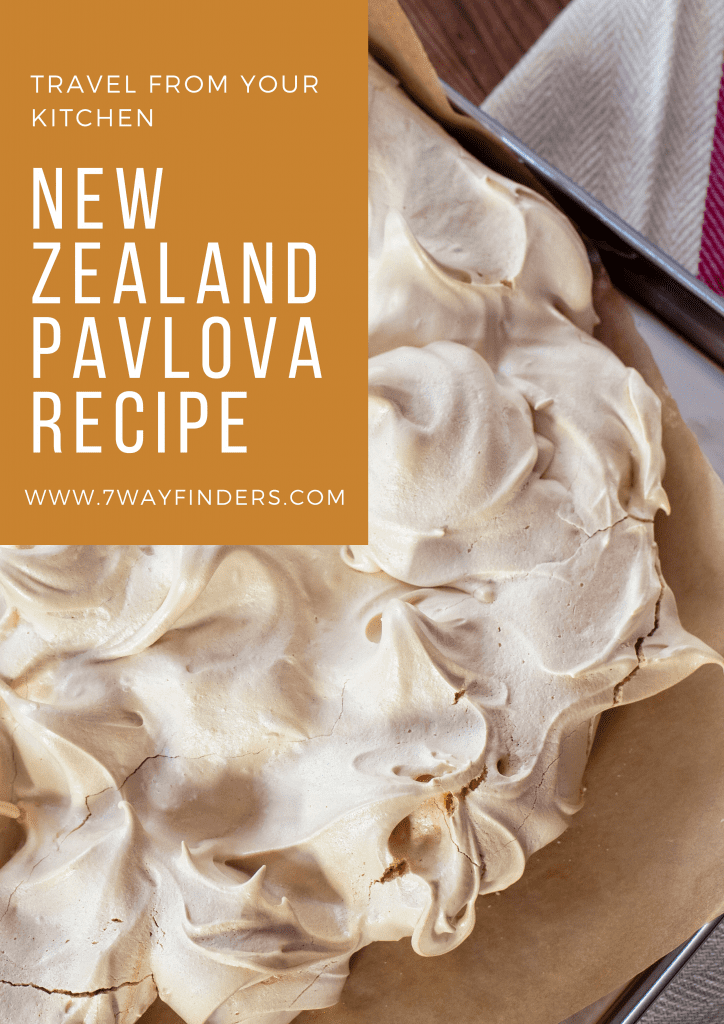
Travel From Your Kitchen: New Zealand Pavlova Recipe from Backyard Travel Family
Come travel to where we are right now: New Zealand! We are actually isolating here during COVID-19 and stuck in a little community on the North Island at the moment, but we were lucky enough to visit the South Island. There we hooked up with the Backyard Travel Family. They are such a gem to meet and be with. I absolutely love Jen! She is a true expert on family travel in NZ, especially on the South Island. Be sure to check out her awesome site when planning a visit here (someday when we can all travel again….).
Jen introduced me to Pavlova, which I am not totally smitten with. It’s gluten-free, first of all, which is ALWAYS a win! It’s essentailly the same ingredients as marshmallows or meringue. The texture melts in your mouth and can be a a bit spongy in the middle. To me, it’s kind of like a baked pudding, but super light and fluffy.
Pavolva is super popular down under! It’s common in Australia and New Zealand. I found this on this website: Created by a hotel chef in the 1920s in honor of the Russian ballet dancer Anna Pavlova during one of her tours to Australia or New Zealand, a pavlova is a cake-shaped meringue with a soft and marshmallowy center and crisp outer shell, usually topped with whipped cream and fresh fruit.
Typically it is topped with sweentened whipped cream and fresh fuit, adding to it’s fresh and light feel.
Jen was kind enough to share her recipe with me. Thanks Jen!!
Serves 4-6
I automatically doubled this. You can always half it again, but I recommend doubling.
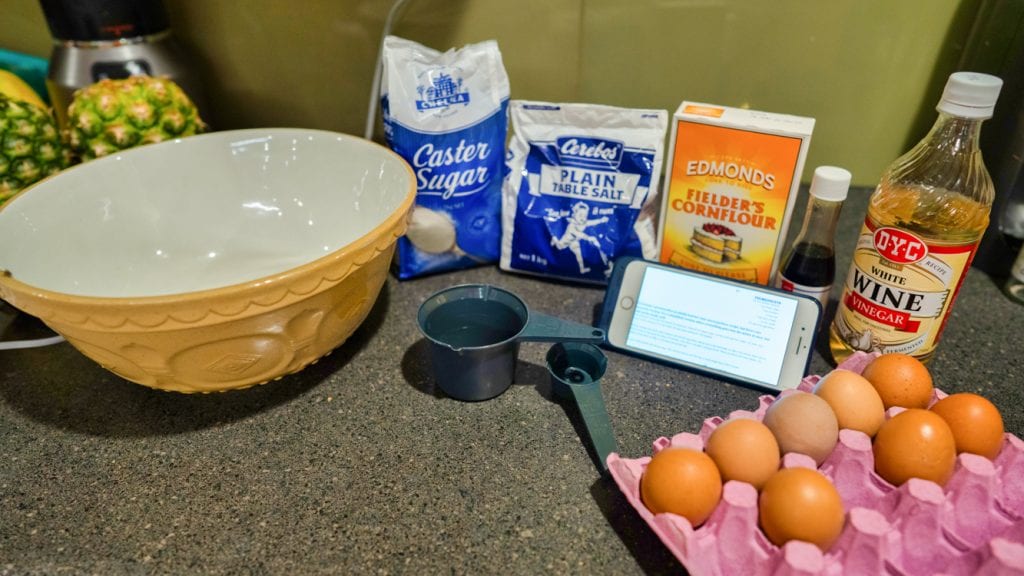
Ingredients
2 cups caster sugar. This is just super find sugar, which we don’t really have in the US. I suppose look for fine sugar or go with regular.
4 tsp corn starch
1/2 tsp salt
2 tsp wine vinegar. I used white wine vinegar
1 tsp vanilla. I used the regular imitation vanilla
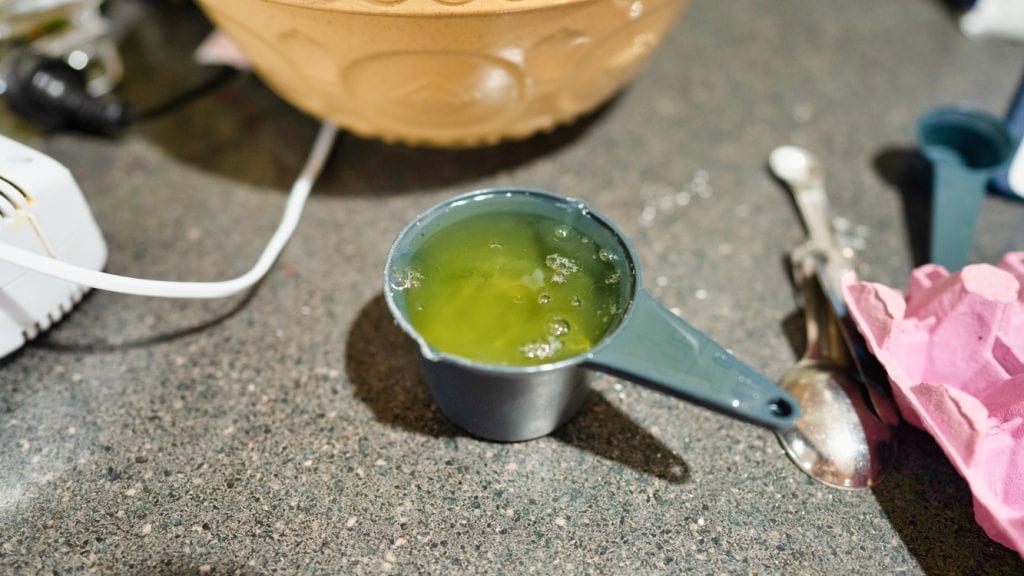
1 cup egg whites. For me this was 6 large eggs.
Tips
Be very careful when separating egg whites from yolks. I always use the shell itself to separate… just crack the egg open and pass the yolk back and forth from 1/2 shell to 1/2 shell over a cup or bowl. If you are new to this, do one at a time, then add to your 1 cup measuring cup. I did it right into the measuring cup because I’ve gotten pretty good at it! Never do it directly to your recipe… just a little yolk ruins the effect and may require you to start over.
Measure carefully when baking. Weighing is actually the most accurate, but if not weighing out ingredients, spoon the dry ingredients into the measuring device (cup, spoon, etc), then level off with a knife.
What you are essentially trying to do is add a bunch of AIR to the egg whites. This requires a lot of mixing at high speed. Be patient! Don’t quit early. This air gives it the fluffy texture and taste.
Fat, as in oil or butter, is not welcome to this party! It will also keep the egg whites from mixing right (yolk is the fat of the egg, so that makes sense!). Make sure your bowl doesn’t’ have left-over oil or fat in it and is clean and dry.
Directions
Pre-heat oven to 100 degrees Celcius. This is about 212 F. Use convention, or fan bake, if possible.
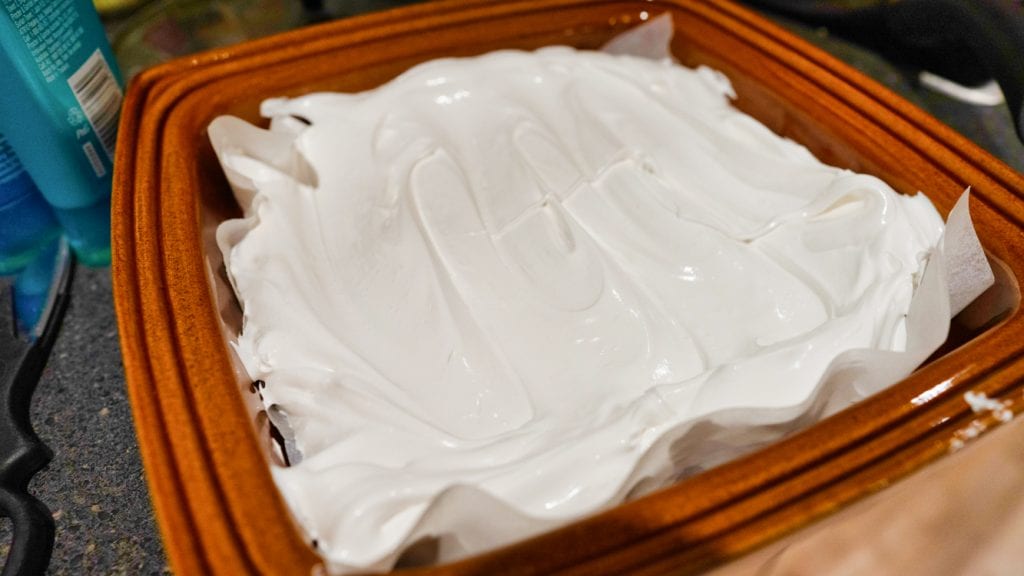
Use parchment paper to cover the bottom of a cake pan, 8×8 baking dish, or even a cookie sheet. This baby can bake in really any form you’d like. The first time I made it, I just plopped it onto a baking sheet. In the second round, I did a pretty, square baking dish (I couldn’t find around in our Airbnb).
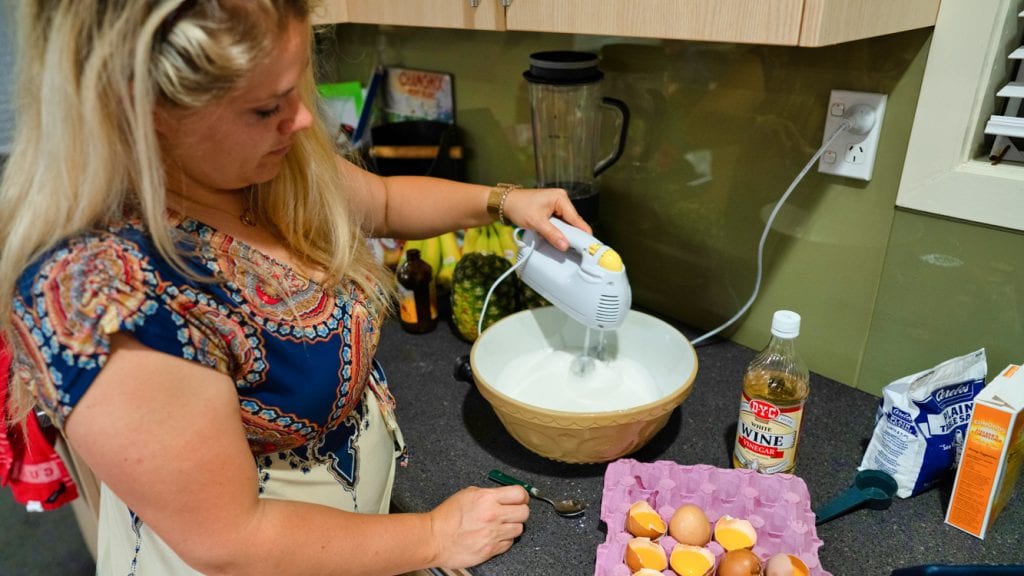
Using a stand mixer if possible (I used a hand mixer, but the stand is better if you have both. Use the wire whisk attachment), measure dry ingredients in a clean, dry bowl. This means your sugar, corn starch, and salt.
Mix dry ingredients together.
Add vinegar and vanilla, then egg whites. Start mixing! As soon as you safely can without a giant mess, get that mixer on maximum speed.
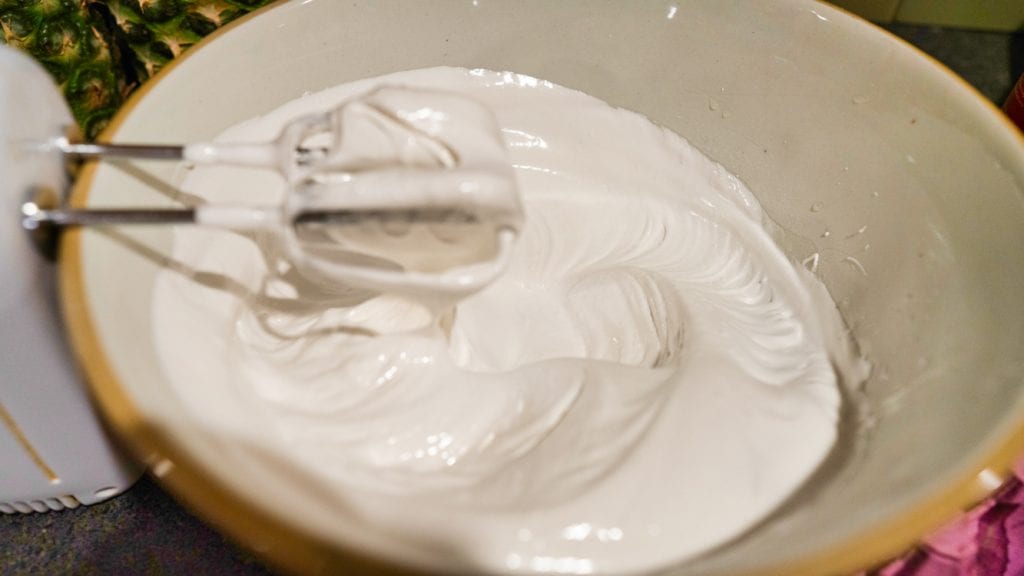
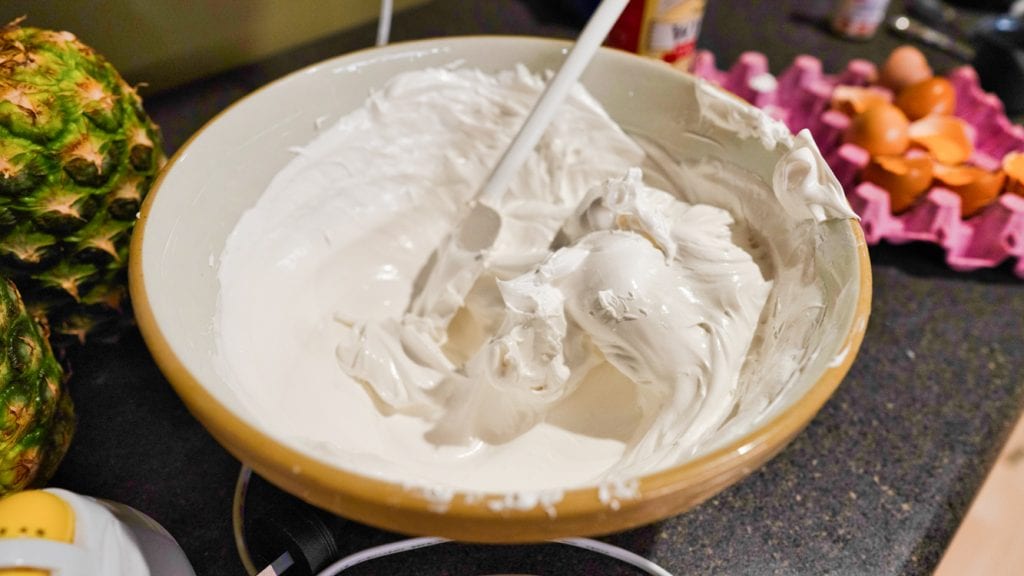
Keep mixing at high speed for about 15 minutes. Over time, you’ll see the mixture start to thicken. Little peaks will form when the mixer moves from a spot. These peaks will get bigger and bigger. Your mixture should be glossy white and smooth.
When it is thickened up and your peaks are stiff, you’re ready. You can test my taking out the mixing wisk and checking your peaks.
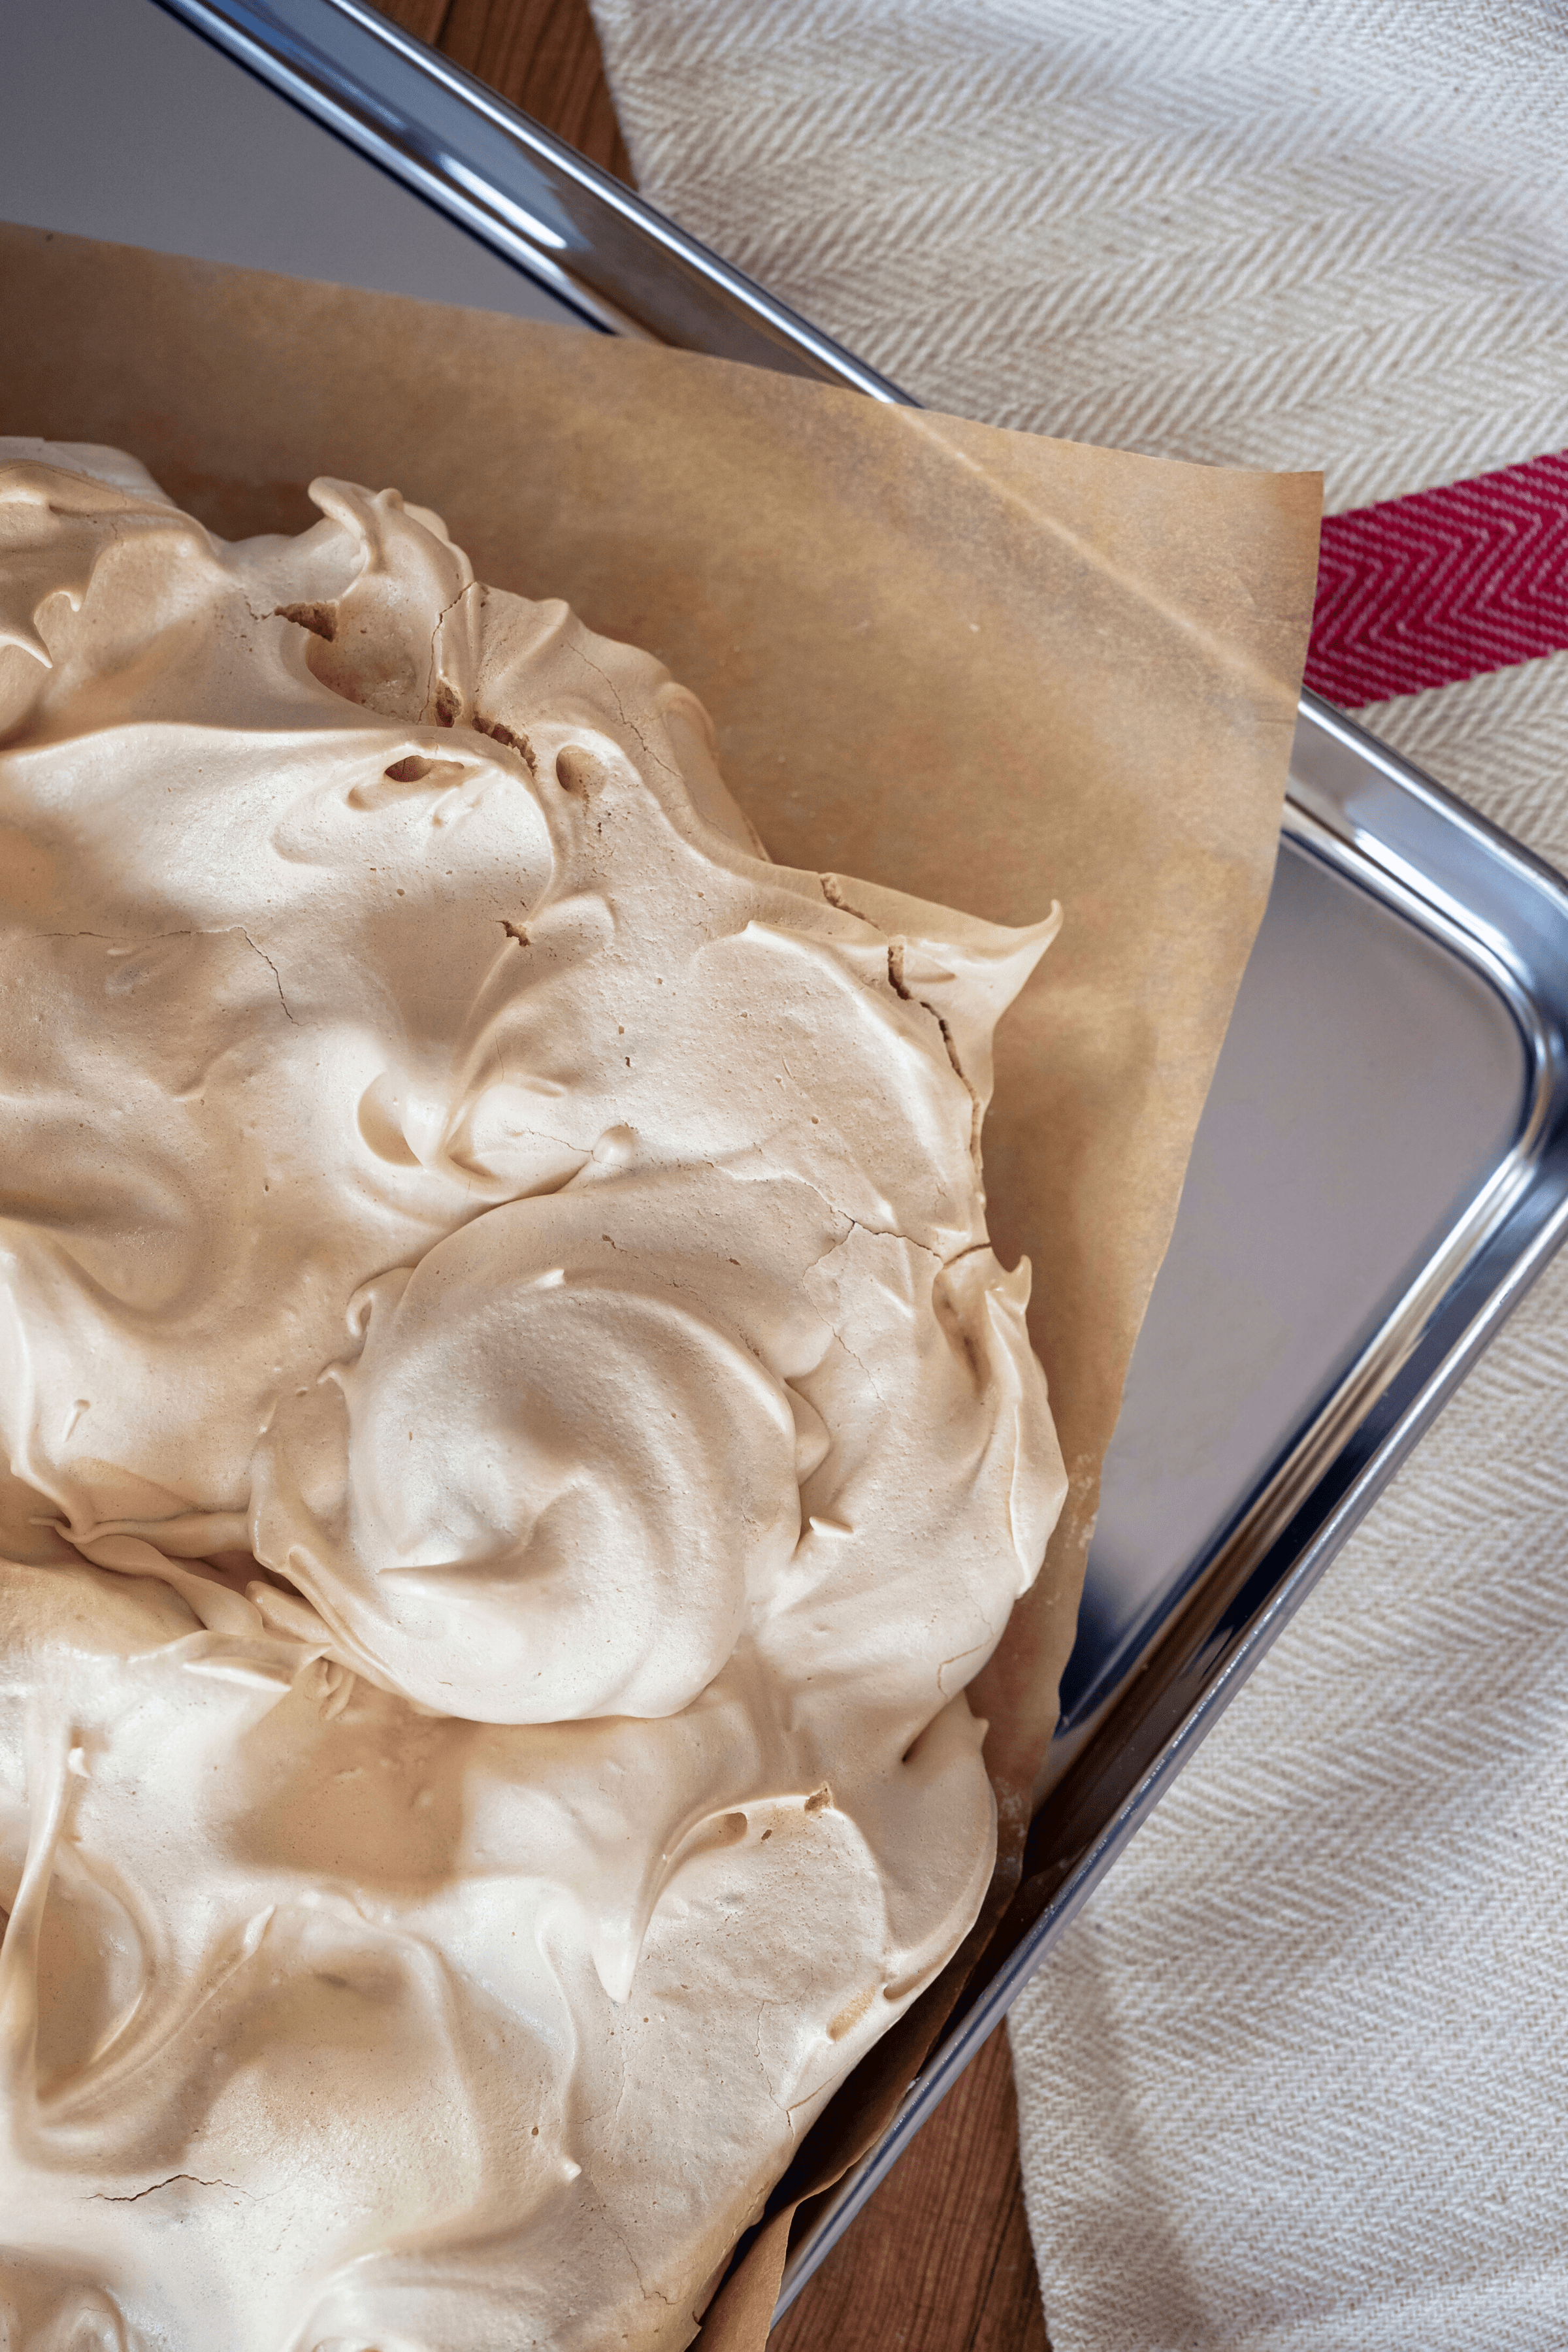
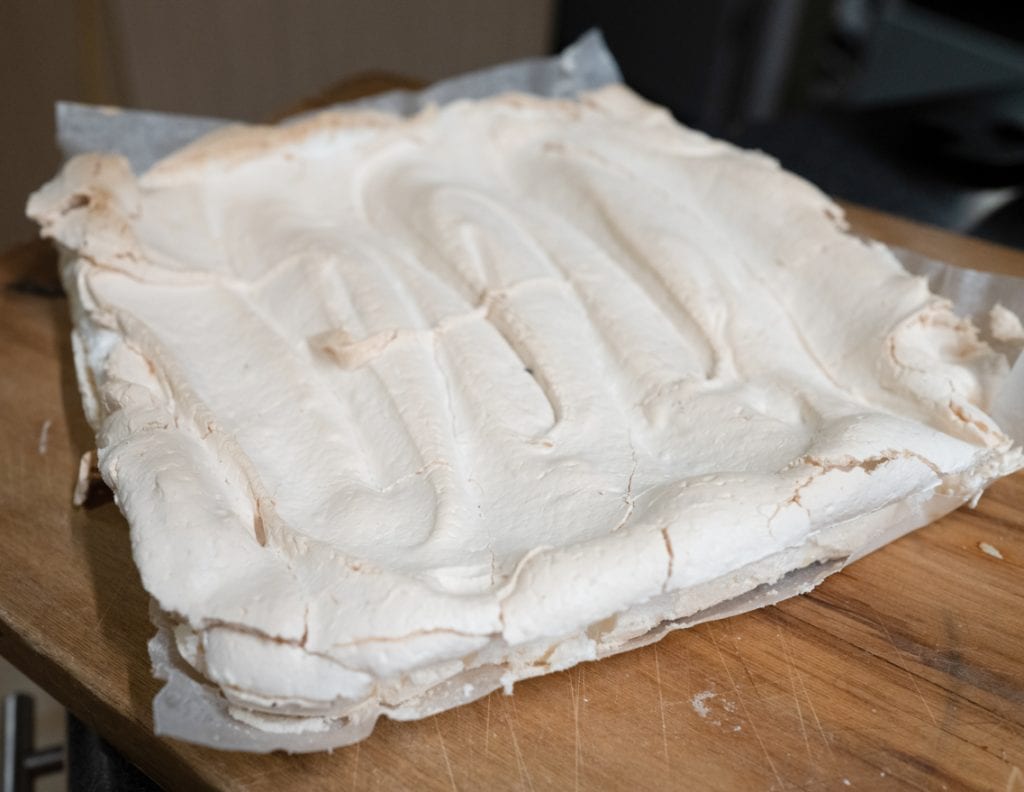
Spoon onto your baking dish. I used my spoon to even out the top. You might want to make that top smooth with a knife or something else.
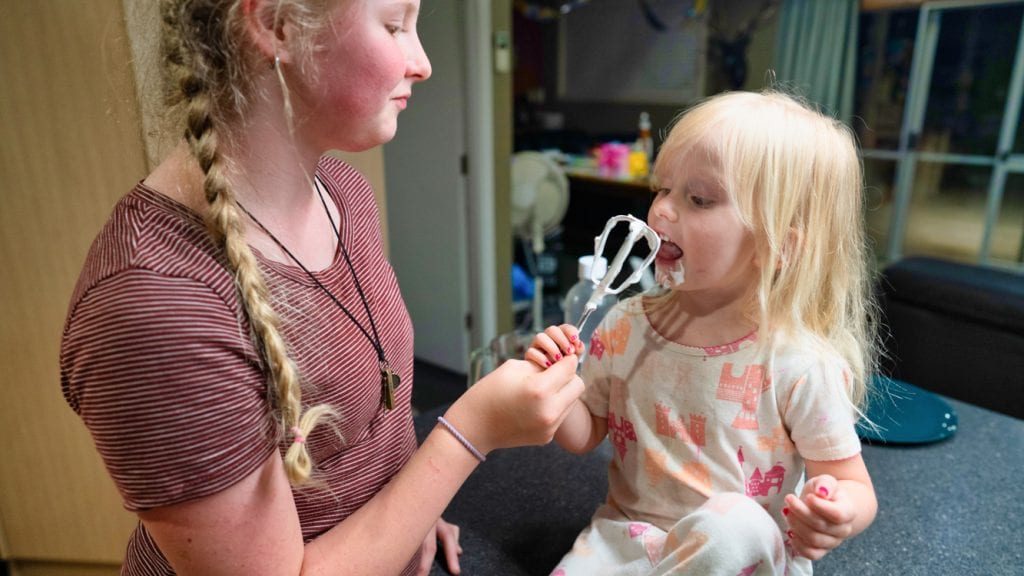
Be sure to lick the bowl :). Ok, I can’t recommend that since it is raw egg, so nevermind (but you better believe we do).
Bake at 100 C (212 F) for 60 min. The top should be a bit golden and you want the middle to be set, so if it isn’t set when you go to eat it, you’ll know you need to add a bit of time next time. Turn off the oven and let it sit, in the oven, for another 30 min.
Take out of the oven and let cool. You can keep it for two days, uncovered, on the counter. However, little people steal bites at my house, so I have to hide it.
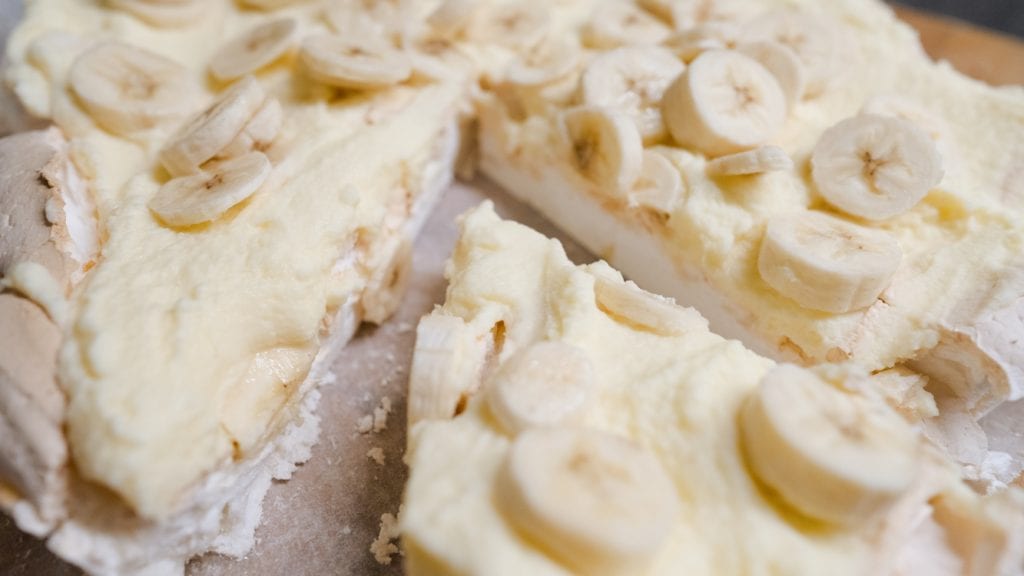
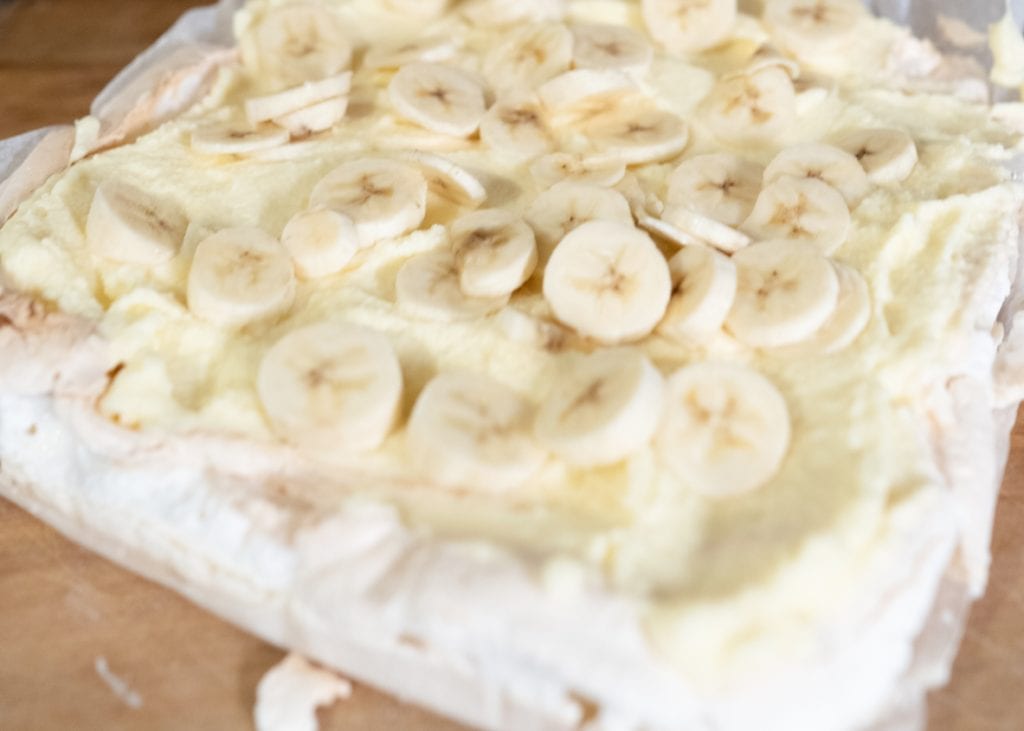
Top with sweetened whipped cream (not the kind out of the can, but real whipped cream!) and fresh, sliced fruit. Good ideas are kiwi, strawberries and bananas.
Not sure how to make whipped cream? It’s easy! Buy heavy whipping cream, add 1 cup to a mixing bowl and add some powdered sugar (start with may 1/8 – 1/4 cup, mix and taste to see if it is sweet enough for you. Adjust as needed). Plan for the amount to double or more! Mix on high speed again (10-15 min) until you have whipped cream!
Chris doesn’t like this texture, but the rest of us love this dessert! A friend sent me this recipe to try next time, which is half vanilla and half chocolate, so I’ll try to update when we give it a go!
Tag me @7wayfinders when you try this recipe! I’d love to see your creations!
When we first arrived at our new home in greymouth, NZ, our new neighbor, 90 yrs old brought over a pav. We were hooked. She made us one every week for most of the three years we lived there. It was a hoot. I never had to make one!❤️❤️❤️
When we first arrived at our new home in greymouth, NZ, our new neighbor, 90 yrs old brought over a pav. We were hooked. She made us one every week for most of the three years we lived there. It was a hoot. I never had to make one!❤️❤️❤️
When we first arrived at our new home in greymouth, NZ, our new neighbor, 90 yrs old brought over a pav. We were hooked. She made us one every week for most of the three years we lived there. It was a hoot. I never had to make one!❤️❤️❤️
When we first arrived at our new home in greymouth, NZ, our new neighbor, 90 yrs old brought over a pav. We were hooked. She made us one every week for most of the three years we lived there. It was a hoot. I never had to make one!❤️❤️❤️
I have made many many pavs over my 59 years of married life and with experience have found if you over beat the egg whites you finish up knocking the air our of it.Start beating the whites on a medium speed (I use an electric hand beater,find the results much better) and when just stiff start adding the sugar and beat abit faster but certainly not for 15 minutes.My pavs rise to around 5 inches high and marshmallow centre.I heat oven to 120 Celsius then turn down to 100 Celsius for around 90 minutes.Turn off ,prop oven door open and leave in oven until cold.
I have made many many pavs over my 59 years of married life and with experience have found if you over beat the egg whites you finish up knocking the air our of it.Start beating the whites on a medium speed (I use an electric hand beater,find the results much better) and when just stiff start adding the sugar and beat abit faster but certainly not for 15 minutes.My pavs rise to around 5 inches high and marshmallow centre.I heat oven to 120 Celsius then turn down to 100 Celsius for around 90 minutes.Turn off ,prop oven door open and leave in oven until cold.
I have made many many pavs over my 59 years of married life and with experience have found if you over beat the egg whites you finish up knocking the air our of it.Start beating the whites on a medium speed (I use an electric hand beater,find the results much better) and when just stiff start adding the sugar and beat abit faster but certainly not for 15 minutes.My pavs rise to around 5 inches high and marshmallow centre.I heat oven to 120 Celsius then turn down to 100 Celsius for around 90 minutes.Turn off ,prop oven door open and leave in oven until cold.
I have made many many pavs over my 59 years of married life and with experience have found if you over beat the egg whites you finish up knocking the air our of it.Start beating the whites on a medium speed (I use an electric hand beater,find the results much better) and when just stiff start adding the sugar and beat abit faster but certainly not for 15 minutes.My pavs rise to around 5 inches high and marshmallow centre.I heat oven to 120 Celsius then turn down to 100 Celsius for around 90 minutes.Turn off ,prop oven door open and leave in oven until cold.


 Facebook
 Pinterest
 Youtube
When we first arrived at our new home in greymouth, NZ, our new neighbor, 90 yrs old brought over a pav. We were hooked. She made us one every week for most of the three years we lived there. It was a hoot. I never had to make one!❤️❤️❤️
I’m hooked too! Especially to the chocolate version!
When we first arrived at our new home in greymouth, NZ, our new neighbor, 90 yrs old brought over a pav. We were hooked. She made us one every week for most of the three years we lived there. It was a hoot. I never had to make one!❤️❤️❤️
I’m hooked too! Especially to the chocolate version!
When we first arrived at our new home in greymouth, NZ, our new neighbor, 90 yrs old brought over a pav. We were hooked. She made us one every week for most of the three years we lived there. It was a hoot. I never had to make one!❤️❤️❤️
I’m hooked too! Especially to the chocolate version!
When we first arrived at our new home in greymouth, NZ, our new neighbor, 90 yrs old brought over a pav. We were hooked. She made us one every week for most of the three years we lived there. It was a hoot. I never had to make one!❤️❤️❤️
I’m hooked too! Especially to the chocolate version!
I have made many many pavs over my 59 years of married life and with experience have found if you over beat the egg whites you finish up knocking the air our of it.Start beating the whites on a medium speed (I use an electric hand beater,find the results much better) and when just stiff start adding the sugar and beat abit faster but certainly not for 15 minutes.My pavs rise to around 5 inches high and marshmallow centre.I heat oven to 120 Celsius then turn down to 100 Celsius for around 90 minutes.Turn off ,prop oven door open and leave in oven until cold.
I have made many many pavs over my 59 years of married life and with experience have found if you over beat the egg whites you finish up knocking the air our of it.Start beating the whites on a medium speed (I use an electric hand beater,find the results much better) and when just stiff start adding the sugar and beat abit faster but certainly not for 15 minutes.My pavs rise to around 5 inches high and marshmallow centre.I heat oven to 120 Celsius then turn down to 100 Celsius for around 90 minutes.Turn off ,prop oven door open and leave in oven until cold.
I have made many many pavs over my 59 years of married life and with experience have found if you over beat the egg whites you finish up knocking the air our of it.Start beating the whites on a medium speed (I use an electric hand beater,find the results much better) and when just stiff start adding the sugar and beat abit faster but certainly not for 15 minutes.My pavs rise to around 5 inches high and marshmallow centre.I heat oven to 120 Celsius then turn down to 100 Celsius for around 90 minutes.Turn off ,prop oven door open and leave in oven until cold.
I have made many many pavs over my 59 years of married life and with experience have found if you over beat the egg whites you finish up knocking the air our of it.Start beating the whites on a medium speed (I use an electric hand beater,find the results much better) and when just stiff start adding the sugar and beat abit faster but certainly not for 15 minutes.My pavs rise to around 5 inches high and marshmallow centre.I heat oven to 120 Celsius then turn down to 100 Celsius for around 90 minutes.Turn off ,prop oven door open and leave in oven until cold.