

Last updated: . This update explains the 2026 Mount Fuji route closures and current climbing requirements; the hike remains a past family experience. Date information added October 28, 2026.
First published April 10, 2024. This is our earlier couple’s hike, with the prices and experiences we described at the time. Planning update, October 2026: the 2026 climbing season has ended and Mount Fuji’s climbing trails are closed. Check the official Mount Fuji climbing notices for closures and the season you plan to visit; do not carry 2026 dates or fees forward to another year.
Are we big hikers? Not really. Are we in great shape? No, but we are fairly active. Did we successfully hike Mt. Fuji in Japan? Yes!
Mount Fuji is Japan’s highest mountain (3,776 m or 12,388 feet). We reached the Yoshida trail’s summit shops and café, but bad weather kept us from the highest point and crater walk. We are fairly active rather than serious hikers, and we had been preparing at the gym for months. Our experience is not a measure of what is safe or suitable for someone else: this is a steep, high-altitude climb that calls for preparation and current route and weather information.
My husband and I came away from this gorgeous mountain with a lot of funny stories. The hardest parts for us were Chris’s headache and the intense rain. We walked away with incredible memories, a fantastic wood walking stick souvenir, and a promise to go back someday with our kids.
*Disclaimer: This post may contain affiliate links. Opinions shared are my own, and I only endorse products I support. By clicking on any of the links below, I may get a small commission if you purchase at absolutely no additional charge to you. I appreciate your support.*
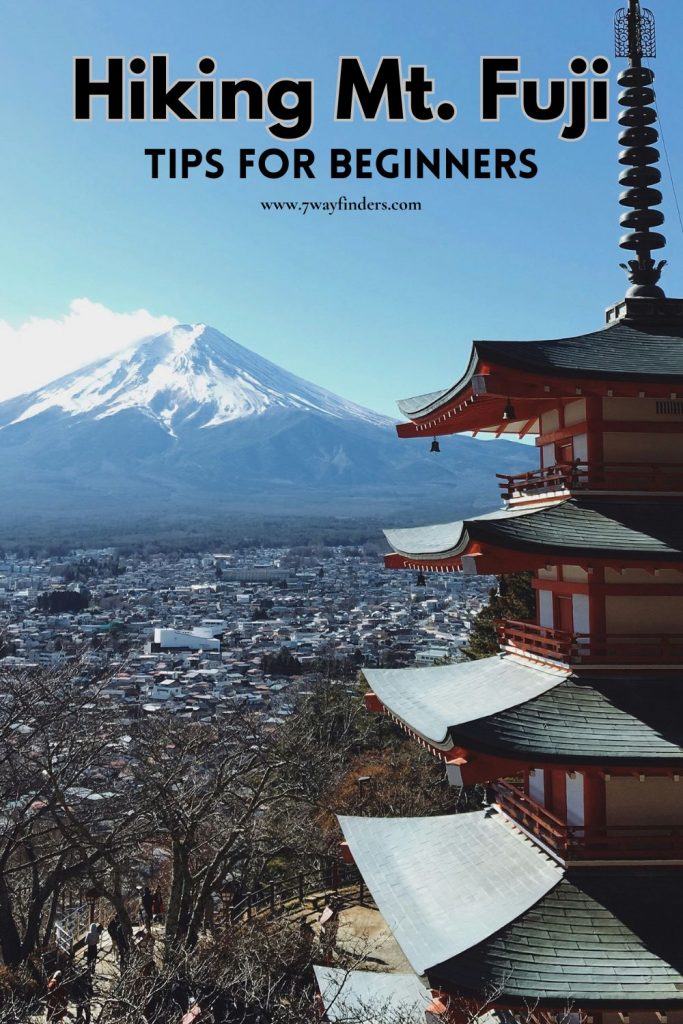
Yep, it is! Mount Fuji is an active volcano. The Japan Meteorological Agency records its Hōei eruption from December 1707 into January 1708. The mountain is an iconic symbol of Japan and can sometimes be seen from Tokyo.
I would not describe much of our upper-mountain climb as a green, scenic hike. The brown rock and gravel felt almost moon-like to me, although the views can be spectacular when the weather cooperates. Different routes include different terrain and vegetation.
Mt. Fuji is much more of a bucket list item and a bragging right. It is fun and challenging and a great memory.
The estimates below appeared in this guide when it was published; they are older figures, not current prices or a complete fee list. Climbing fees and costs depend on route, season, hut, and services. Check official route information and current hut details before planning.
Older estimates from this guide:
We decided to make a trip of it and stayed at the Highland Resort Hotel and Spa. At the time of our stay, it was next to Fuji-Q and had an onsen. Check current hotel and park details before booking or visiting.
We bought train tickets on the day of travel and then took a bus to Mount Fuji. We found the trip manageable, but transport routes, schedules, and ticket availability can change; check your dates before setting out.
For the Yoshida route, Fujiyoshida City’s 2026 access notice listed July 1–September 10 and a ¥4,000 climbing fee. That season is over. Other routes have different access arrangements; use the current official notice for the specific trail and year you plan to climb.
A two-day plan may include traveling to a fifth station, staying in a mountain hut, then climbing and descending the next day. Travel times and hut access depend on the route, season, and transport schedule, so plan from current official information.
For a sense of the effort, the city’s 2026 Yoshida route estimate was about 6 hours 40 minutes up and 3 hours 30 minutes down, excluding breaks. Hut stops, crowds, weather, altitude and your pace can add time. These are planning estimates, not a timetable you must meet; avoid a plan that depends on pushing through illness or deteriorating weather.
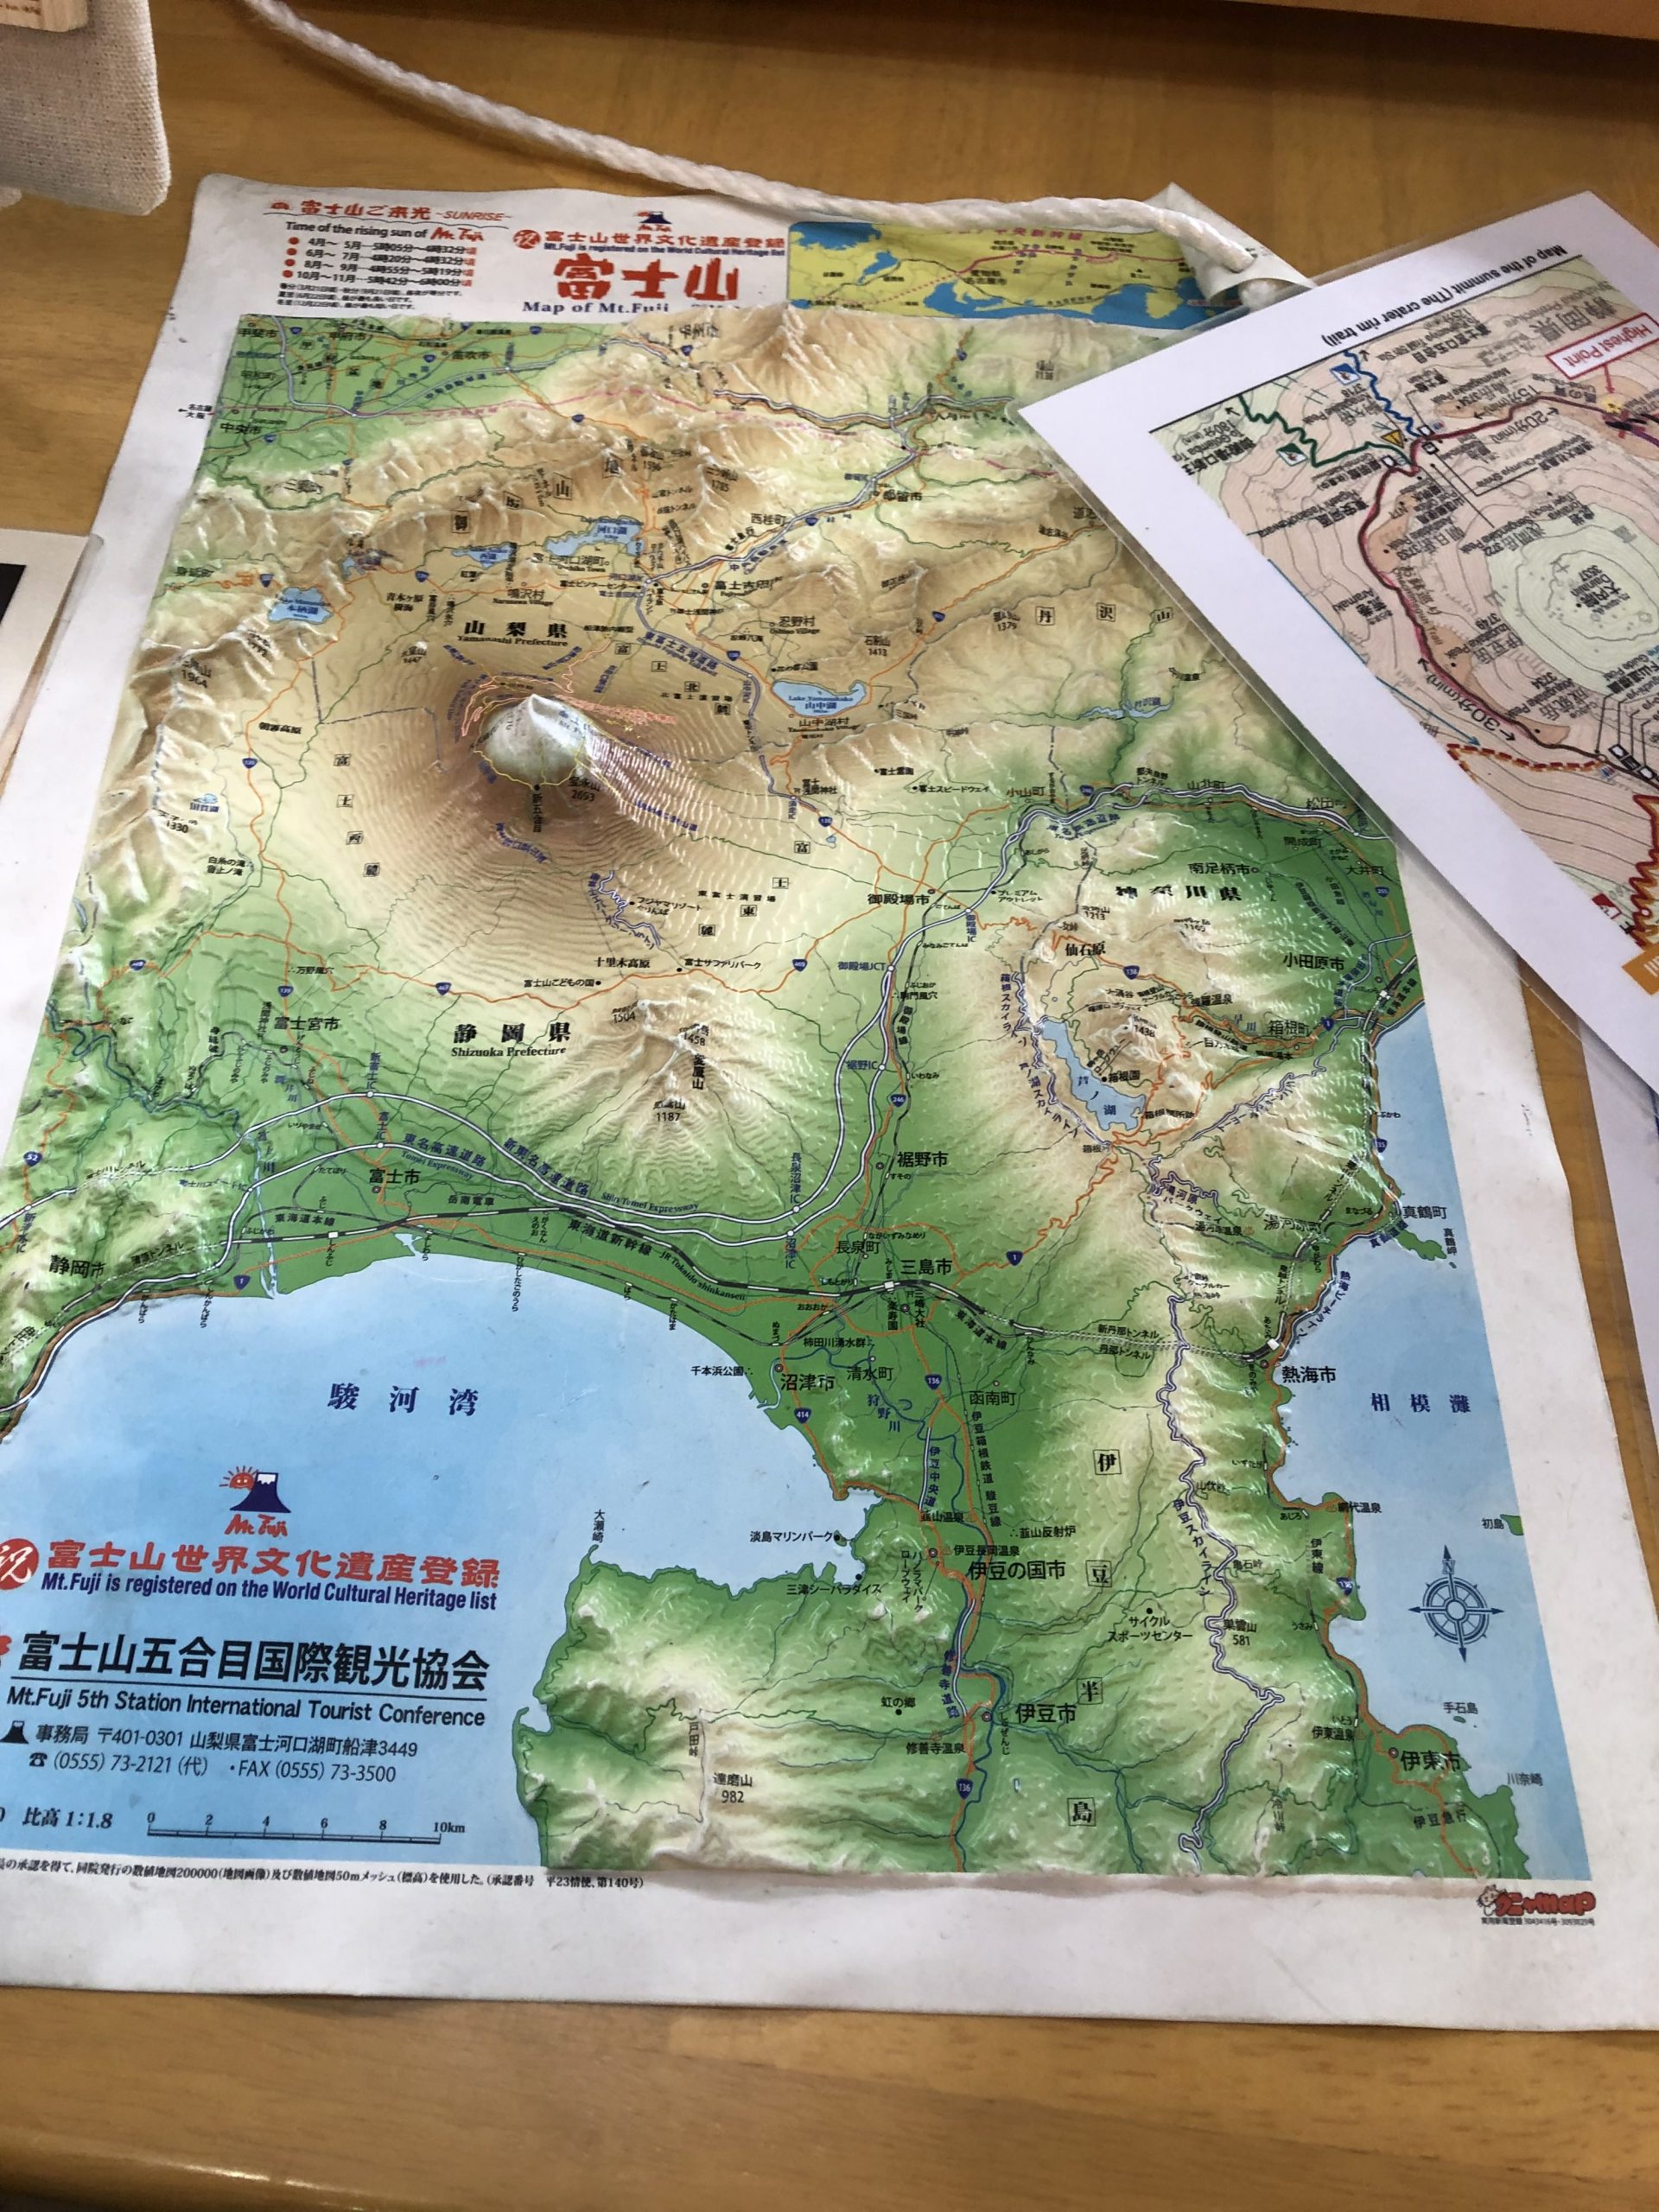
The four routes named in this guide are Yoshida, Fujinomiya, Subashiri, and Gotemba. Each has its own fifth-station start and route conditions. Check the current official map and access rules for the specific route and season; station elevations and names are route-specific.
Each route has its own fifth-station starting point. The station numbers are landmarks, not percentages of the climb completed: reaching station six does not mean you have finished 60% of the effort.
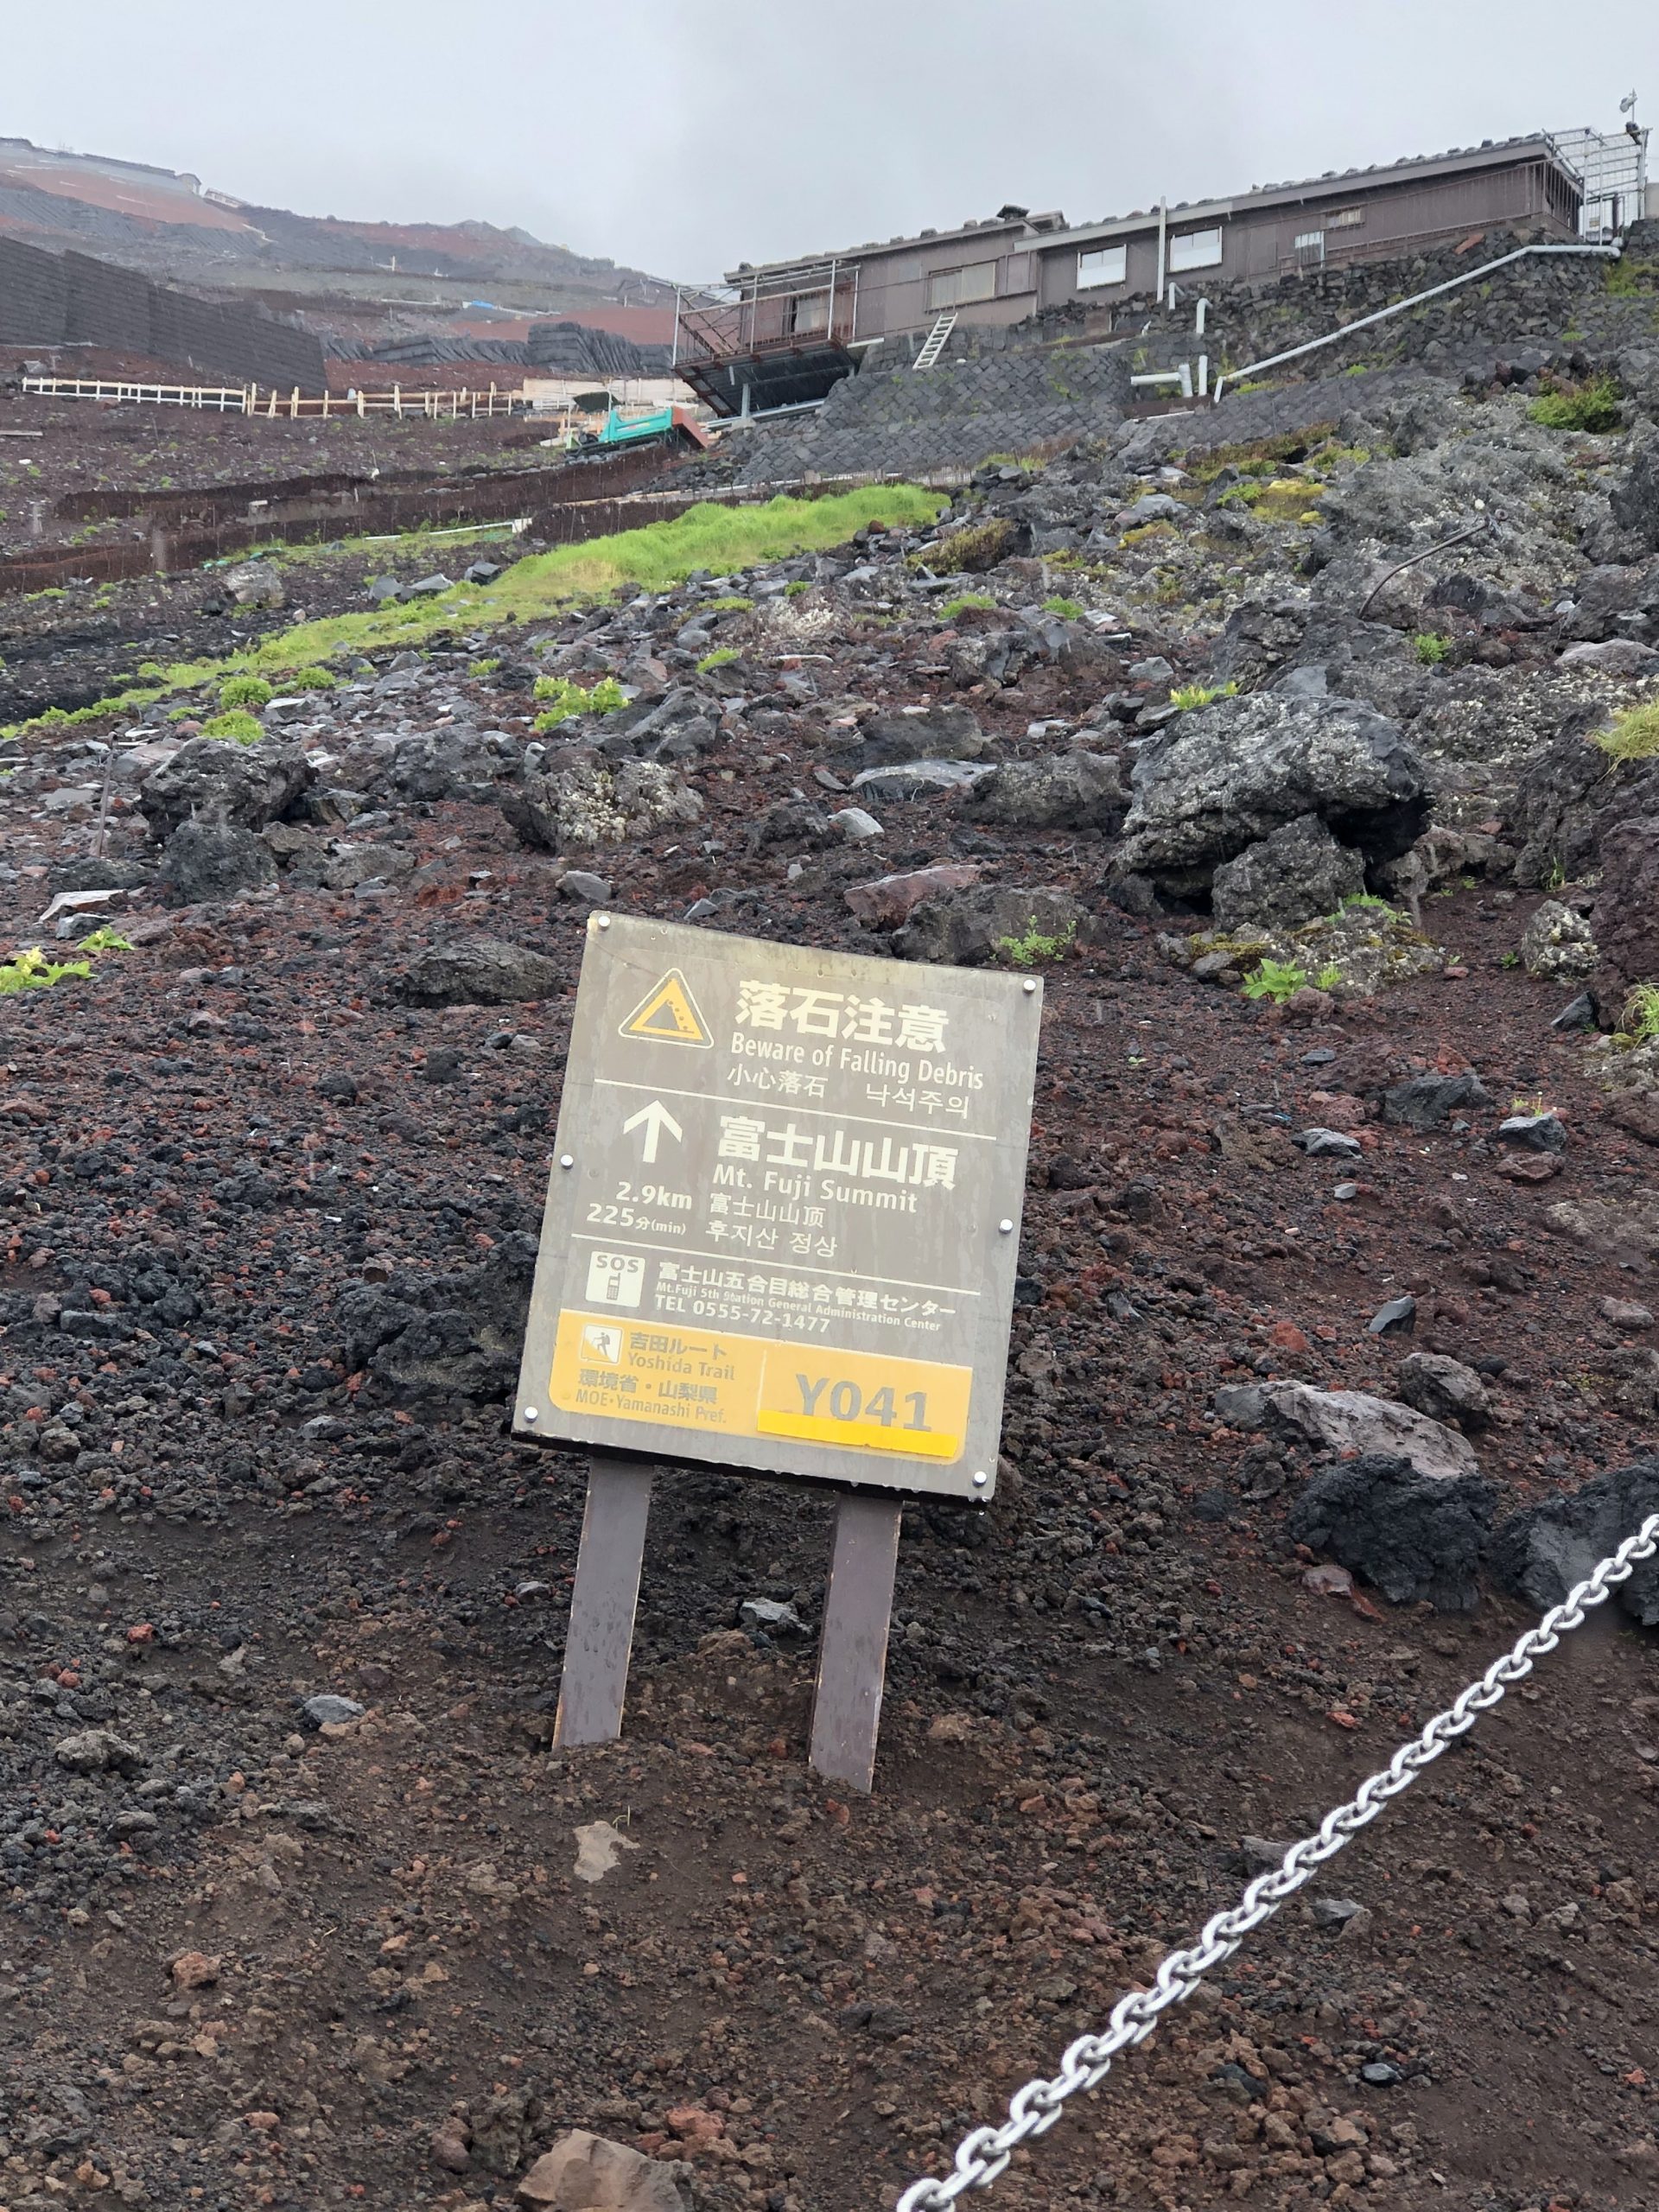
The Yoshida trail was the route we chose, and it is the one I would recommend based on our own experience. Current opening dates, gate rules, and route information can change by season; check the official access page before planning.
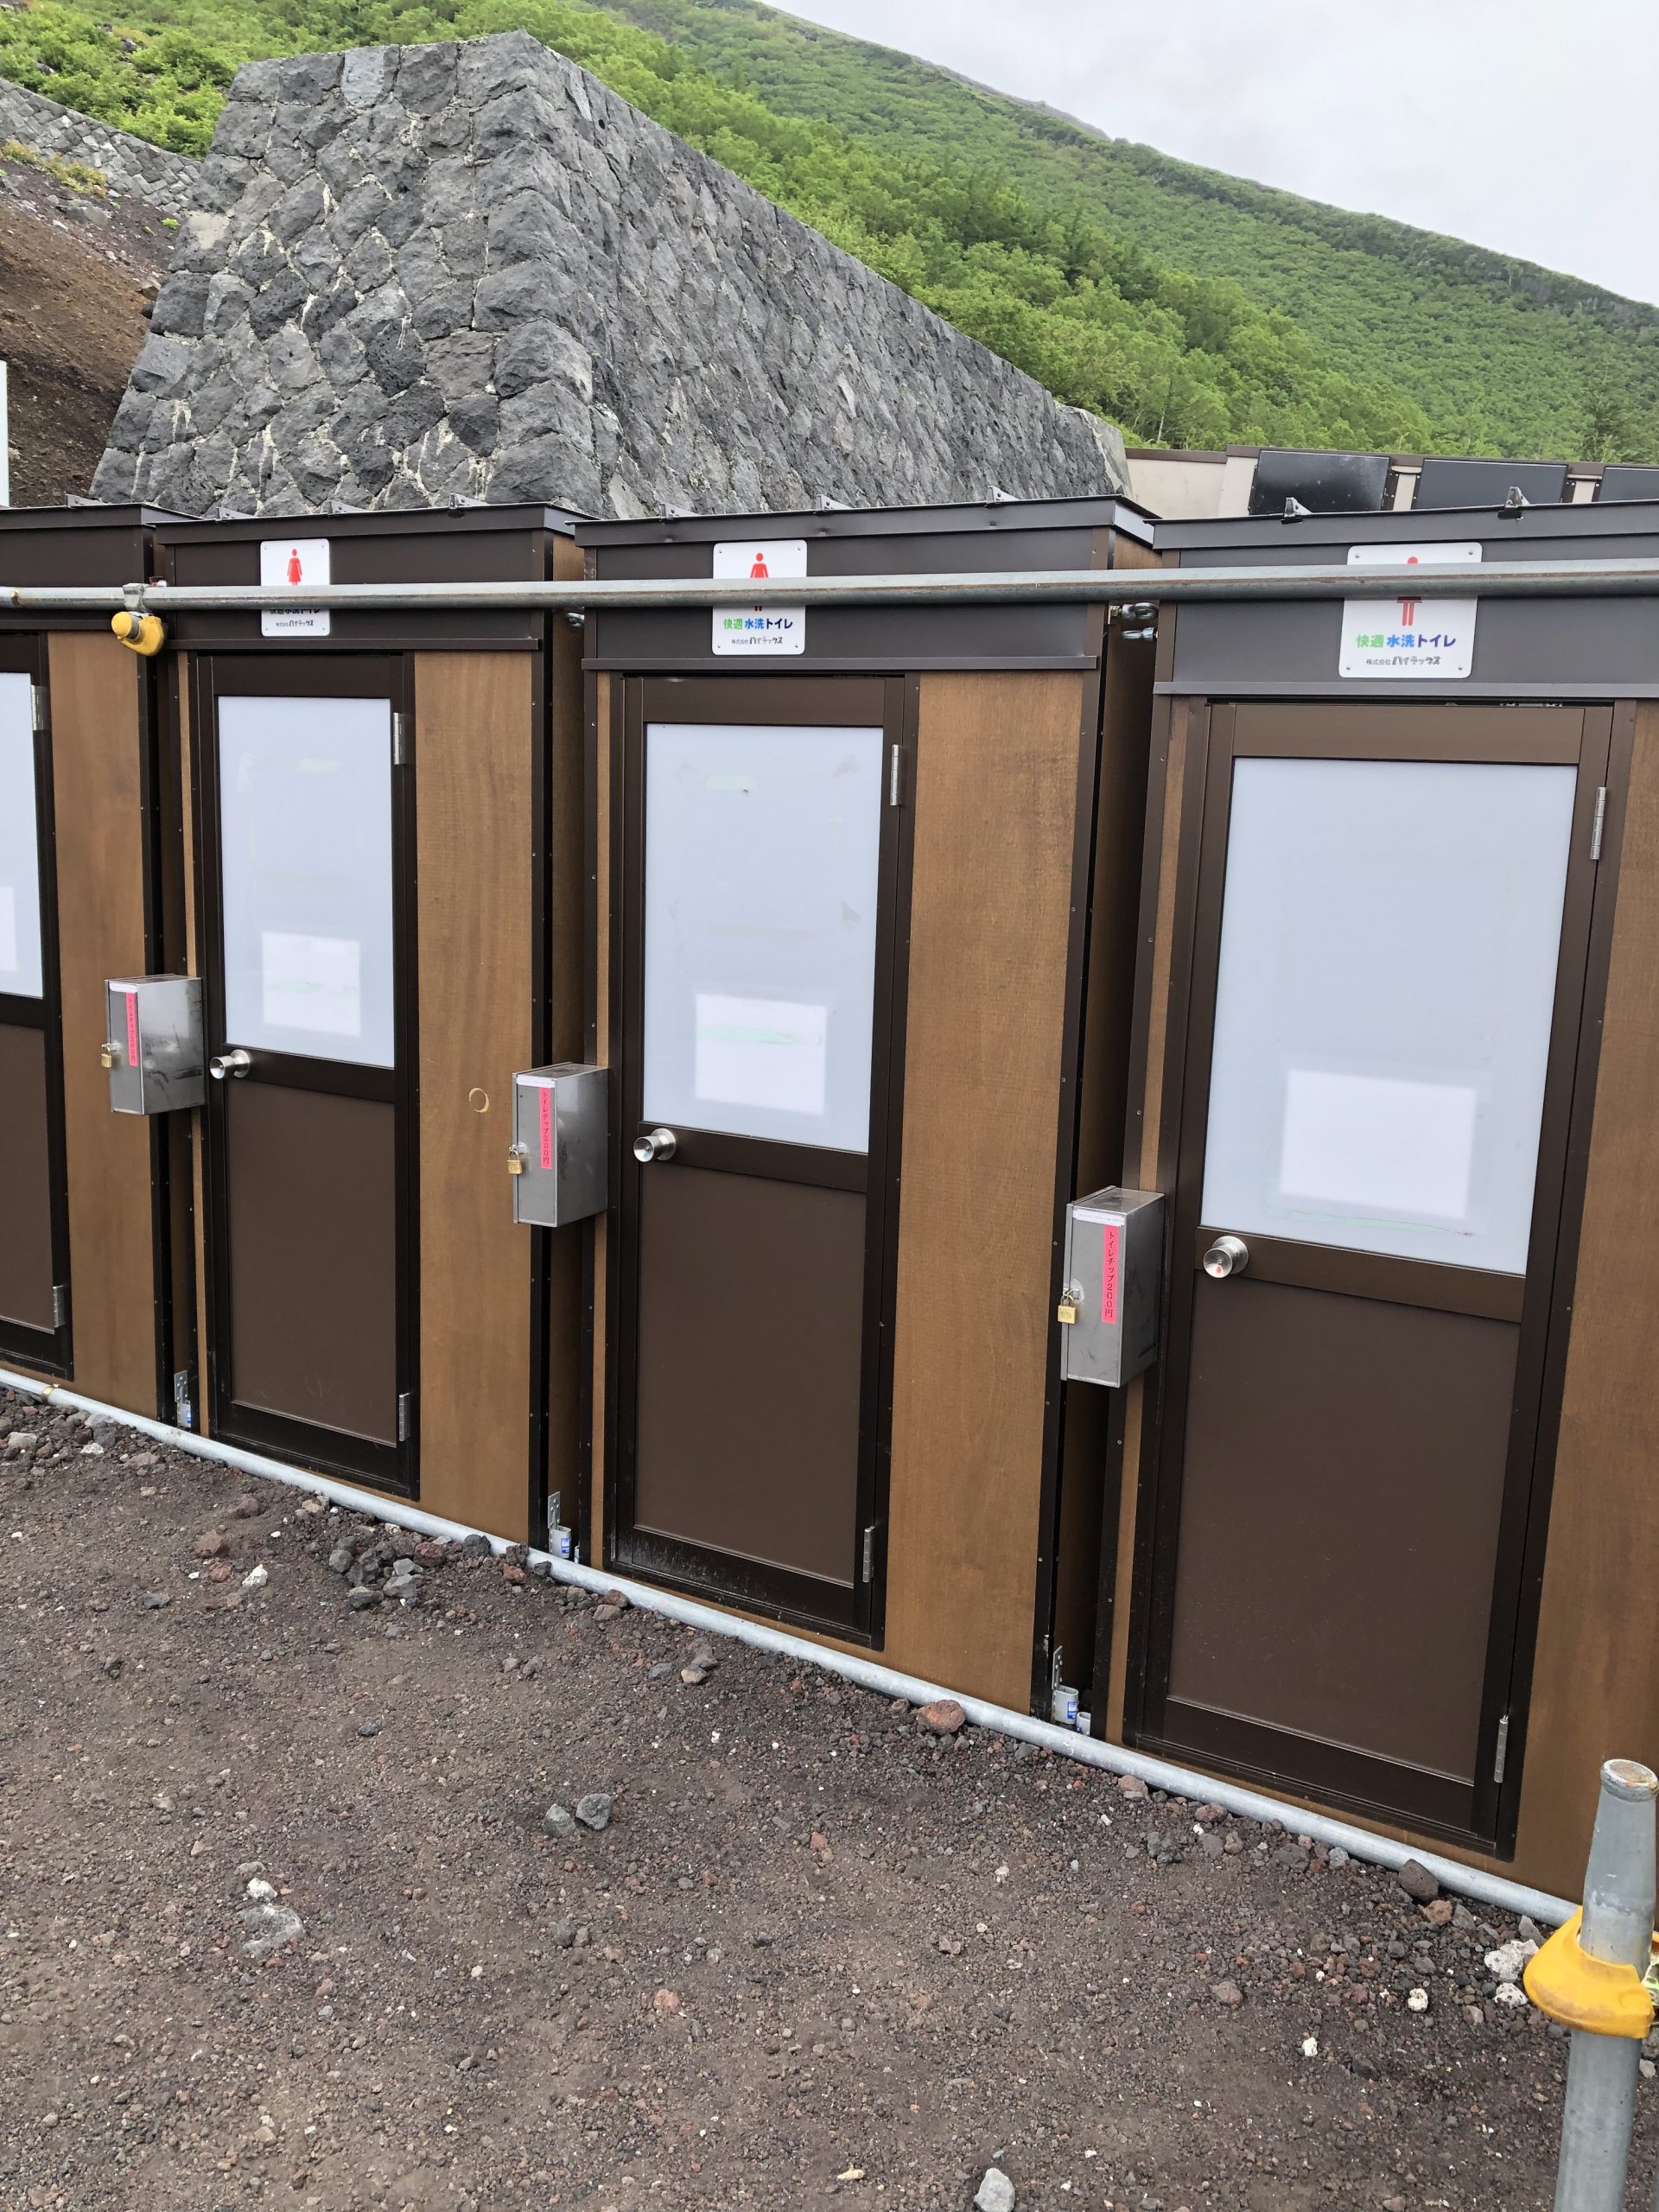
For current trail conditions, huts, toilets and maps, use the official information for your chosen route. Facilities can close before a season ends, and a facility marked on a map is not a guarantee it will be operating on your dates.
The Subashiri trail starts at about 2,000 meters and passes through forest lower down before reaching rock and gravel. The official route comparison gives a broad estimate of about seven hours up and four down; compare the detailed route map and allow extra time for breaks and conditions.
Subashiri joins Yoshida at the Original (Hon) Eighth Station. Take particular care with the signs at the descent fork so you return to the route and transport you planned.
If you want to check out the other trails or read more about the trail, check out this Mount Fuji website.
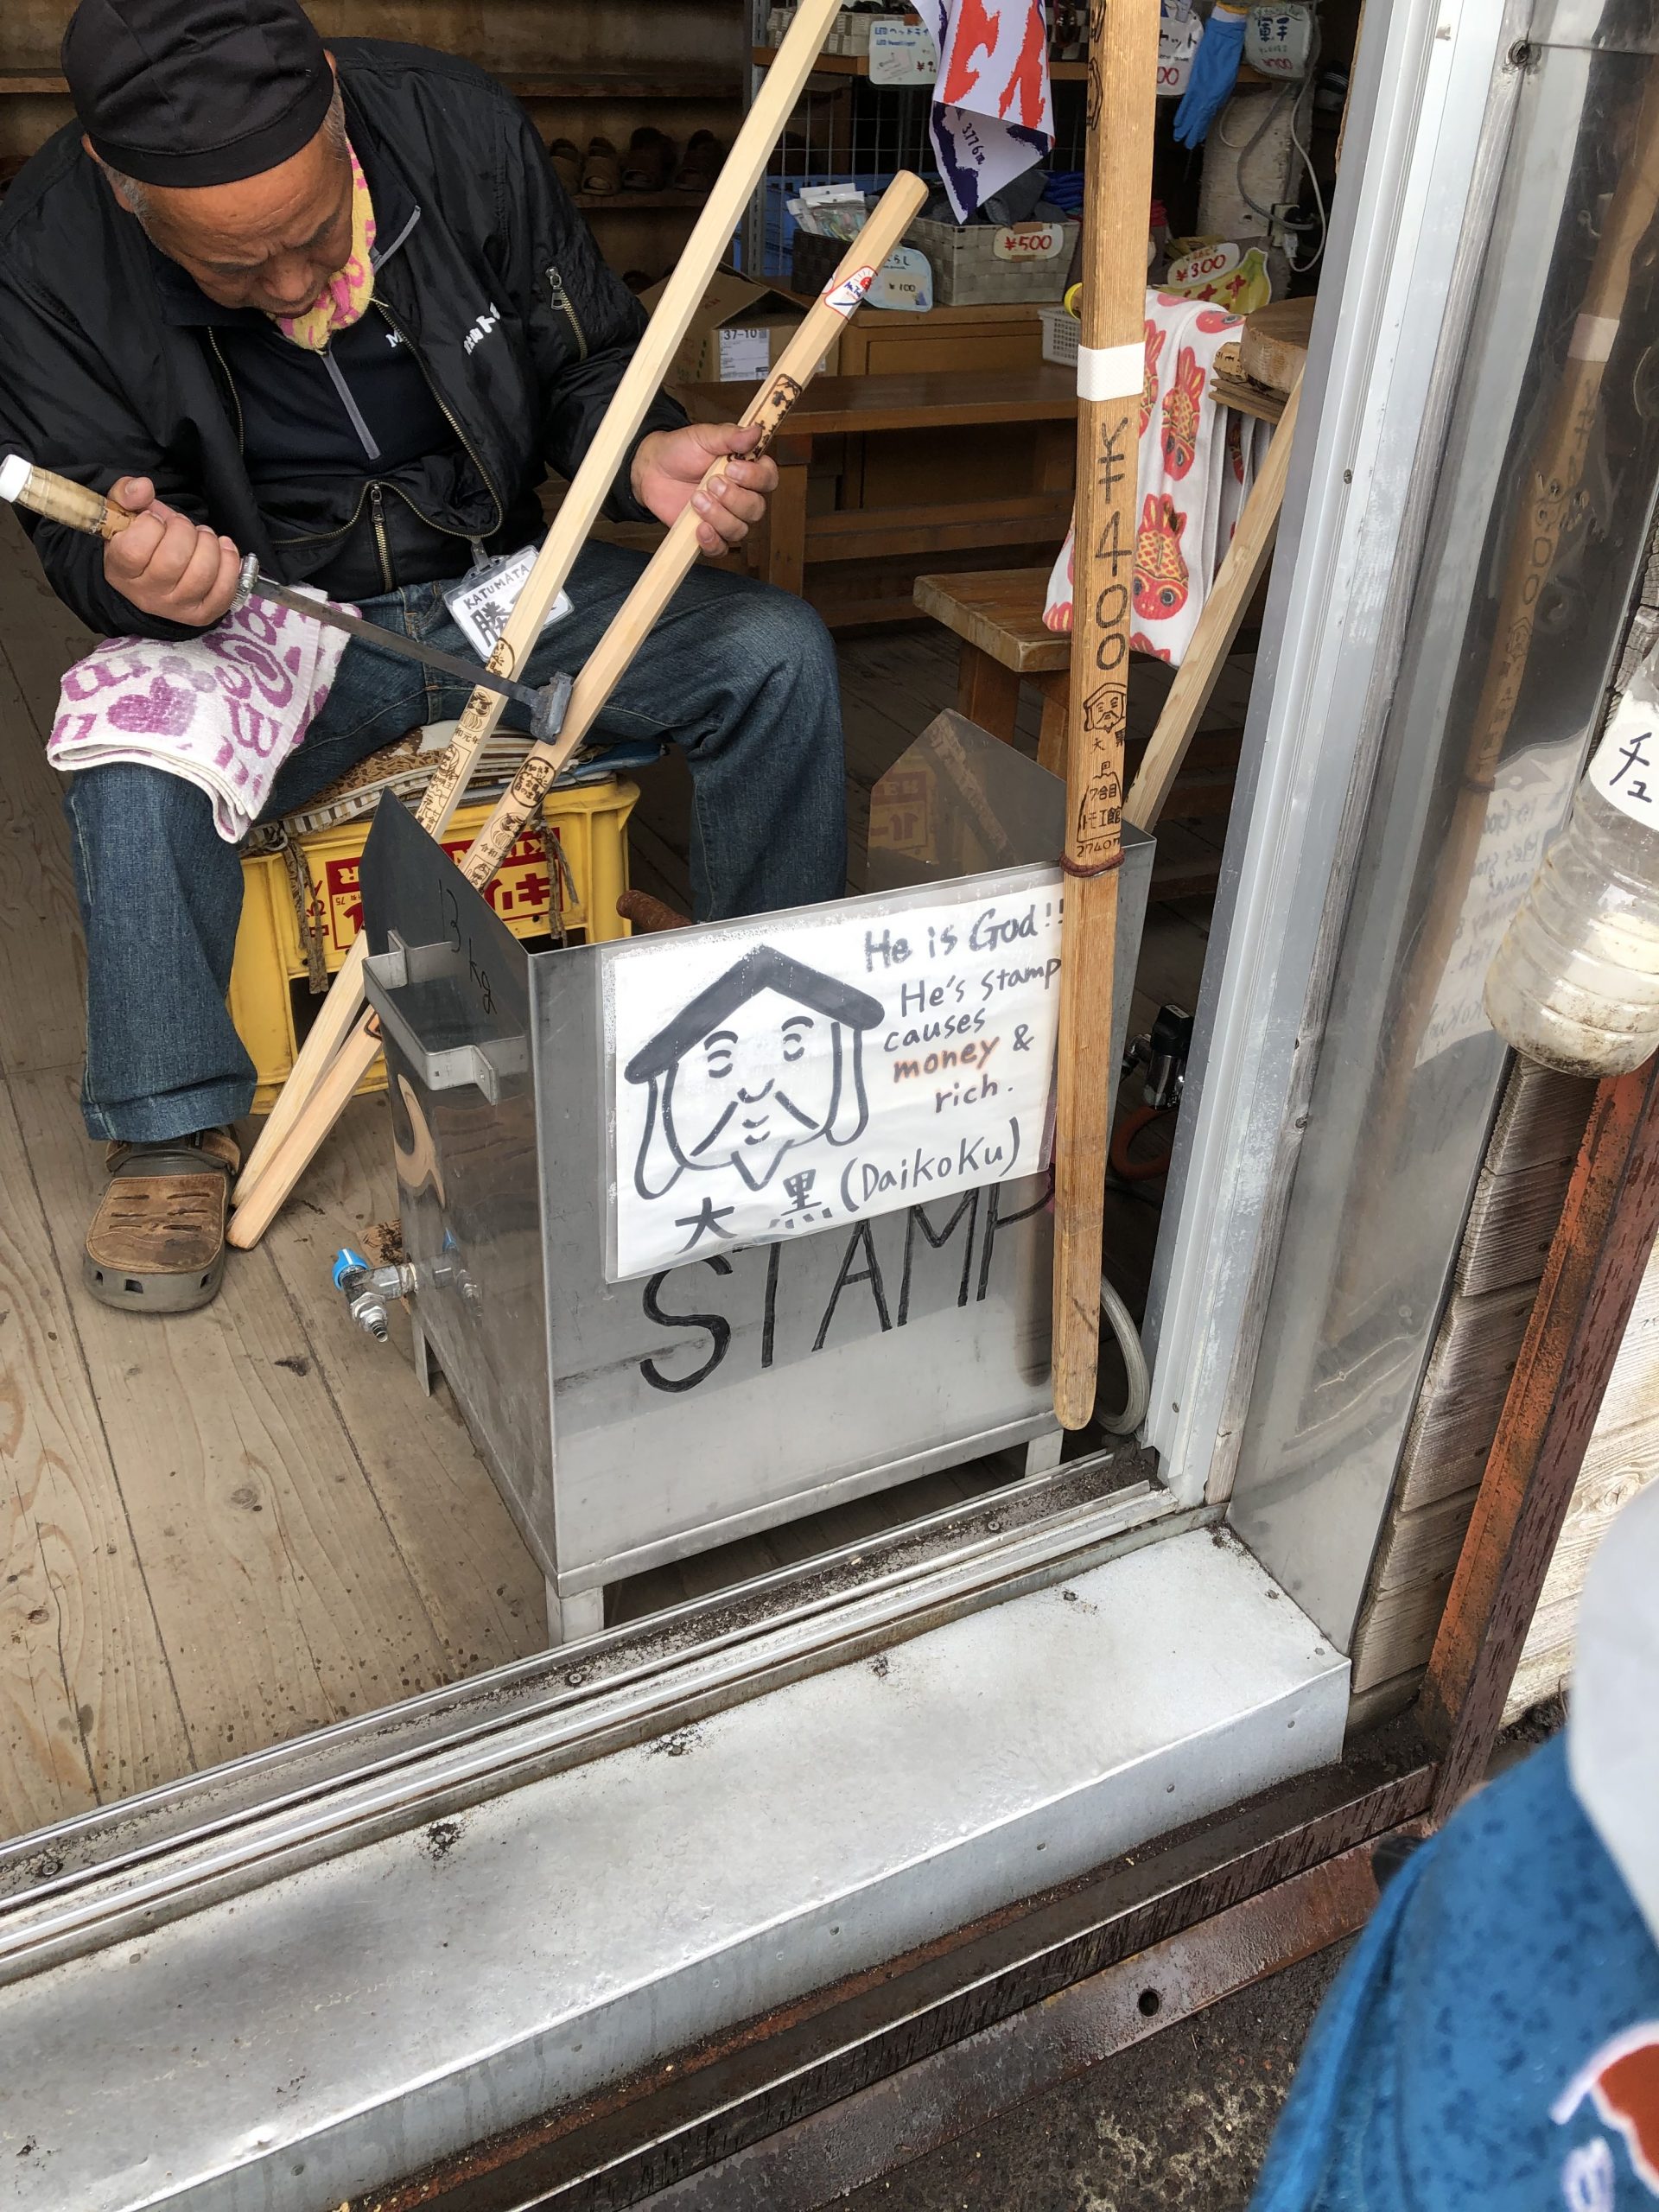
We planned an overnight hut stay so we would have less ground to cover before sunrise. We ended up at an eighth-station hut around 3 p.m., after the reservation mix-up described below: our private room was actually booked at station six, and the eighth-station hut found us a shared sleeping spot that we paid for separately. We seemed to be the only ones heading that high during our ascent, but the hut filled over time. For Yoshida in 2026, the fifth-station gate closed from 2 p.m. to 3 a.m.; a hut reservation and the fee were required for the reservation exception. Check the rules for your chosen route and year before booking.
The earlier guide estimated hut stays from around ¥7,000 (about US$50 then), including at least one meal. That was an older estimate, not a current rate or a record of our particular bill. These huts felt like hiking factories taking in and sending out hundreds of hikers: be prepared for shared sleeping space. Check your hut’s current price, meals, bedding and booking terms rather than assuming a private room or particular amenities.
At our hut, staff dried us off and expected us to change into dry clothes. They checked that we were dry before we went near the bedding; keeping moisture out mattered. Hut routines may differ. The leaf-blower welcome we got still makes me laugh!
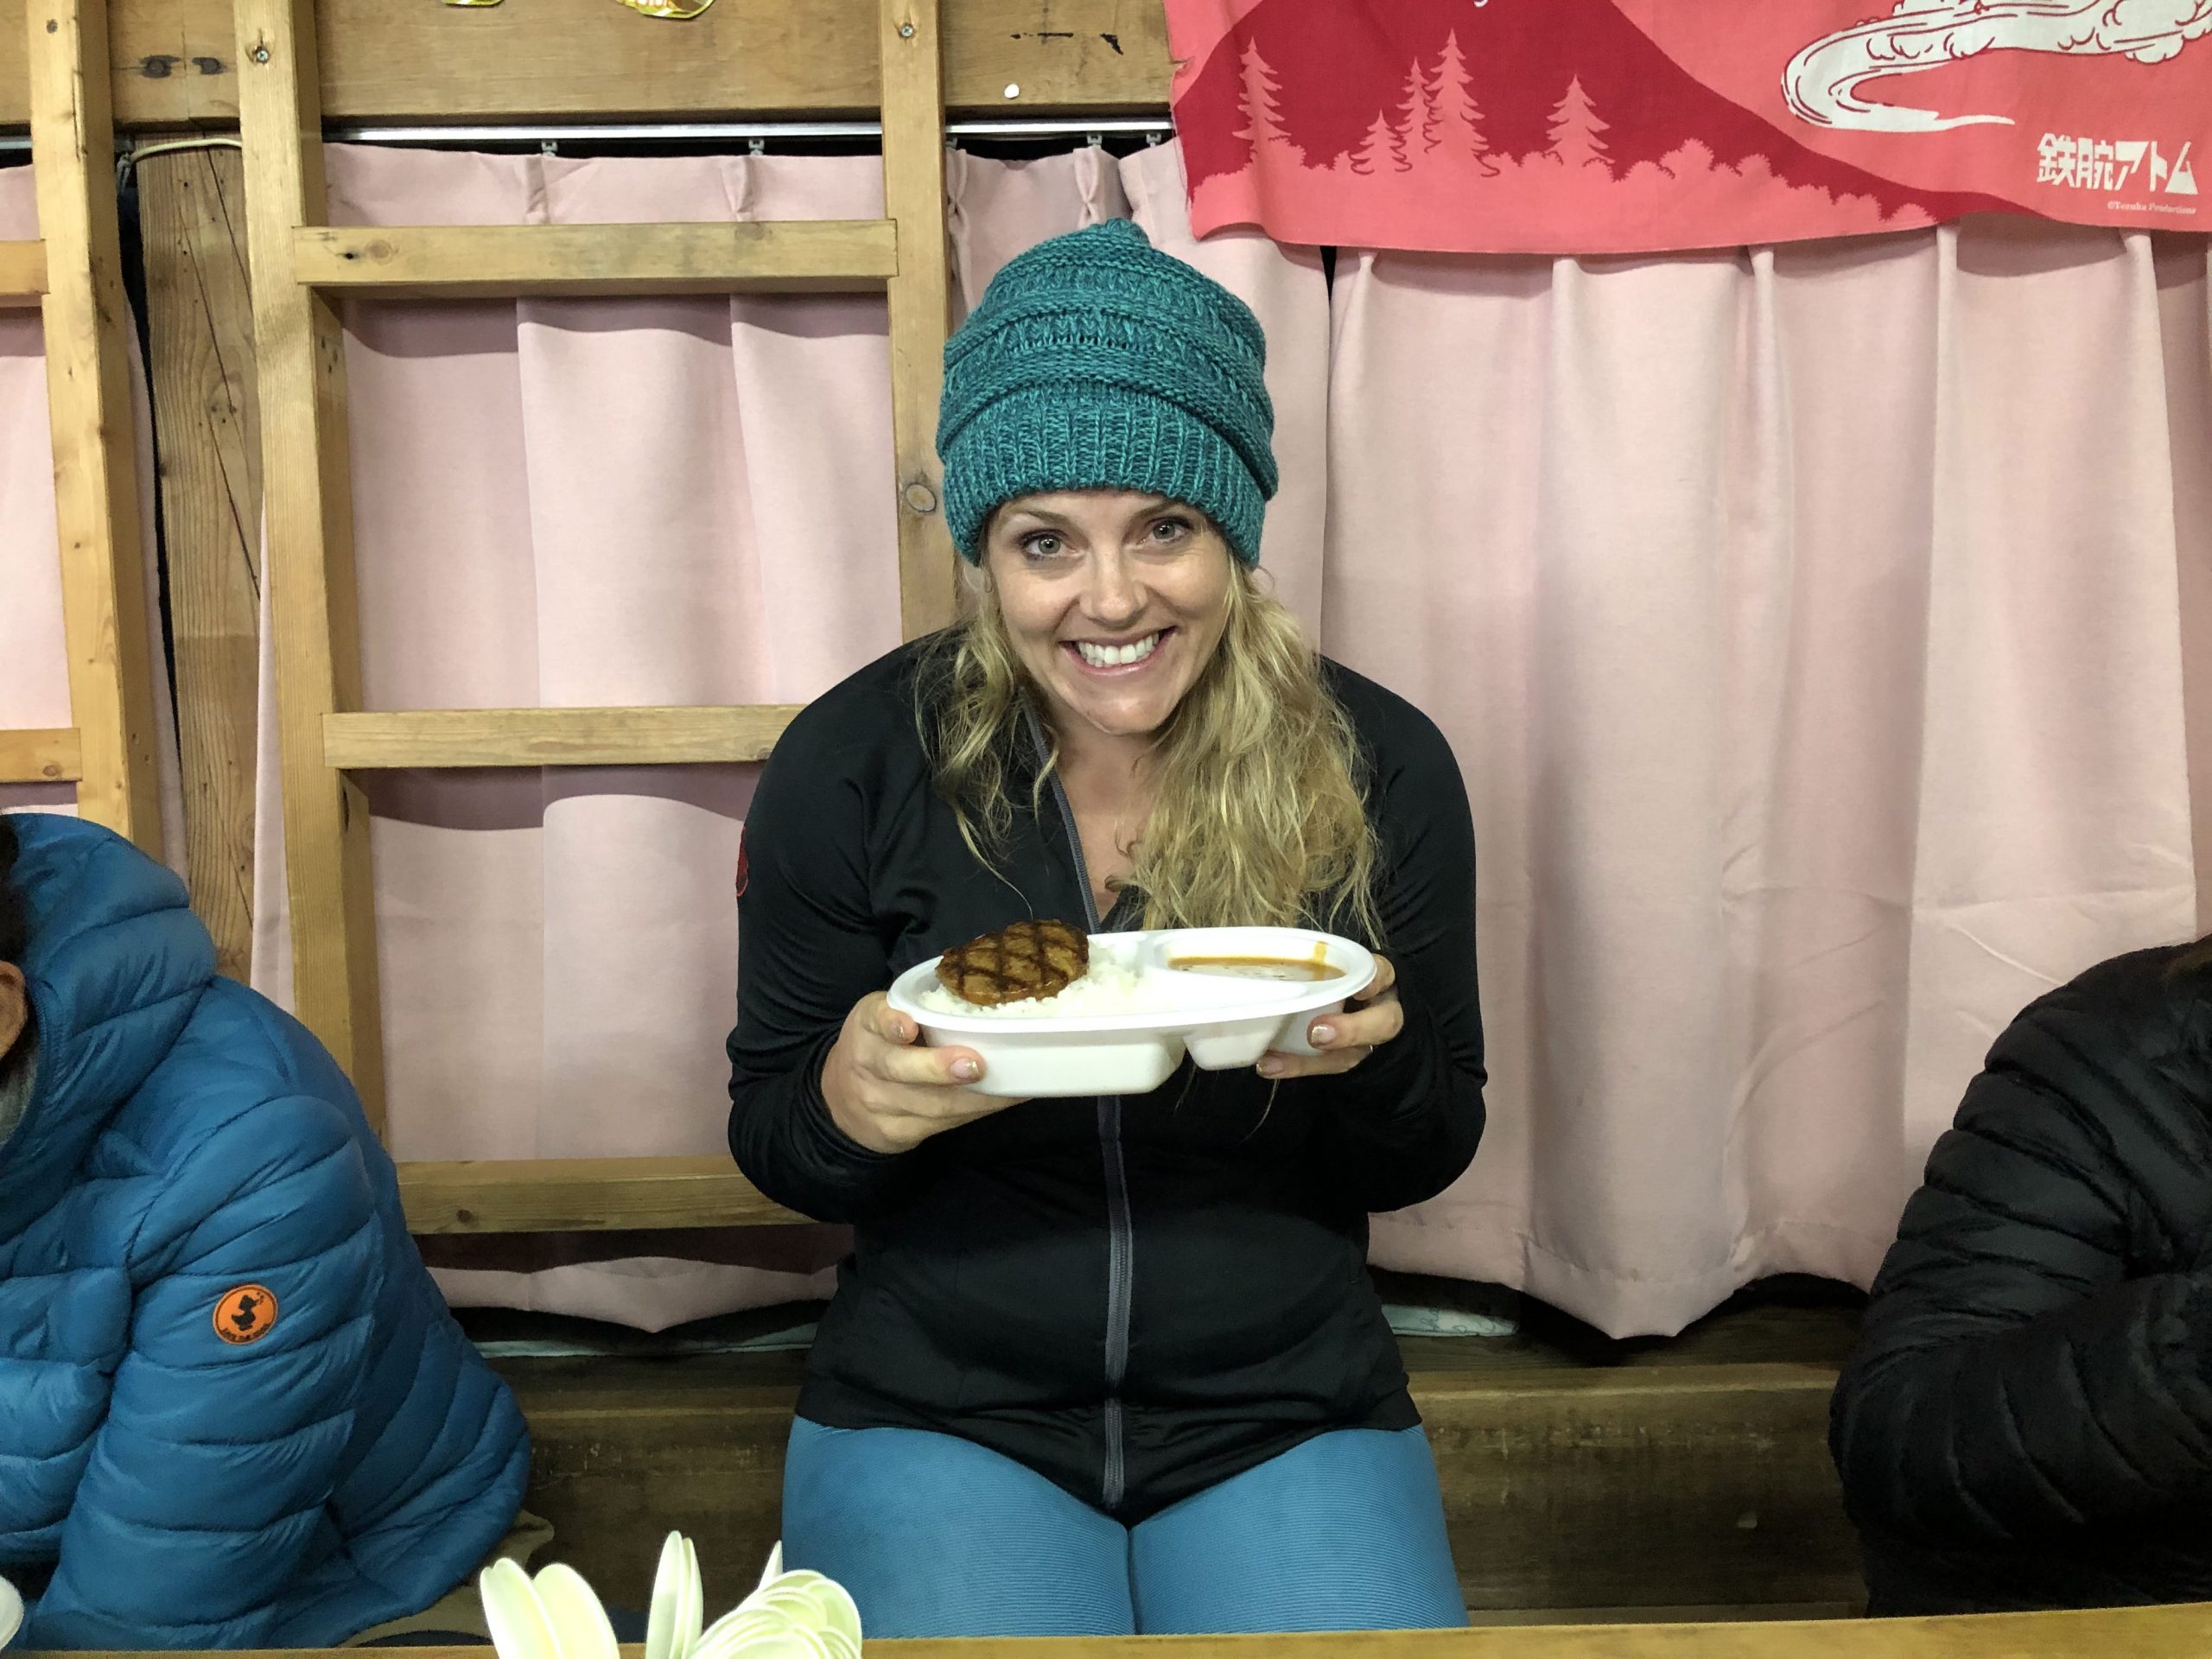
The dinner we were served was basic but tasted delicious after a day of hiking. We were called by groups to eat dinner. We were then woken by 2 am and offered a light snack before leaving.
Find official mountain-hut information by route here.
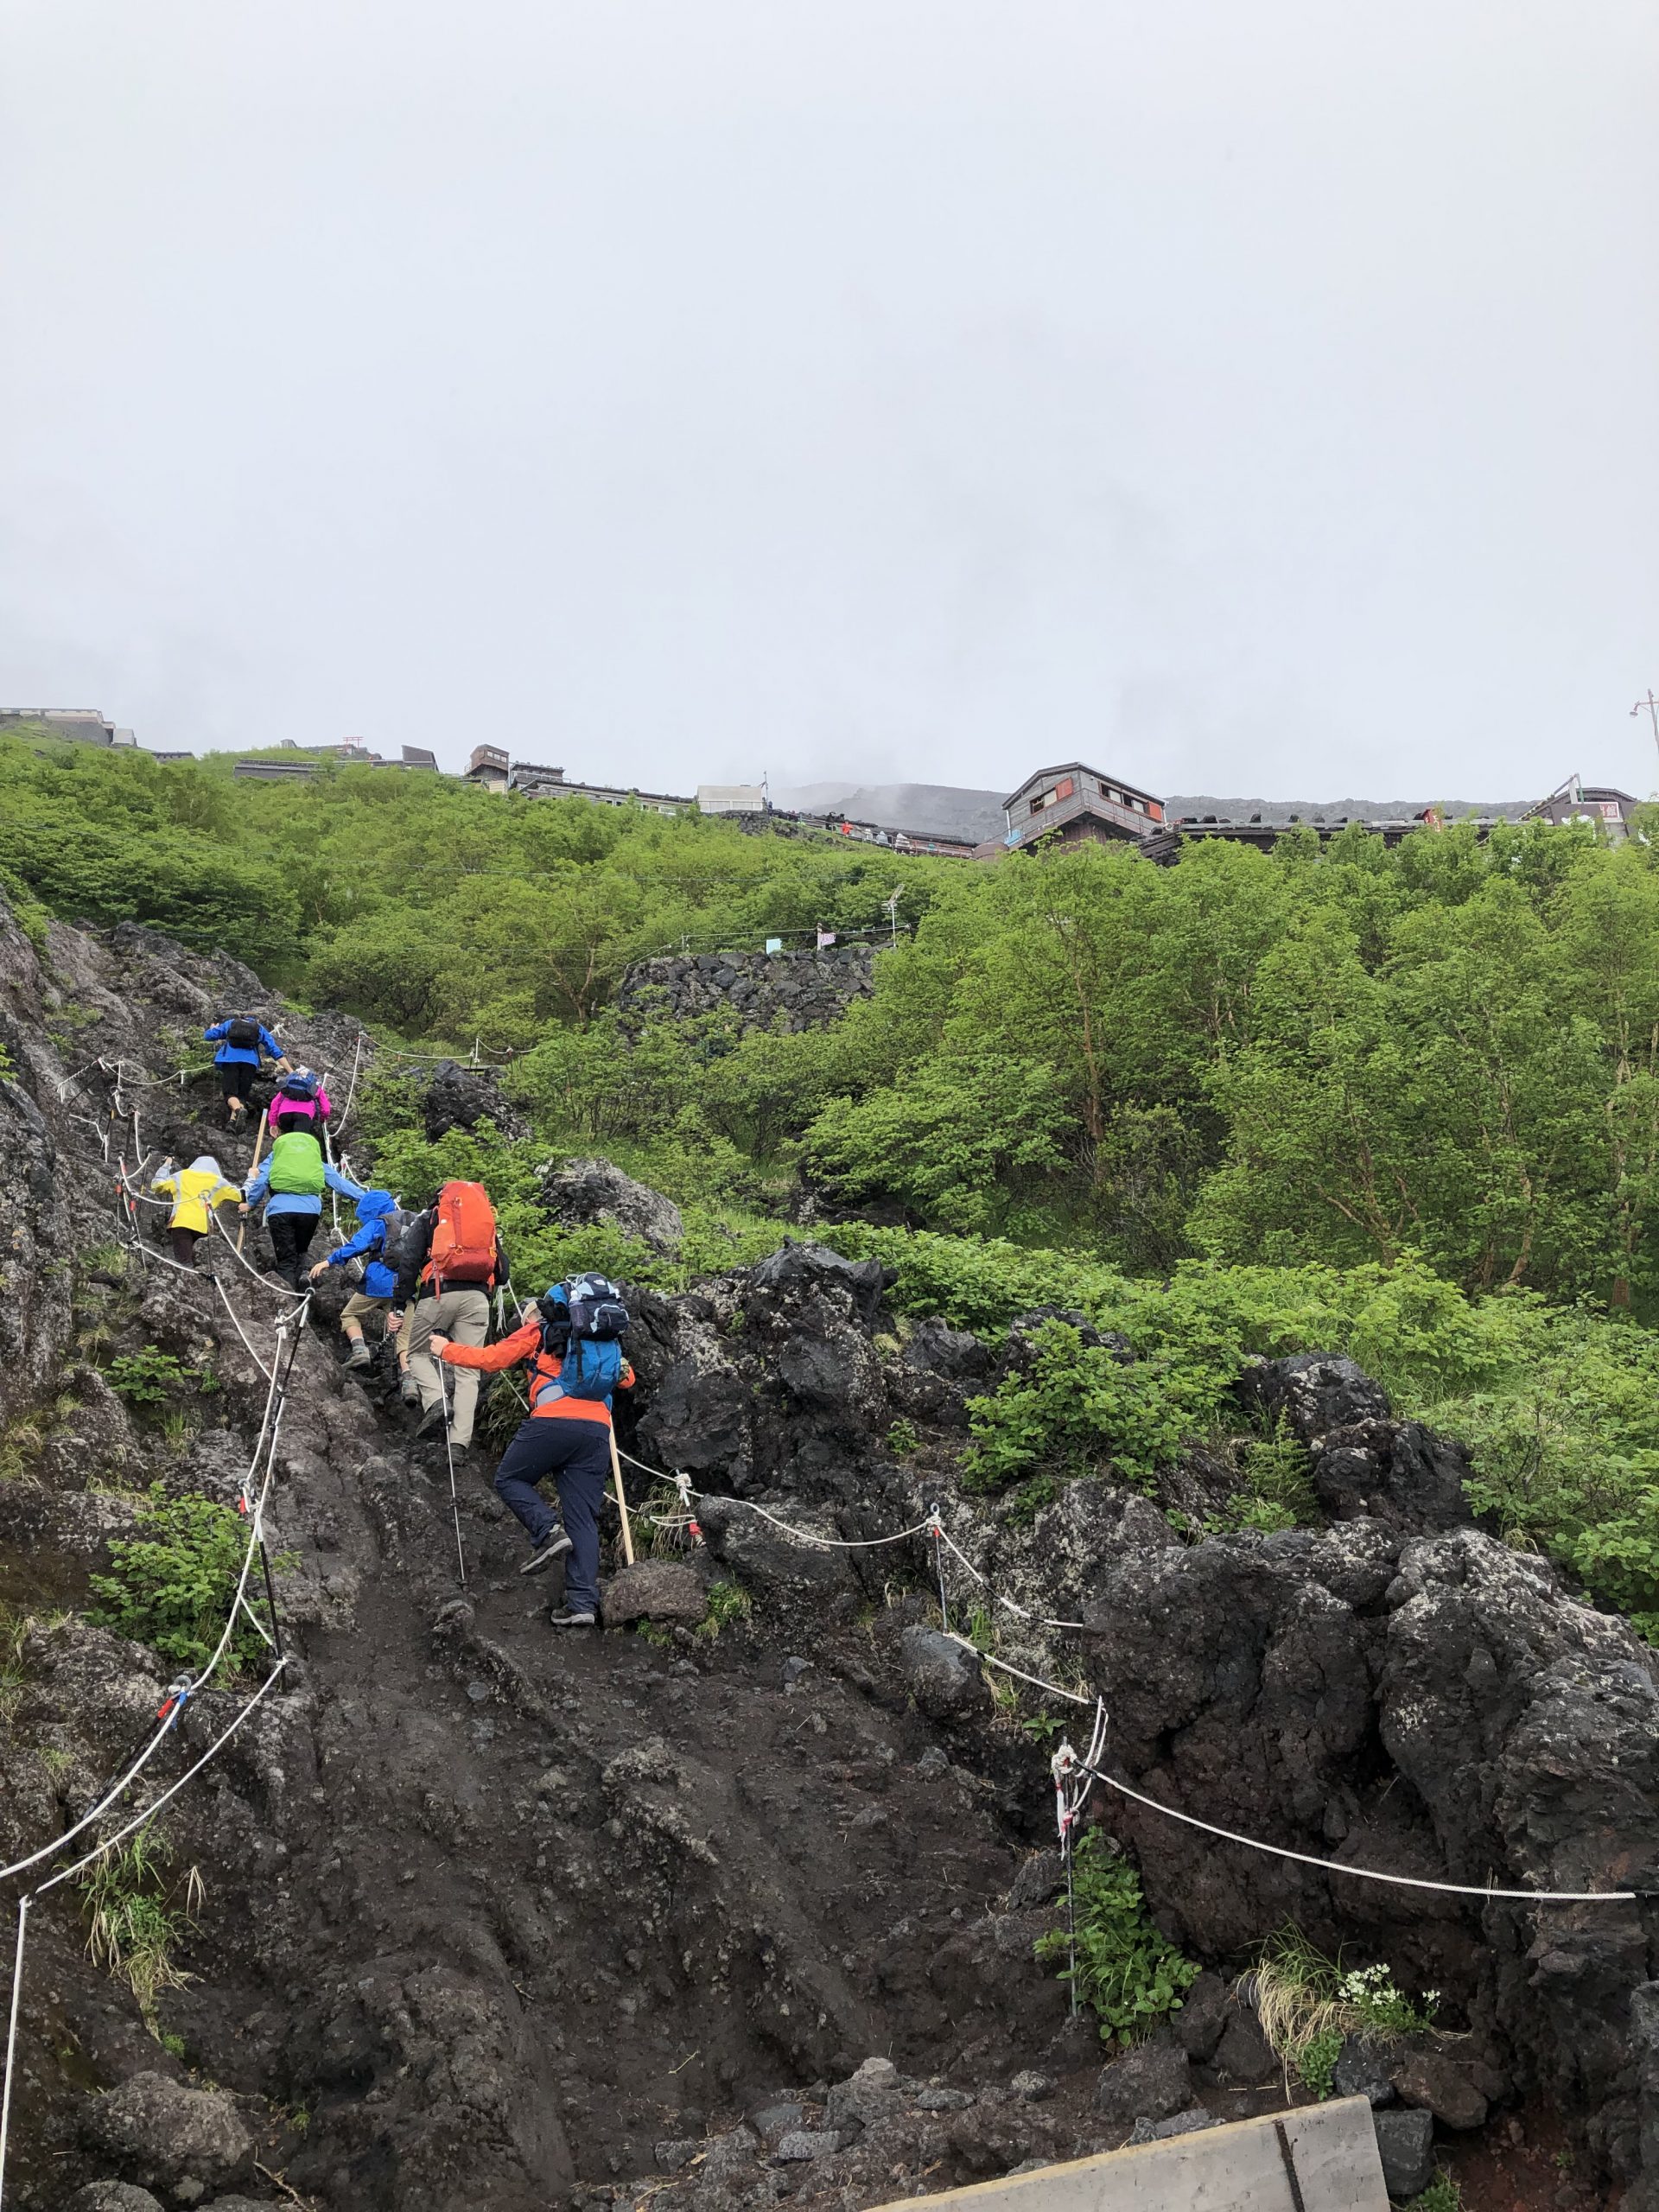
I was very nervous after reading several reviews about how difficult this climb was. We prepped in the gym months ahead of time (a stair stepper is probably the best machine to prep with). I’d recommend some weight lifting, especially for your legs.
I found the ascent easier than I expected, while the descent felt harder because of the steep, loose gravel. We were able to stop for breaks along the way; pace and difficulty will differ by route and person.
After our climb, we headed to the onsen at our hotel and soaked. It felt good to us after the hike. For more family bathing context, see our family onsen guide. Onsen rules and amenities vary by facility, so check the current venue information before visiting.
Even with all the effort to climb the mountain, you may not get amazing views of Japan from the top. My poor husband carried nearly 50 pounds of photography equipment up and down and never took it out of his pack. It started drizzling as we started up, poured rain all night and into the sunrise, and then was sunny on our way down (once there was no more view).
Recognize that the experience is what you are going for, and any amazing views or photos are a bonus.

Altitude sickness. Chris had a headache during our climb. Even as a Denver, Colorado native, I would not assume familiarity with elevation protects anyone. We bought canned oxygen and felt that it helped him at the time. That is our memory, not proof of treatment or advice to continue climbing. The Fujiyoshida City climbing FAQ is useful background; the official altitude-illness guidance says not to rely on canned oxygen to keep climbing. Stop ascending if symptoms develop; descent is the best course, and worsening symptoms call for first-aid help. Discuss individual health concerns with a clinician before a high-altitude trip.
Sun, cold and rain. We experienced all three. Higher, exposed stretches leave little shelter, while wind and pre-dawn cold can be severe even in summer. The official weather and equipment guidance covers warm layers, rain protection, a headlamp with spare batteries, water, food and cash. Check the forecast and prepare to change your plans when conditions deteriorate.
Rain was part of our climb, and we were miserable by the time we reached the hut. We were glad to have a warm, dry place to stop; the food and drink prices we mention reflect that trip, not current prices.
The summit. On our climb, we reached shops and a café before the highest point. Any route onward depends on current access rules, weather, and conditions; check official guidance and do not assume the final ascent is open.
Going down. The small pebbles and gravel wore out our legs. Going quicker felt easier to us on that occasion, but that is not a recommendation to rush a steep descent. We were sore afterward; Chris could barely move comfortably for the next three days!
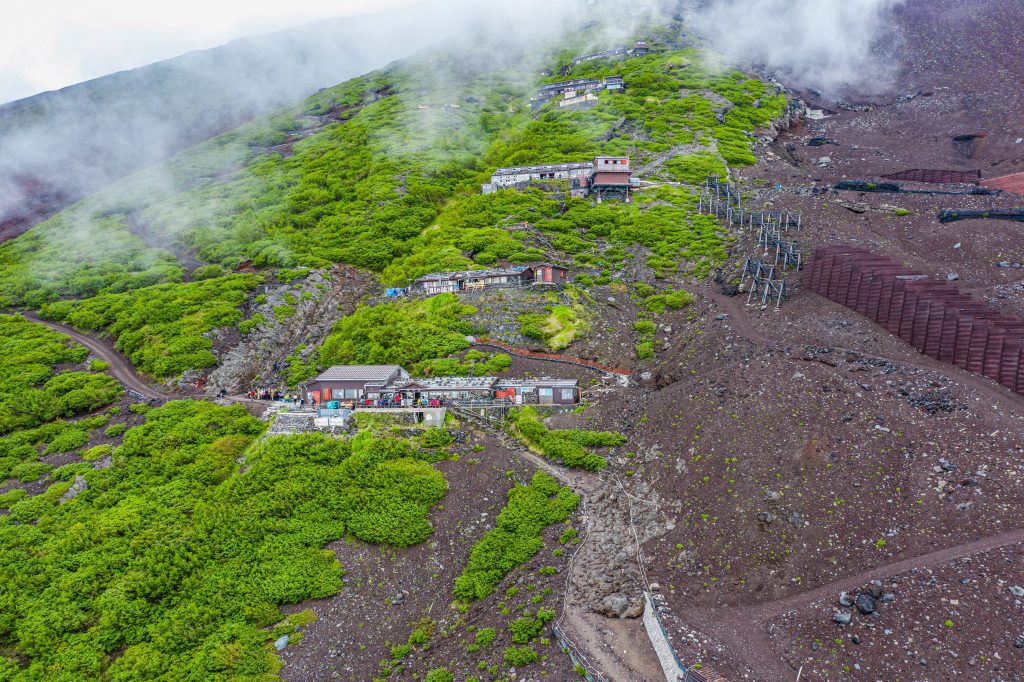
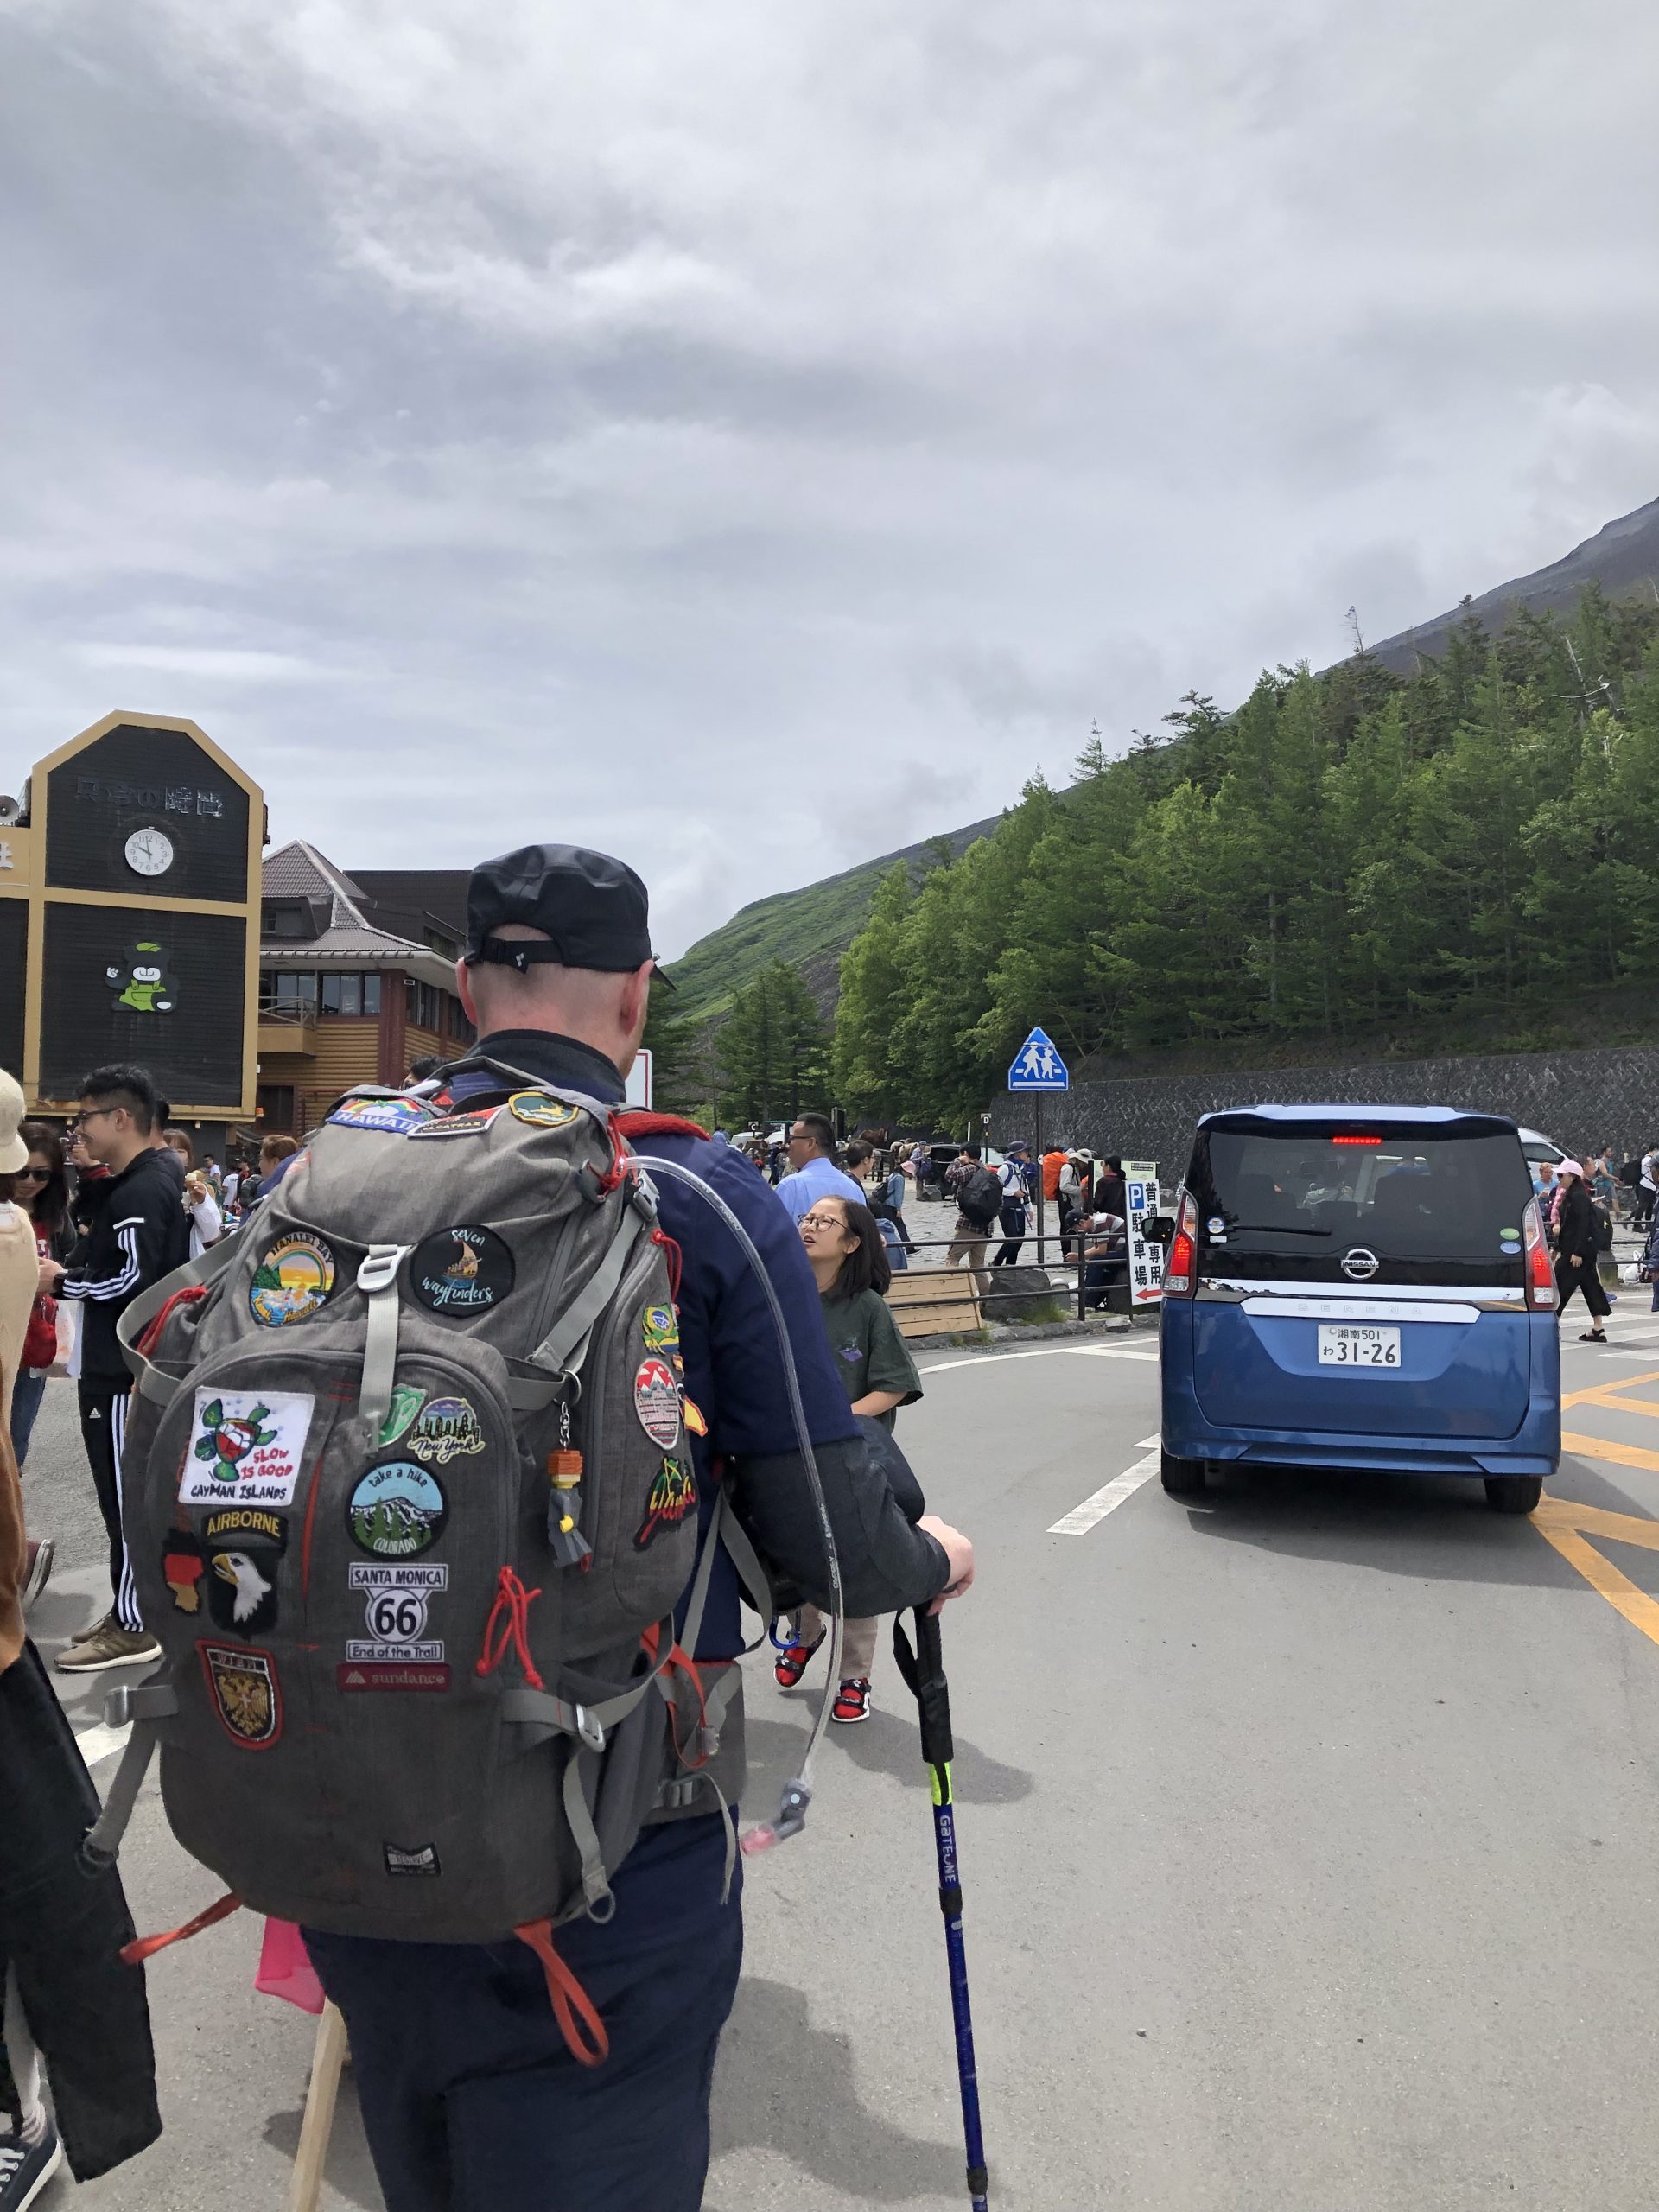
We arrived fresh to Mt. Fuji with optimism and the rush of being kid-free for a few days (we flew one of our favorite babysitters to Tokyo to watch our kids while we climbed!). We were full-time traveling at the time with our five kids, and were with them 24 hours a day.
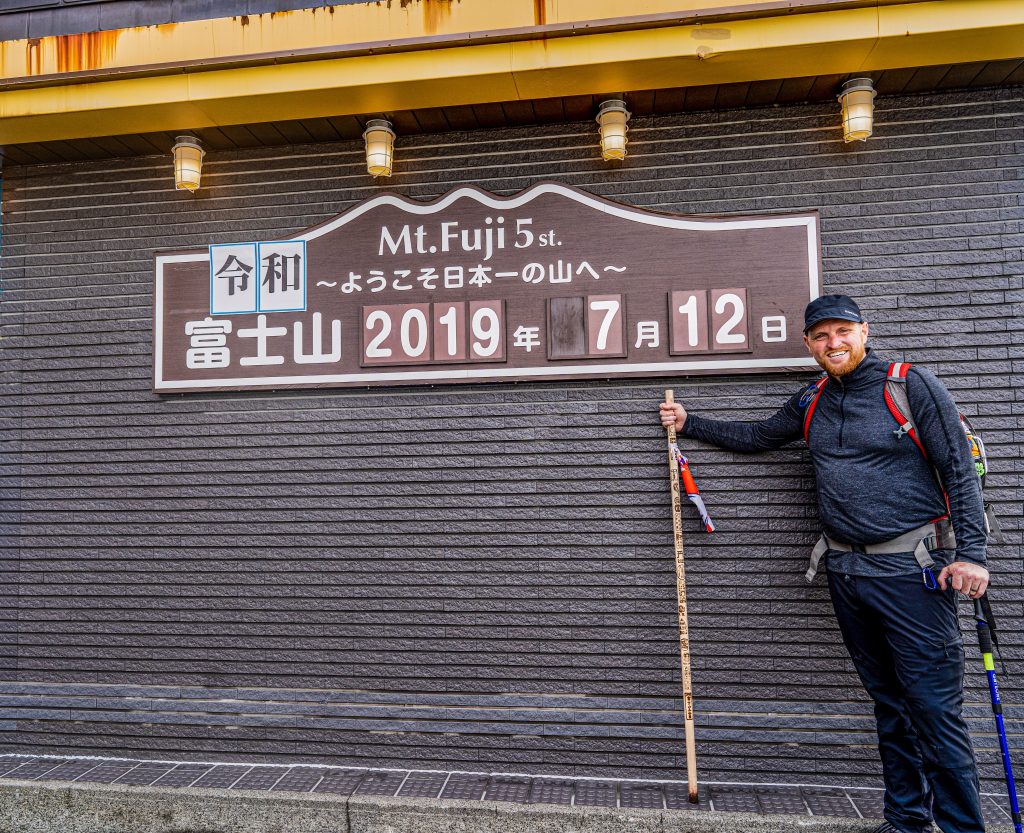
We bought good gear and packed well. We also had been hitting the gym regularly for a few months to prep. We found some walking sticks at the 5th station, had lunch, and set out to climb. We had our hut reservation and were excited to get there early in the afternoon.
Hiking up was fairly easy as the huts are plentiful and offer an automatic break. The higher you go, the more spaced out they are, but know that each station may have 10 huts or more. These are numbered 7.1, 7.2, etc.
About halfway up, it started to rain. We had prepped for this, but it was still getting chilly. We slogged on, now alone on the trail, to our station (or what we thought was the station).
Chris was so excited to tell me we had a private room on the mountain. I was also excited about this as I’d read it is usually lots of strangers packed into a large bunk bed together. We hiked on for probably about 5 hours.
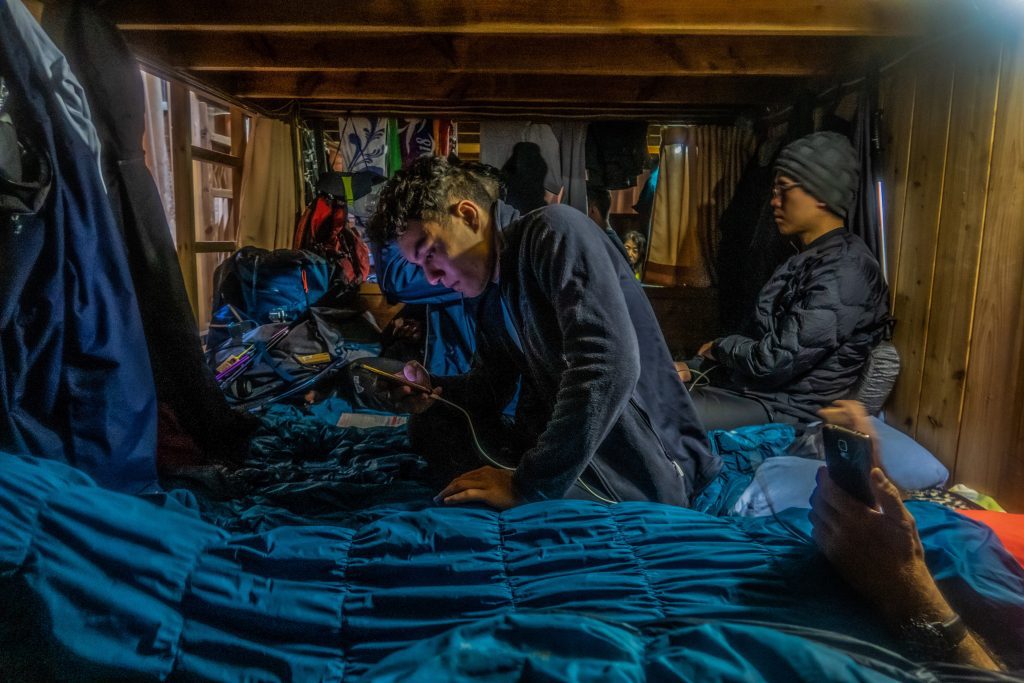
We finally reached the name of our hut and were greeted by many men with leaf blowers! They quickly blew us off, took our backpacks, helped us strip off our outer gear, and more. It was an assembly line. Chris mentioned the private room and our name, but we soon could tell something was off. They kept saying “private room” and laughing. Turns out our private room was actually in station 6, several hours back down the mountain, almost near the bottom! Now, we were nearly up the mountain with no reservation!
Thankfully, they fit us in, and we ended up paying twice. Bummer. We also did NOT have a private room. We were the first to our bunk, but soon eight more grown men piled in with us, speaking all kinds of languages. With each arrival, I was jammed more and more into the side wall, trying to sleep. It was pretty uncomfortable!
We took a quick nap before being called for dinner. We then tried to get a bit more sleep, but it was tough. It’s kind of hot, stuffy, and uncomfortable. Chris awoke with a bad headache (altitude sickness), so we spent some time in the hut lobby getting him some oxygen. We watched lots of freezing, rain-soaked night hikers trickle in for a $15 cup of coffee or noodle cup. They didn’t care about the price; they just wanted to sit somewhere warm.
Eventually, Chris felt better, and we suited up to leave. We got a quick snack from the hut and checked out around 2:30 am. There was the normal heavy congestion on the trail, and we made our slow way up with our headlamps.
The weather continued to deteriorate as we went, and the top was miserable. It was so windy we couldn’t get anywhere near the edges. We huddled into a shop, bought some hot chocolate, and tried to wait. However, the weather did not improve.
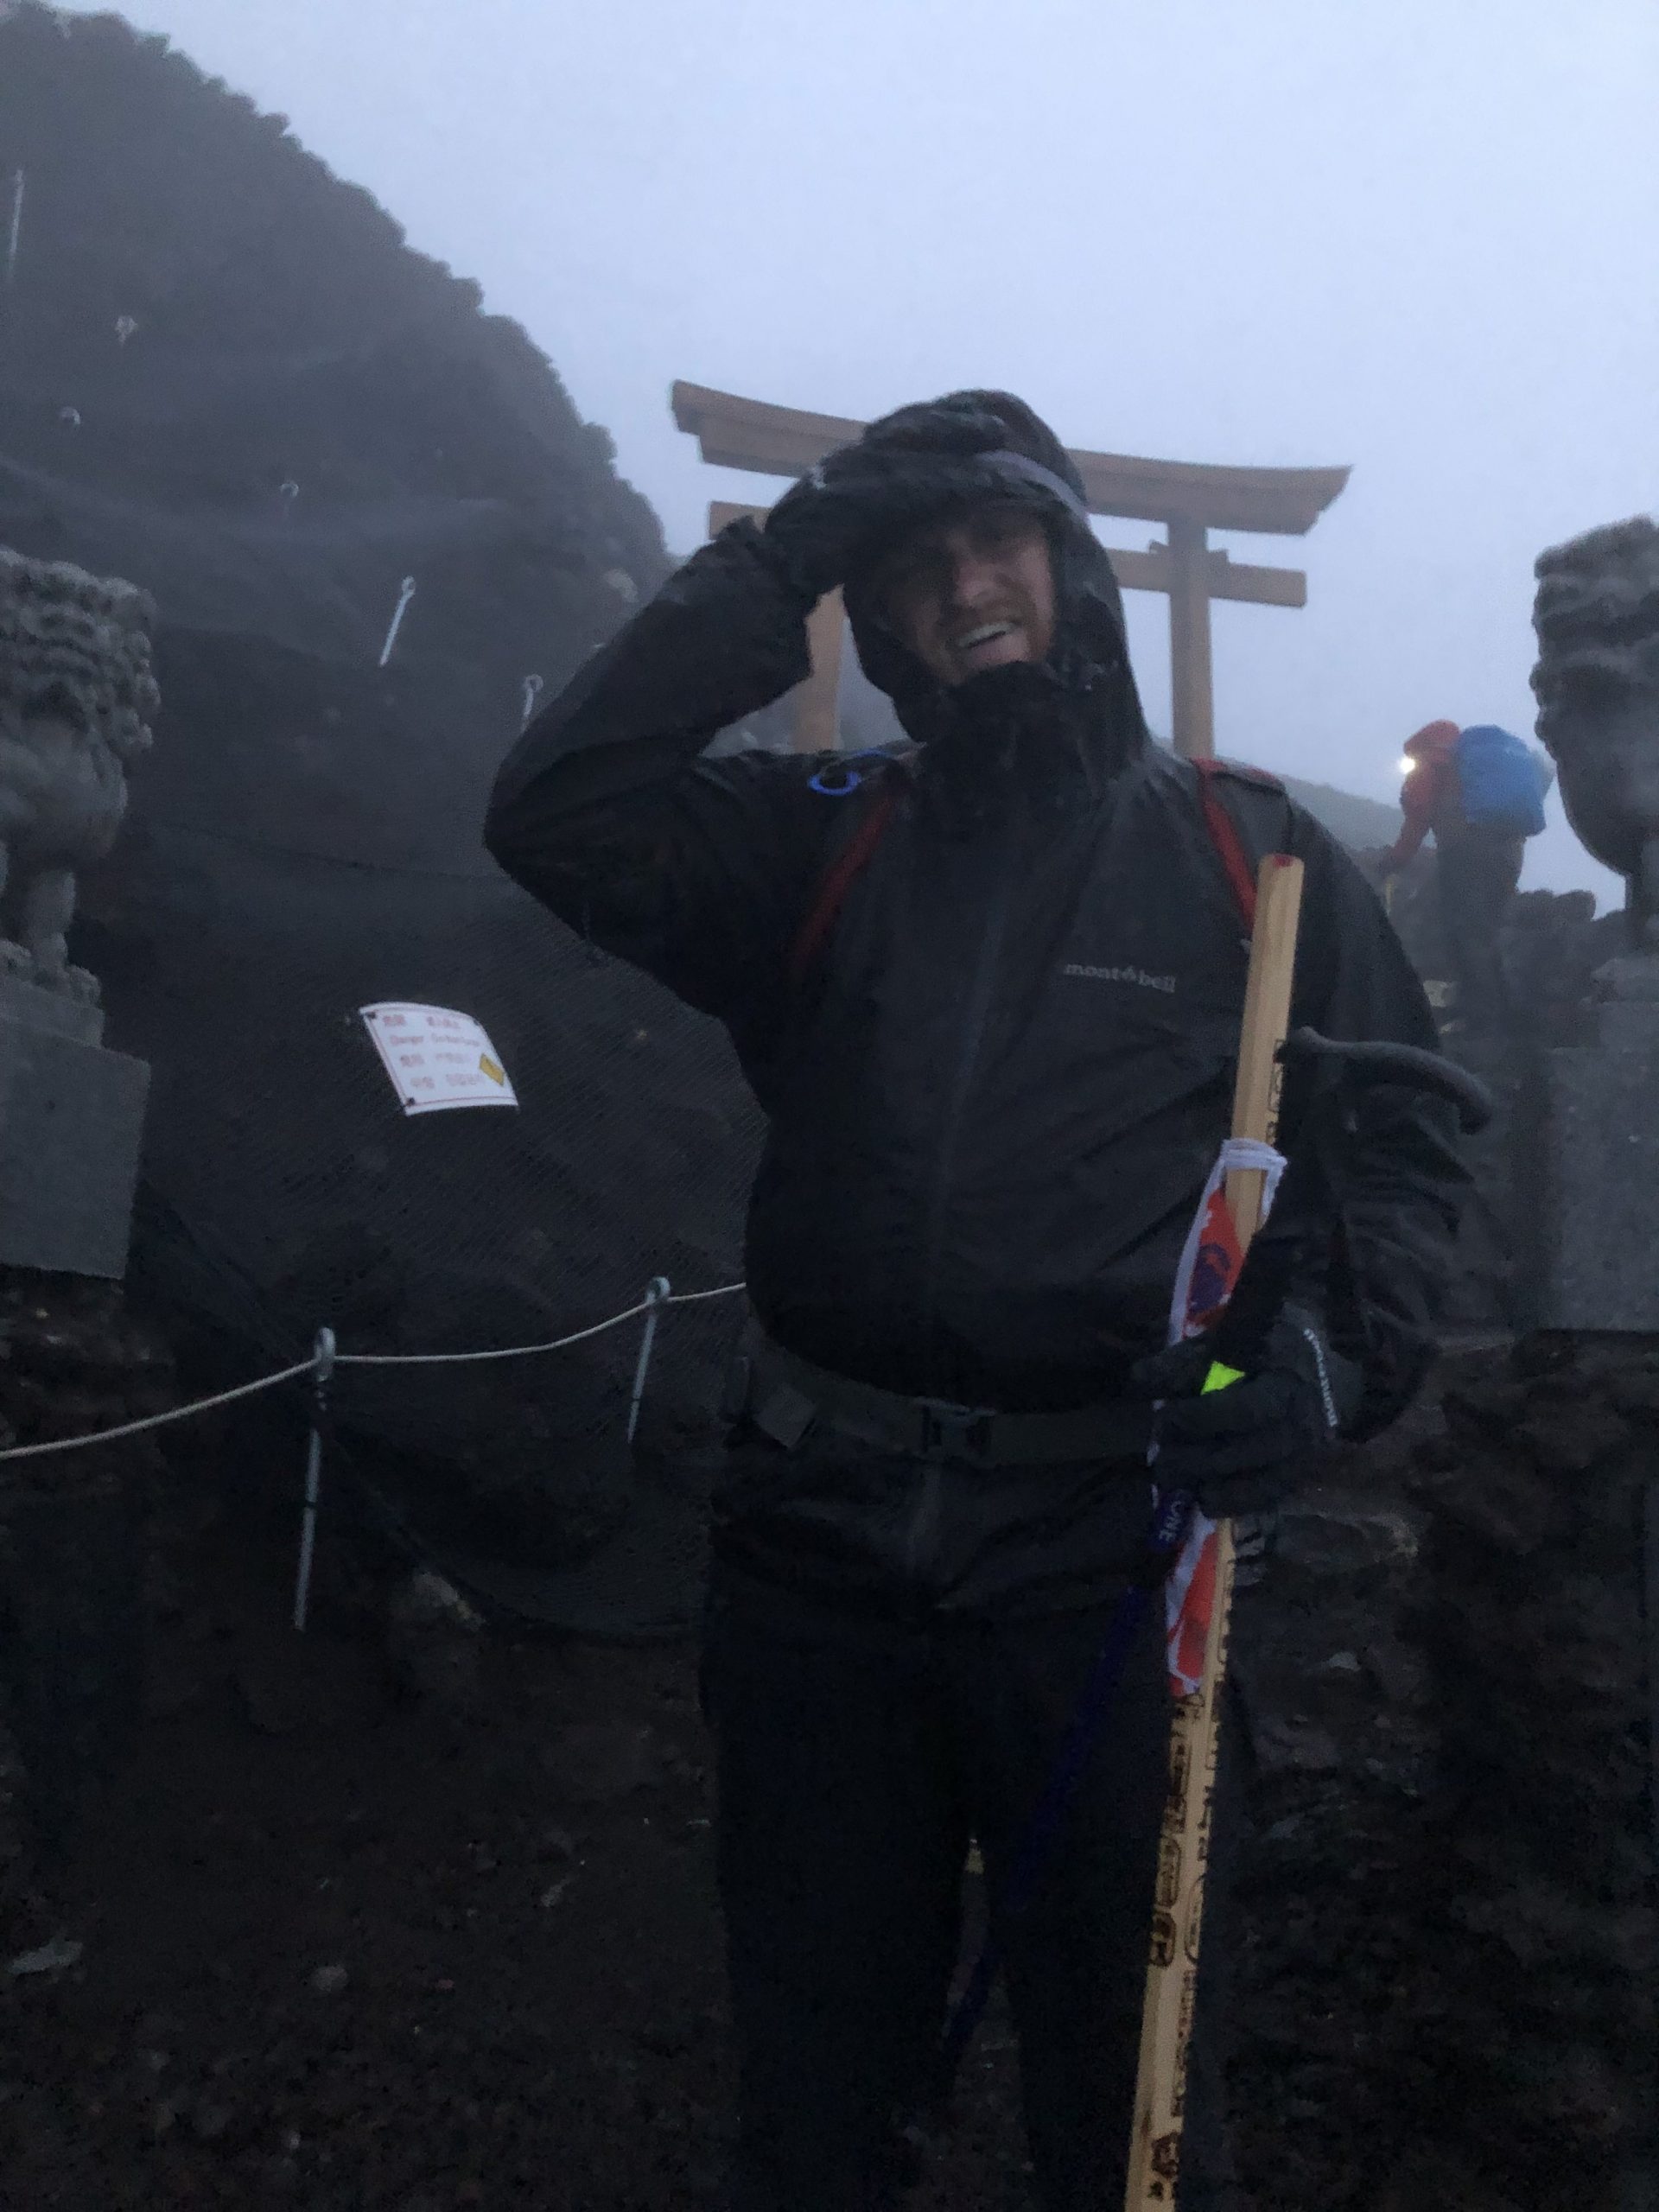
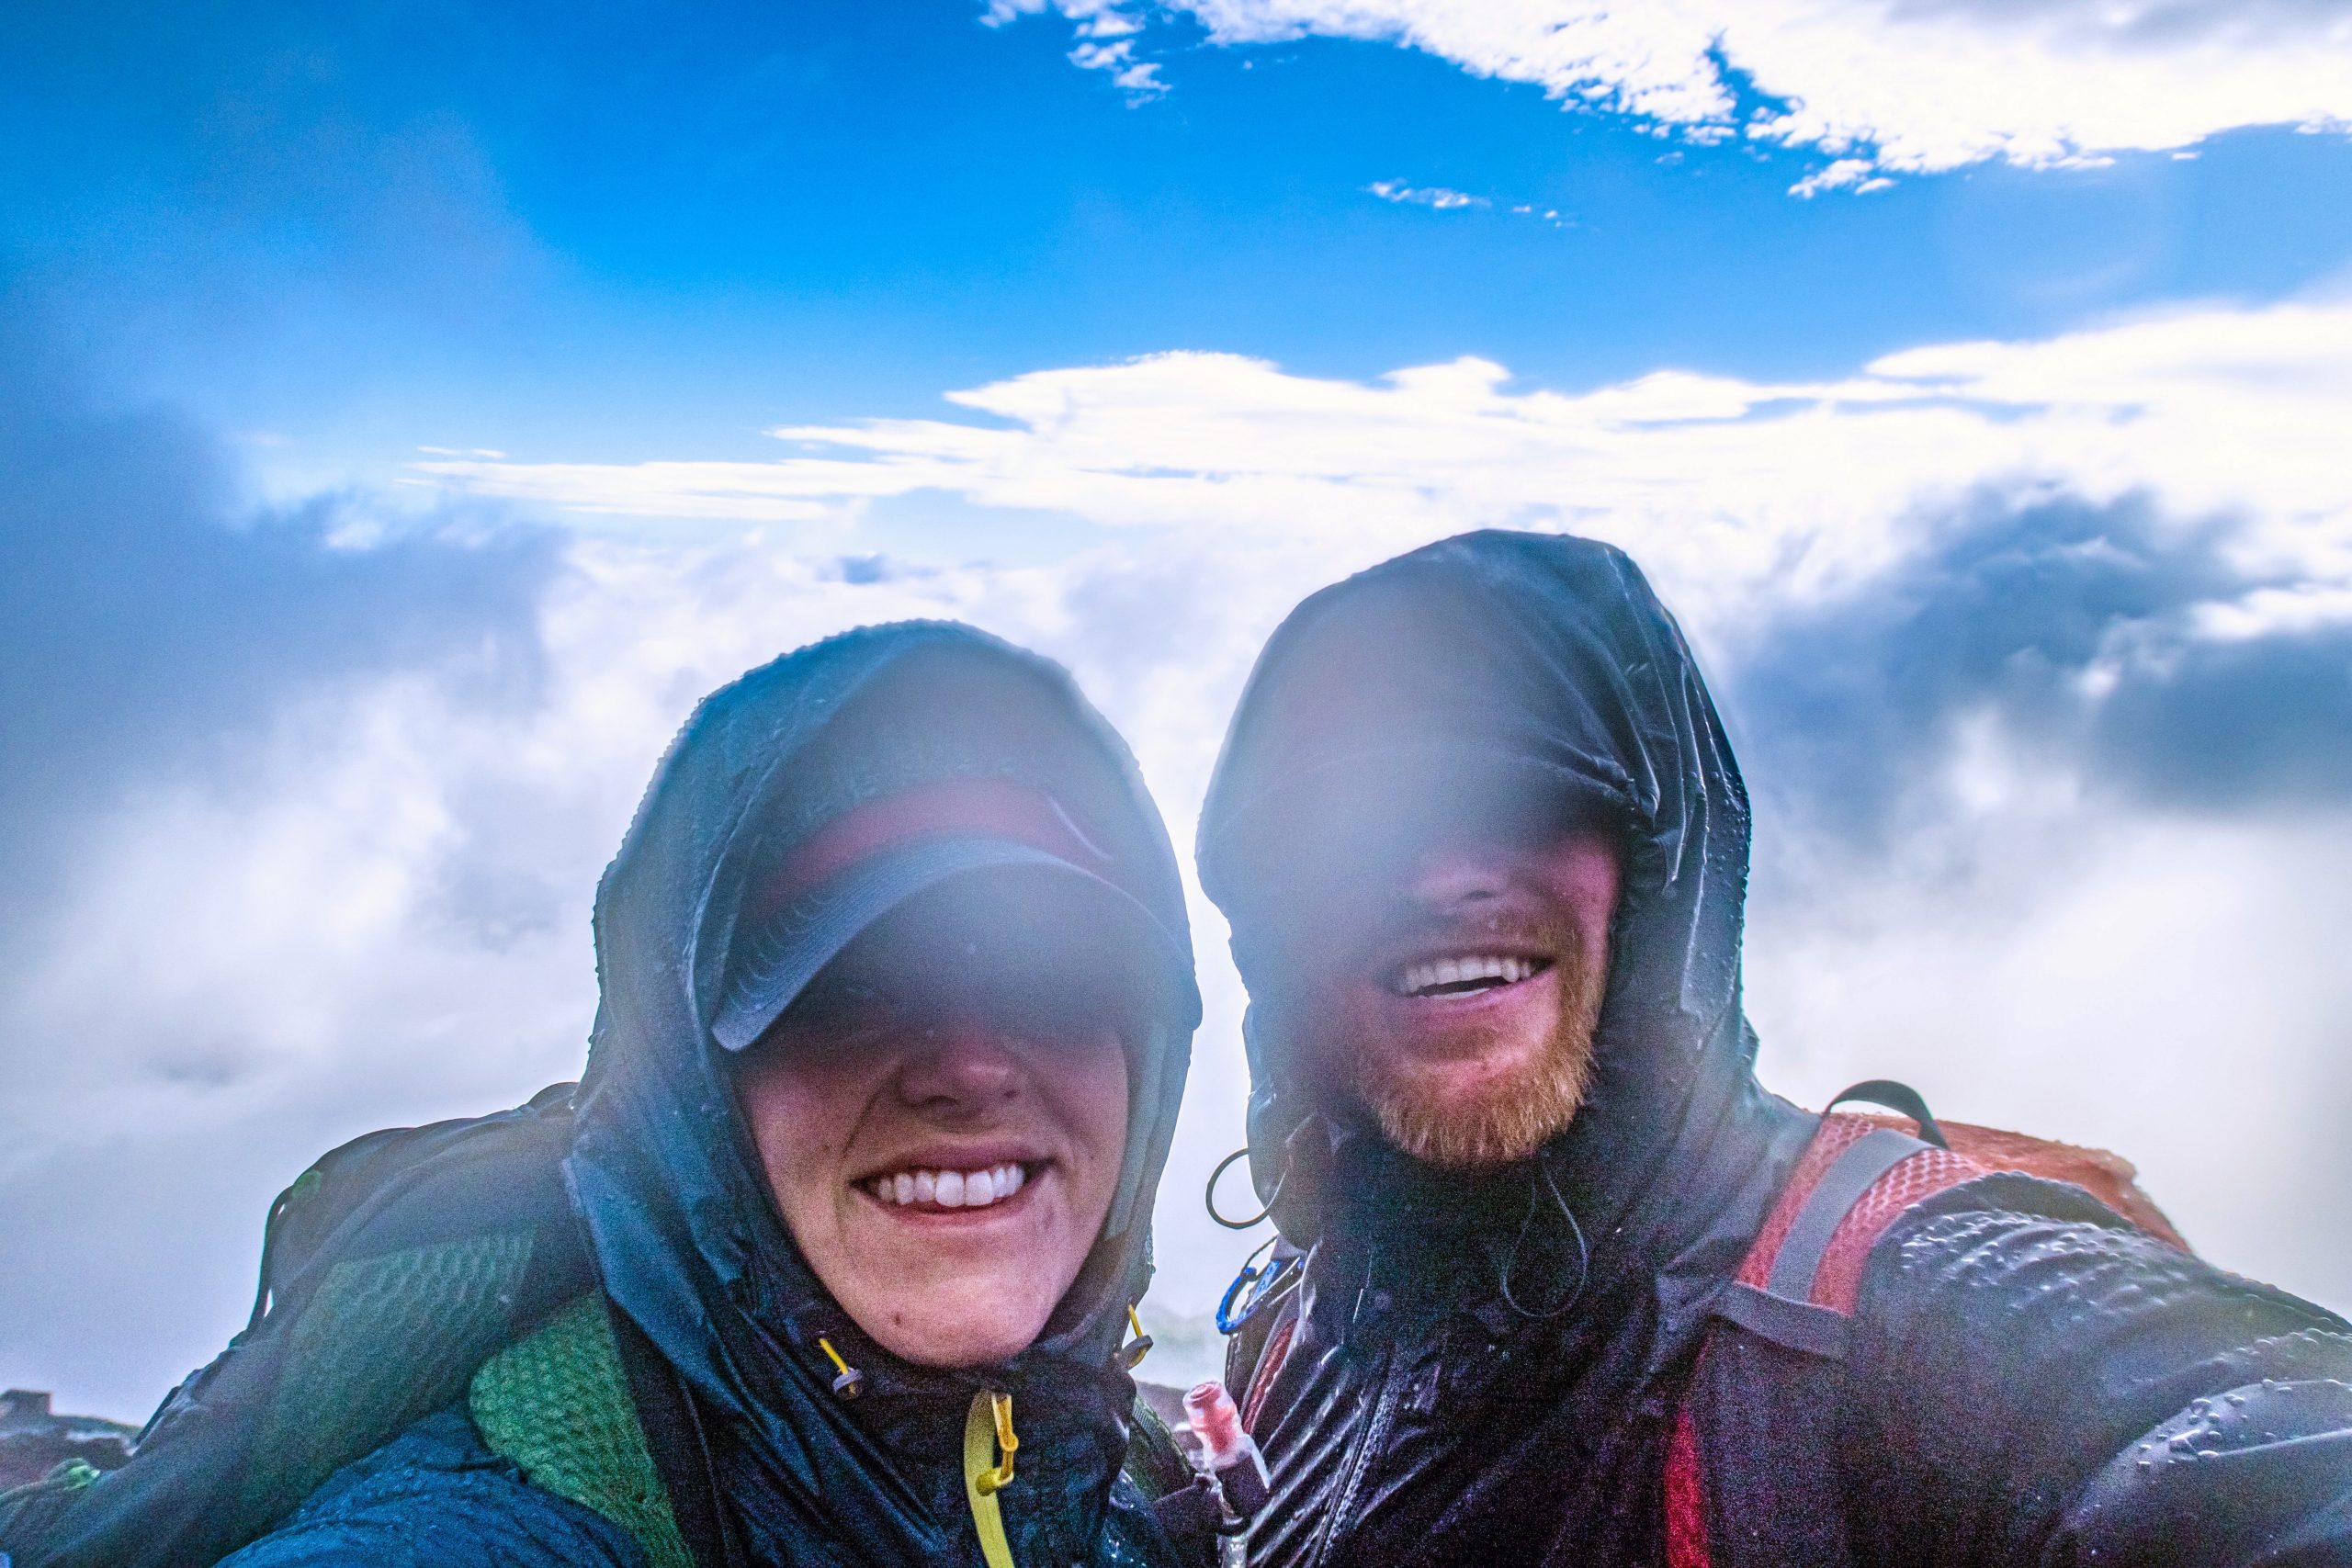
Eventually, we snapped one terrible selfie and headed back down. The lower we got, the better the weather. Eventually, we were sweating in the sunny heat. We were so relieved not to be in the rain anymore, and our moods improved dramatically.
The descent was challenging in a different way, and Chris’ legs cramped often. His heavy backpack did not help, and a walking stick was a necessity here. However, the overall descent felt very rapid and easy.
We eventually returned to our bus, climbed on board, and were so happy to sit down. We talked to another couple that had just gotten back as well, and they raved about the amazing views from the top. What?! Apparently, they went just after sunrise, and it was clear and beautiful. Ugh. What a defeat!
After this depressing news, we both fell asleep on the bus back to our hotel and headed straight for the onsen to soak.
One final funny story- we decided to stay the night in Tokyo at the Ritz Carlton. It was a total splurge, but also a mistake! We arrived in our gear and dirty clothes and felt horribly out of place. It was very embarrassing. We also submitted some clothes for laundry, which was very expensive, and some pieces were rejected from washing! Hint: don’t book a fancy hotel after your hike!
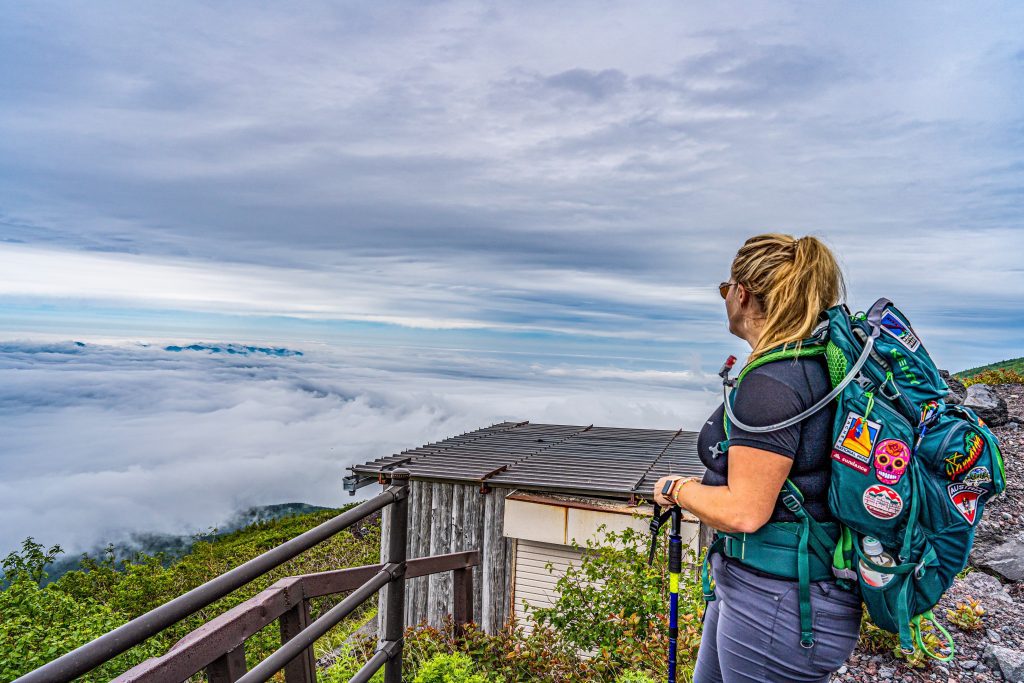
Here are practical and essential tips to make your journey to Mt. Fuji safer and more enjoyable:
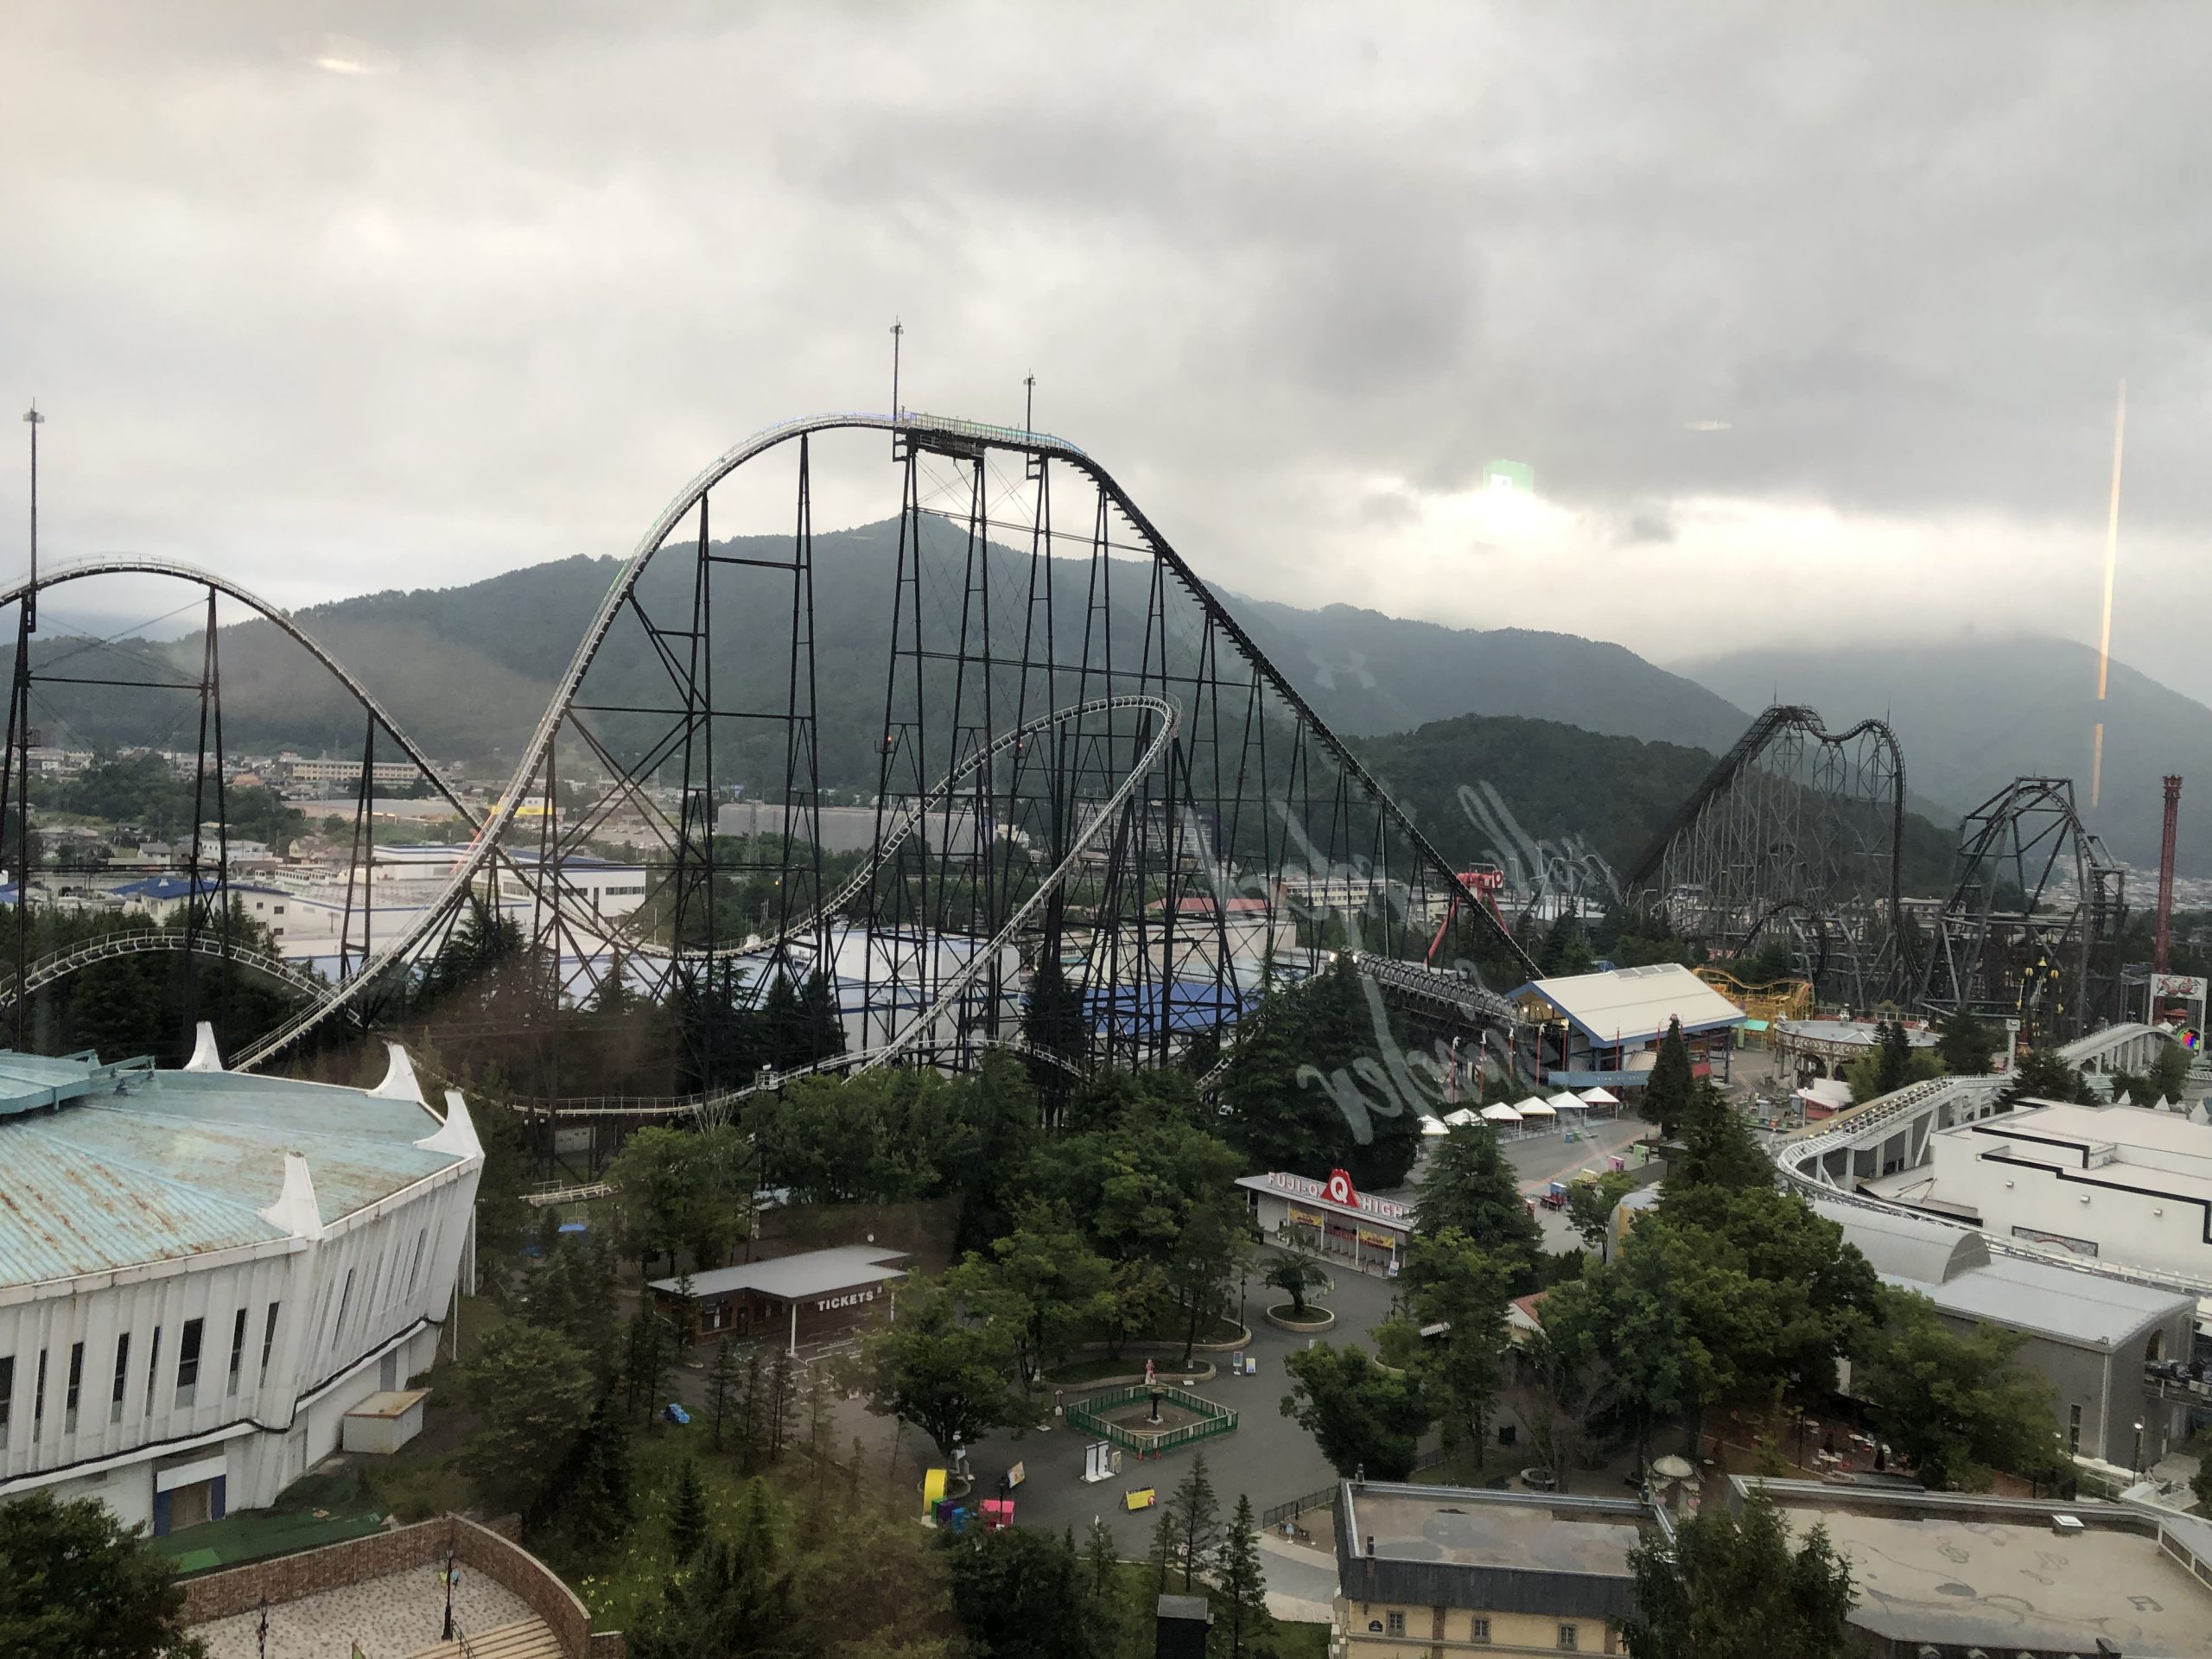
We loved Fuji-Q and hoped to go back. It had a somewhat Disney feel, but the coasters we tried were intense! At the time, we saw a maximum age of 65 on some rides. One reminded me of a portkey from Harry Potter—my body felt twisted, turned, and stretched in too many directions. Those are memories of our visit; check the operator’s current ride lineup and restrictions.
The hotel links below were included as places to research; they are not places we describe staying in this article. Check each property’s current location, amenities, and terms before booking.
We completed the climb, and it remains a meaningful memory for us. That does not mean the route is right for every person. Review current official route and weather guidance, and consider your own health, preparation, and experience before deciding whether to climb.
Xoxo,
Leslie
Going for a hike at Mt. Fuji? Catch great fare deals from Booking.com, Skyscanner, Kiwi.com, or Expedia
Find a nice hotel near Mt. Fuji from Expedia, or Vrbo, (we also love Tripadvisor and Hotels.com)
Discover more of Japan while having fun through exciting activities from GetYourGuide, Airbnb Experiences, or Viator
Need to rent a car to navigate the city? Visit Rentalcars.com.
Get insured while traveling with World Nomads.
Want to have a photo shoot while traveling? Check out flytographer!
Our camera gear links from the earlier guide include a GoPro, Sony camera, or our favorite drones: DJI FPV, Air, and Mini
Before flying a drone, check current permissions and restrictions. The official Mount Fuji guidance says the landowner prohibits drone flights above the 8.5th station and asks climbers to refrain from flying around the crowded, windy mountain. Our older drone photo caption records that earlier trip; it does not establish permission for a future flight.
Check out your travel necessities from a comprehensive list of all the 7Wayfinders Travel Must-Haves. Click Here!

Things To Know When Hiking Mt. Evans: Colorado 14’er
Hiking The Tongariro Alpine Crossing with Kids in New Zealand
Best Bangkok Markets for Families at Night


 Facebook
 Pinterest
 Youtube