
Are we big hikers? Not really. Are we in great shape? No, but we are fairly active. Did we successfully hike Mt. Fuji in Japan? Yes!
You also can summit Japan’s highest mountain (3,776m or 12,388 feet). While preparation is key, you don’t need to train for months or be in the best shape of your life. The mountain is a quick and steep ascent, and you must be mentally prepared for it. Japan offers incredible experiences, and Mt. Fuji welcomes all types of ambitious travelers to its peak.
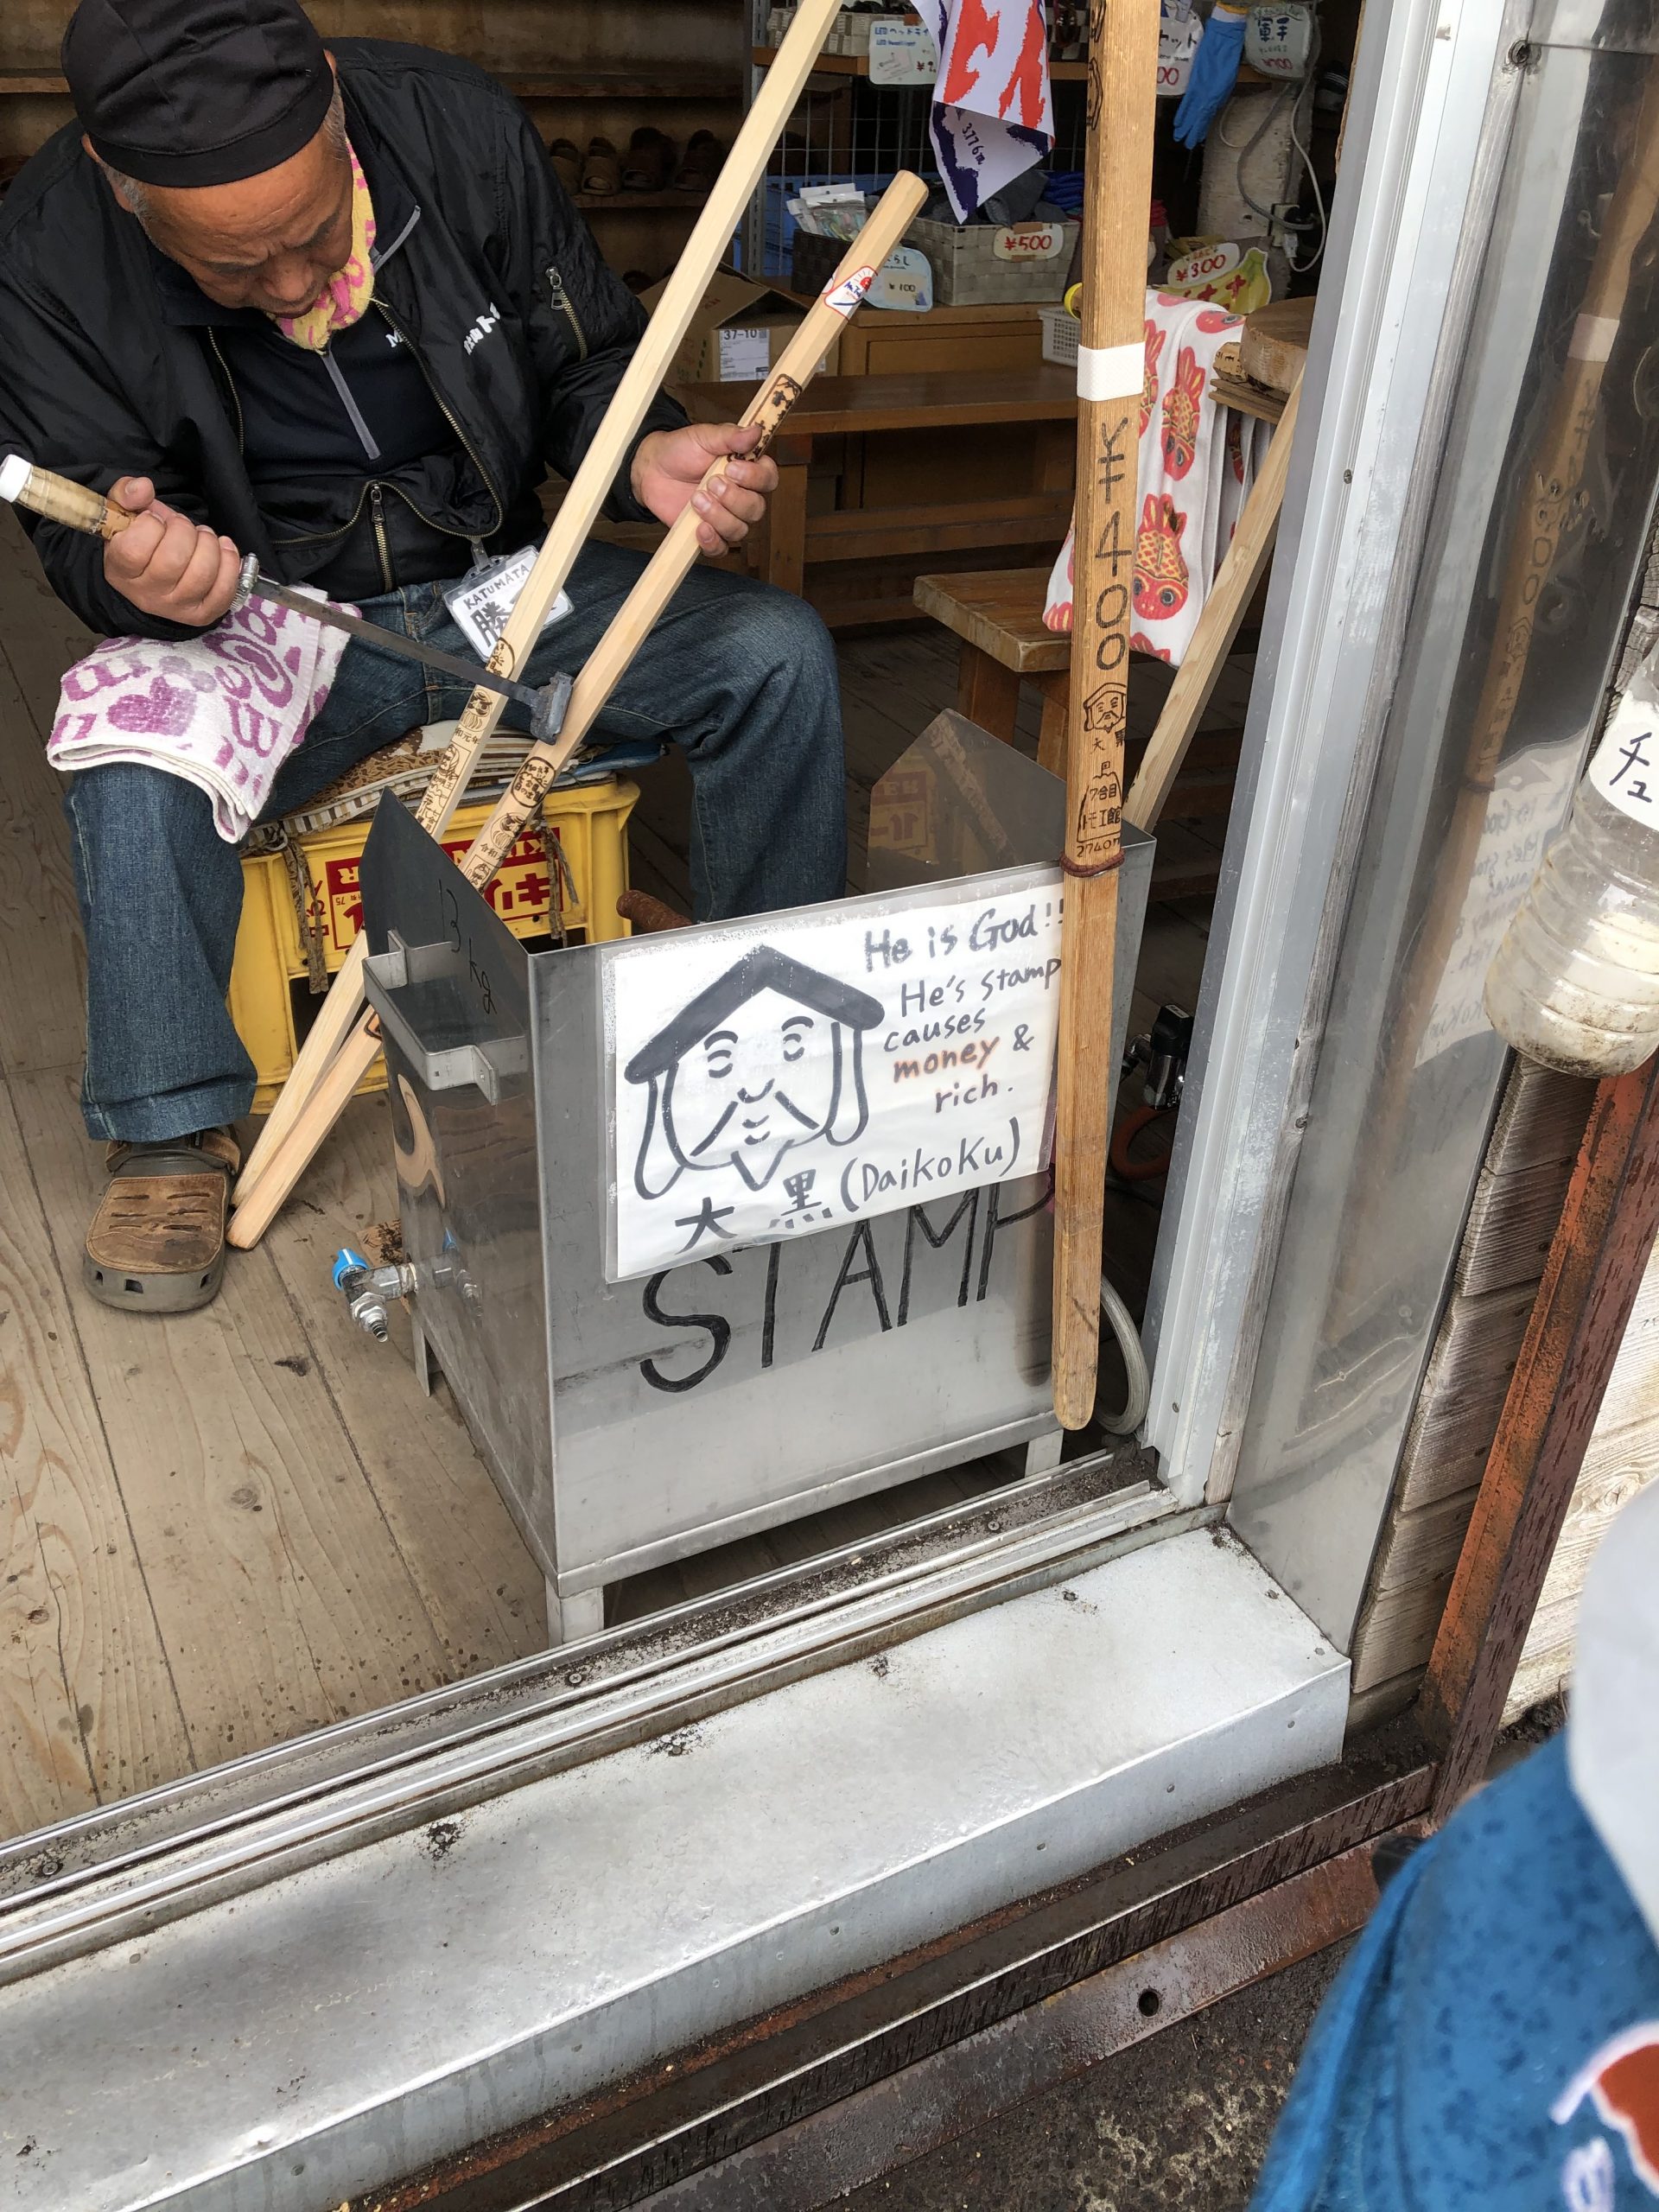
My husband and I summited this gorgeous mountain with minimal training and a lot of funny stories to take away. The hardest part of this excursion for us was the altitude sickness (my husabnd had a mild version) and the intense rain. We walked away with incredible memories, a fantastic wood walking stick souvenir, and a promise to go back someday with our kids.
*Disclaimer: This post may contain affiliate links. Opinions shared are my own, and I only endorse products I support. By clicking on any of the links below, I may get a small commission if you purchase at absolutely no additional charge to you. I appreciate your support.*
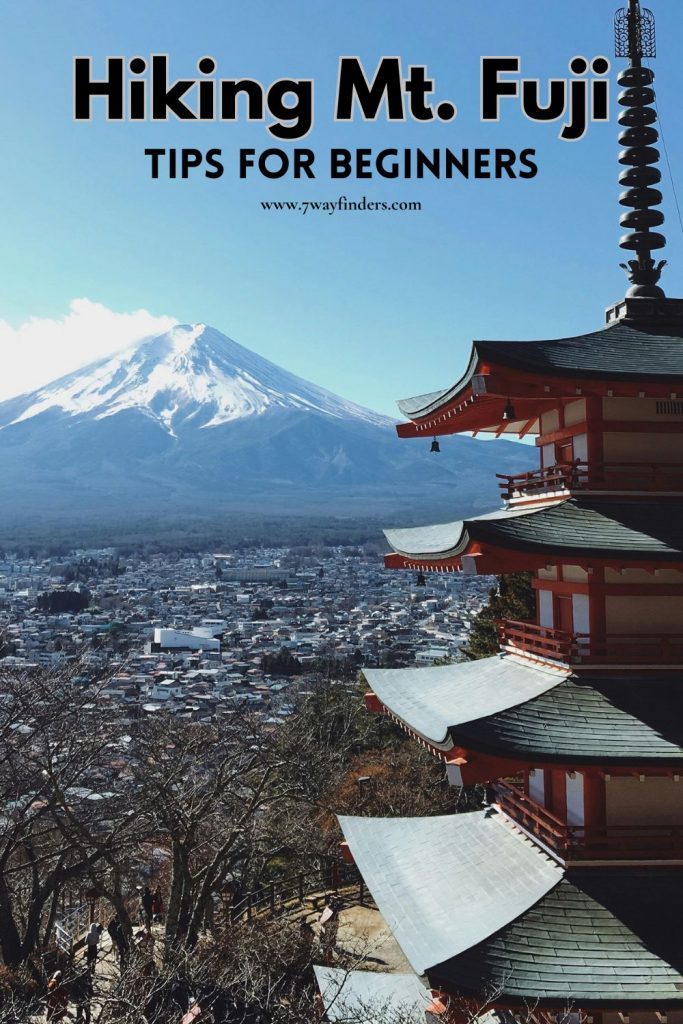
Yep, it is! It’s technically classified as active, but the last eruption was in 1708, so most people consider it inactive. It can sometimes be seen all the way from Tokyo and is an iconic symbol of Japan.
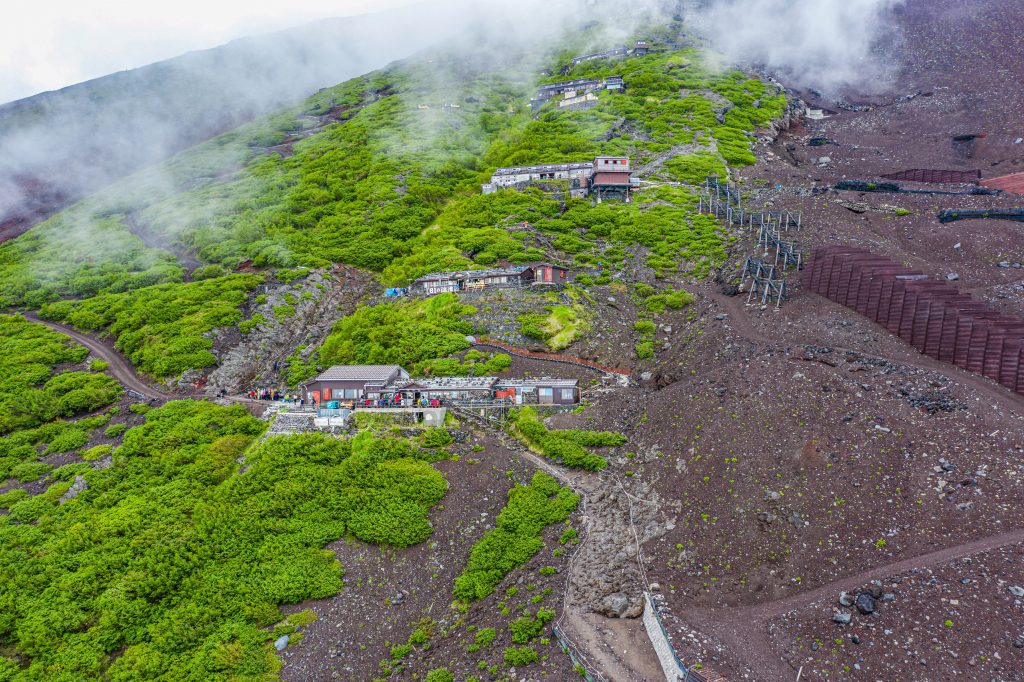
I would not consider climbing Mt. Fuji a scenic hike in any way. The common route up is devoid of greenery, and the mountain is almost moon-like and brown. Mt. Fuji is one of three holy mountains of Japan. If you want a more scenic mountain, consider Mount Haku and Mount Tateyam.
Mt. Fuji is much more of a bucket list item and a bragging right. It is fun and challenging and a great memory.
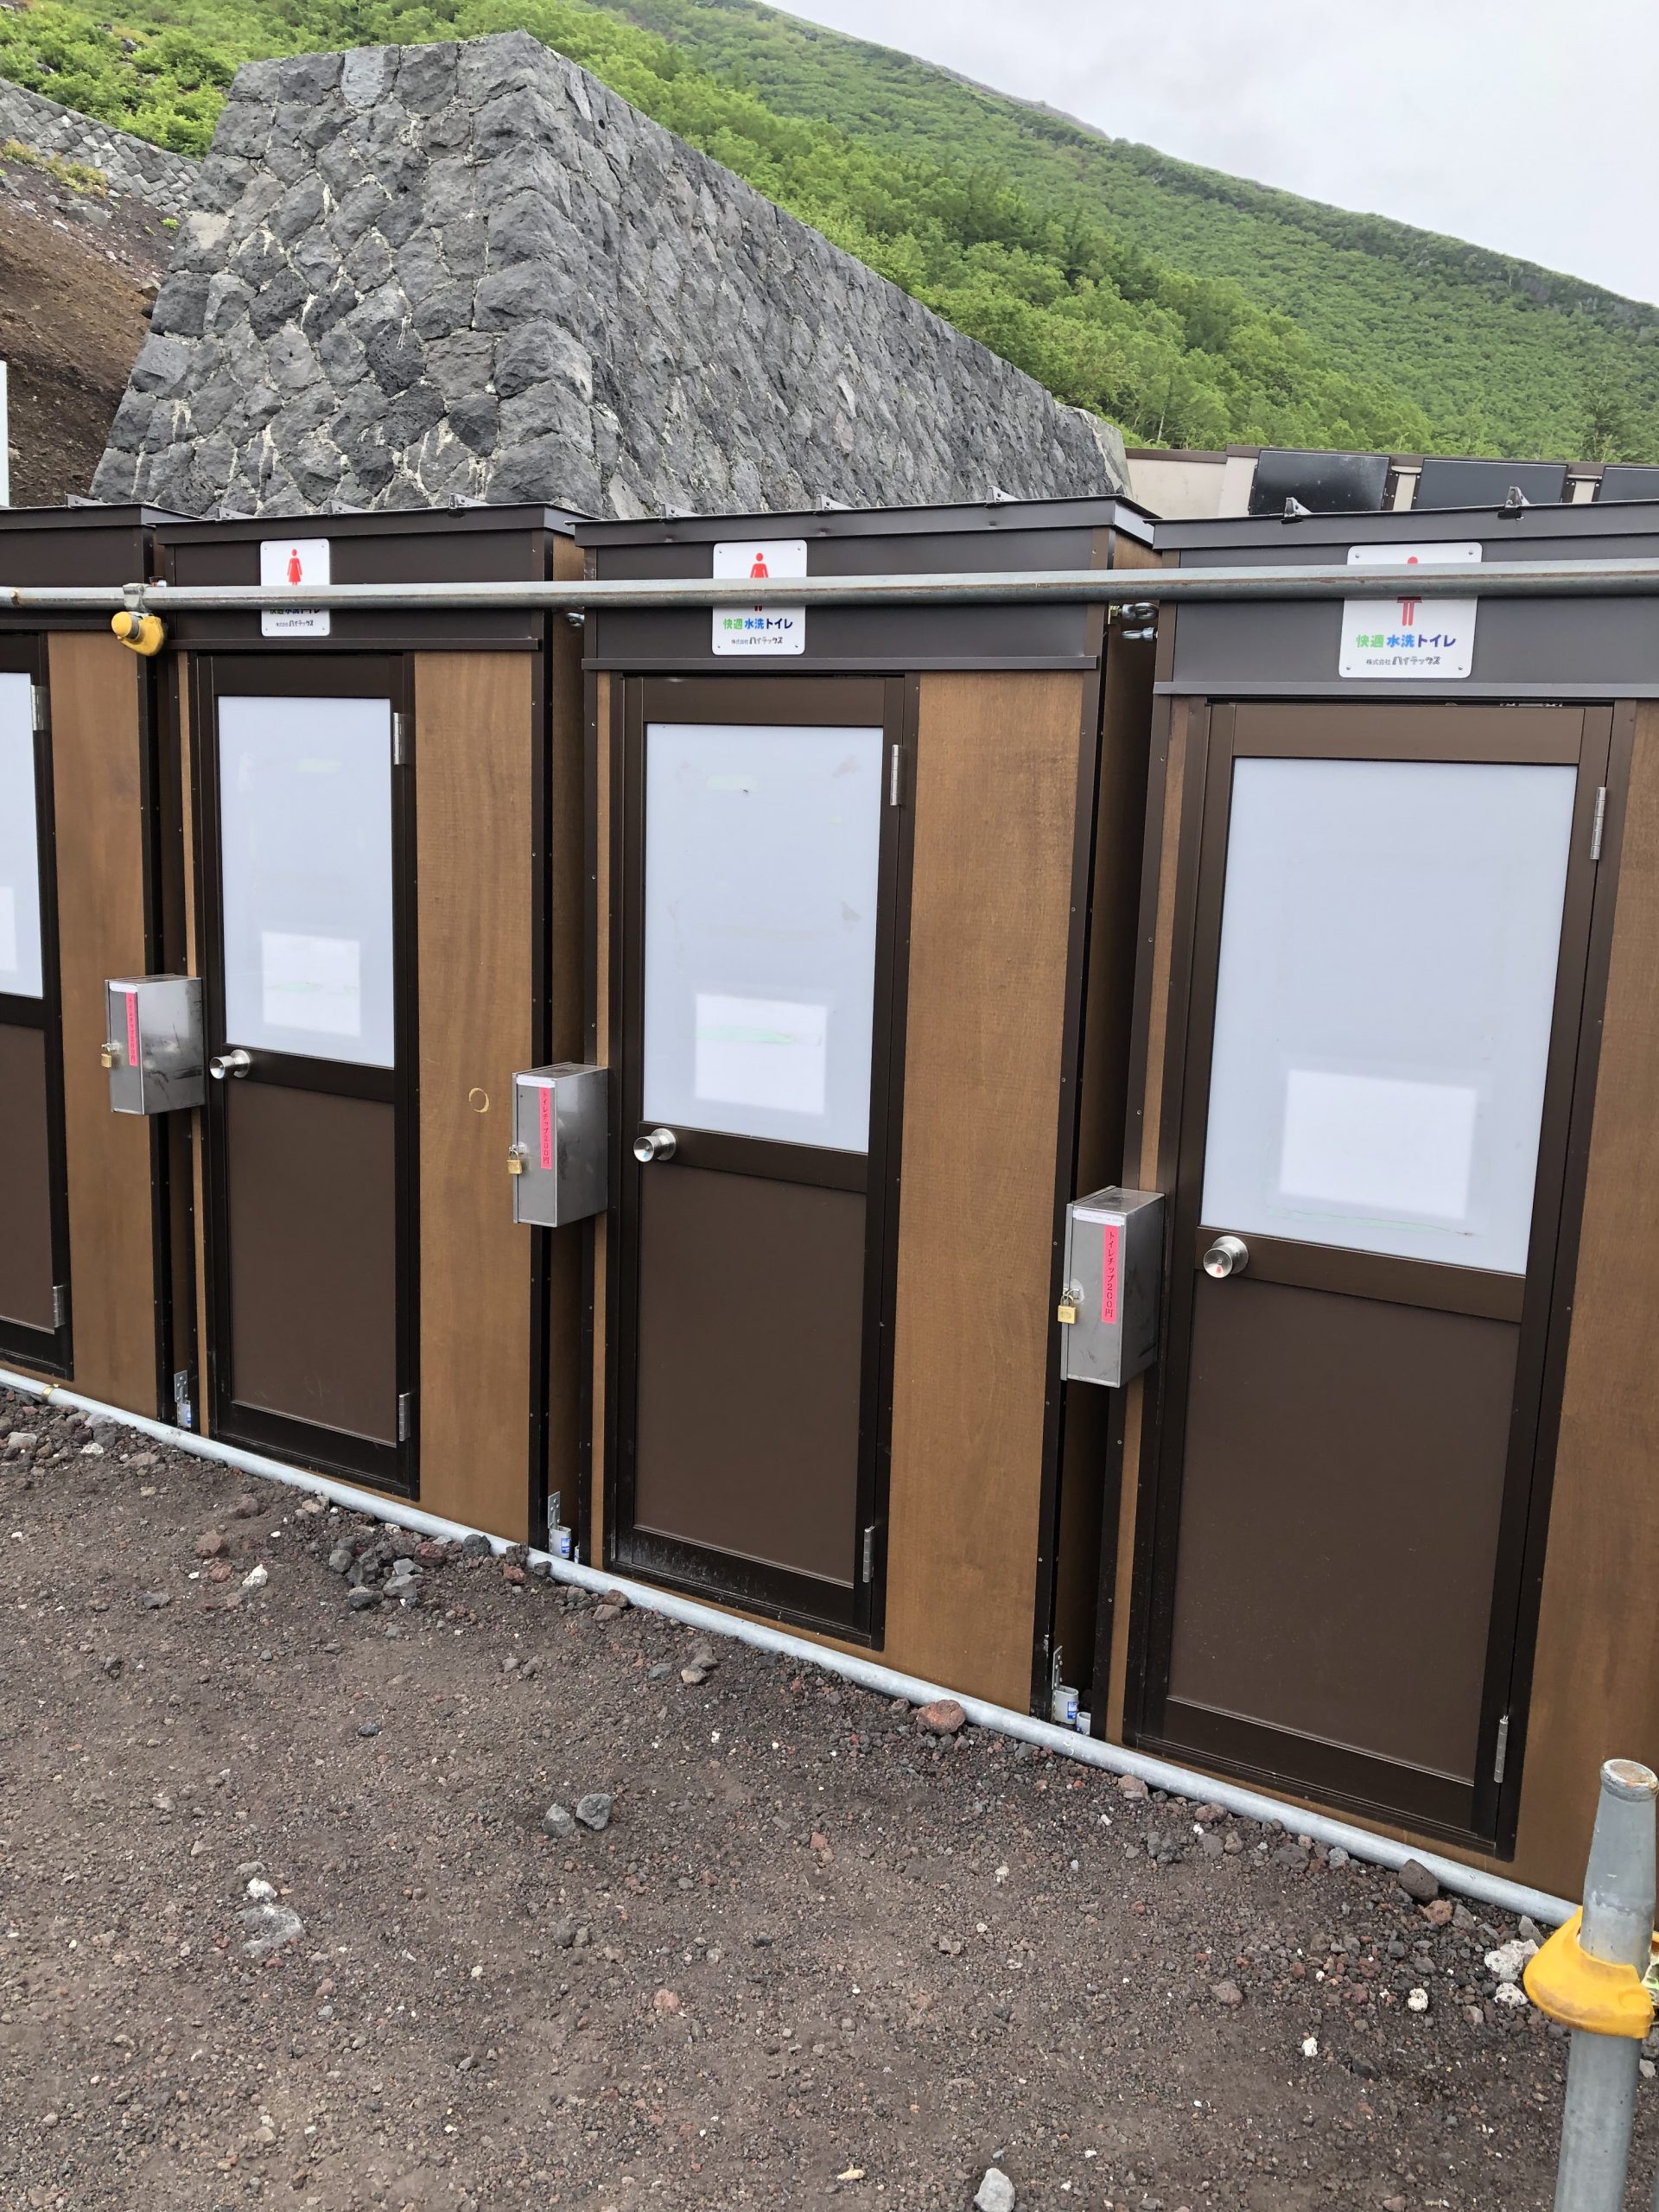
The entrance to the park is free, but you will spend money to climb Mt. Fuji.
A general budget includes:
You’ll also need to budget for your trip to and from Mt. Fuji. We decided to make a trip of it and stayed at the Highland Resort Hotel and Spa. This hotel is located right next to an amazing amusement park, Fuji-Q and includes an onsen (a hot tub-type spa that is perfect for sore muscles after climbing).
High-speed trains from Tokyo are plentiful and fairly easy to use. We bought our tickets on the same day. We then took a bus from there to Mt. Fuji.
From July 1 to September 10, the climbing window is open to the public. Due to the elevation of the mountain, the rest of the year involves snow and requires a permit to climb. The most popular month to climb is August. It takes, on average, two days to climb. However, plenty summit and descend on the same day. I wouldn’t recommend this due to the risk of fatigue and altitude sickness.
On the first day, you can leave Tokyo early in the morning, arrive, and hike part of the way to your mountain hut. The second day is used to summit and descend, and you can make it back to Tokyo that evening.
Note that, on average, it takes around six hours to summit the mountain (without stops) and about three hours to descend. It can easily take 10-12 hours to get to the top, so don’t delay getting to the mountain. Climbers do ascend all night long, even in bad weather, but this doesn’t make for a pleasant experience.
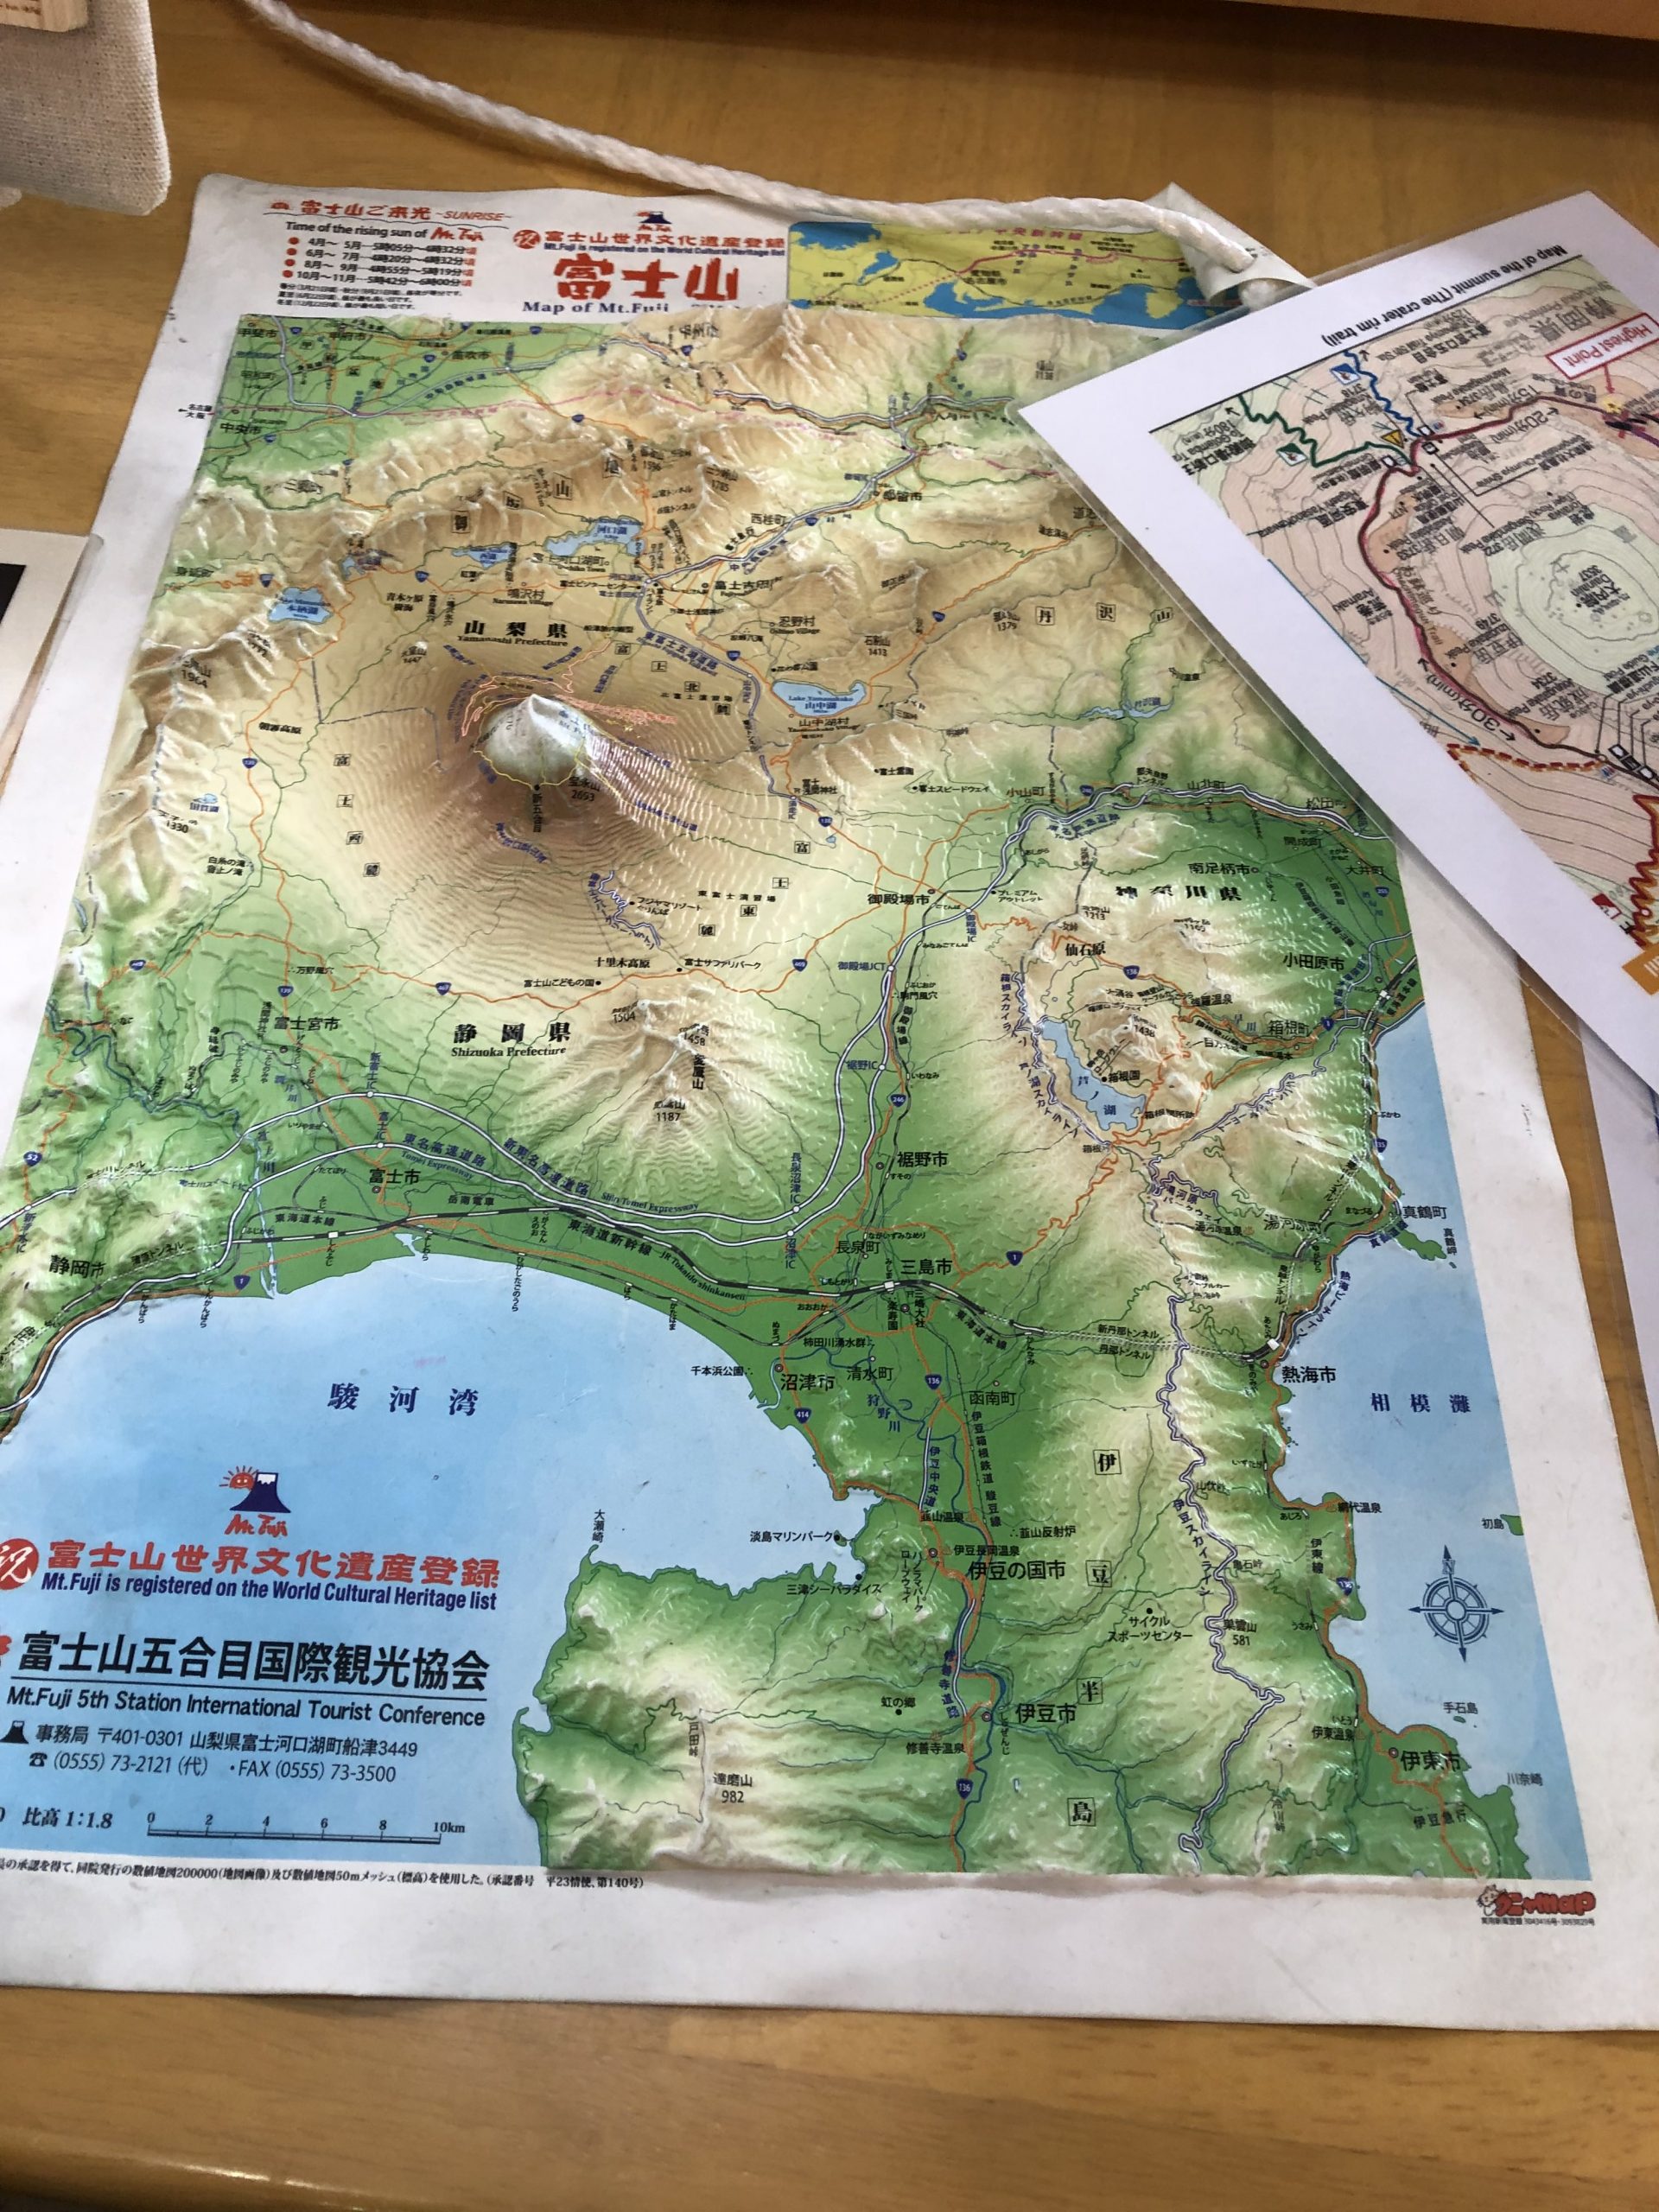
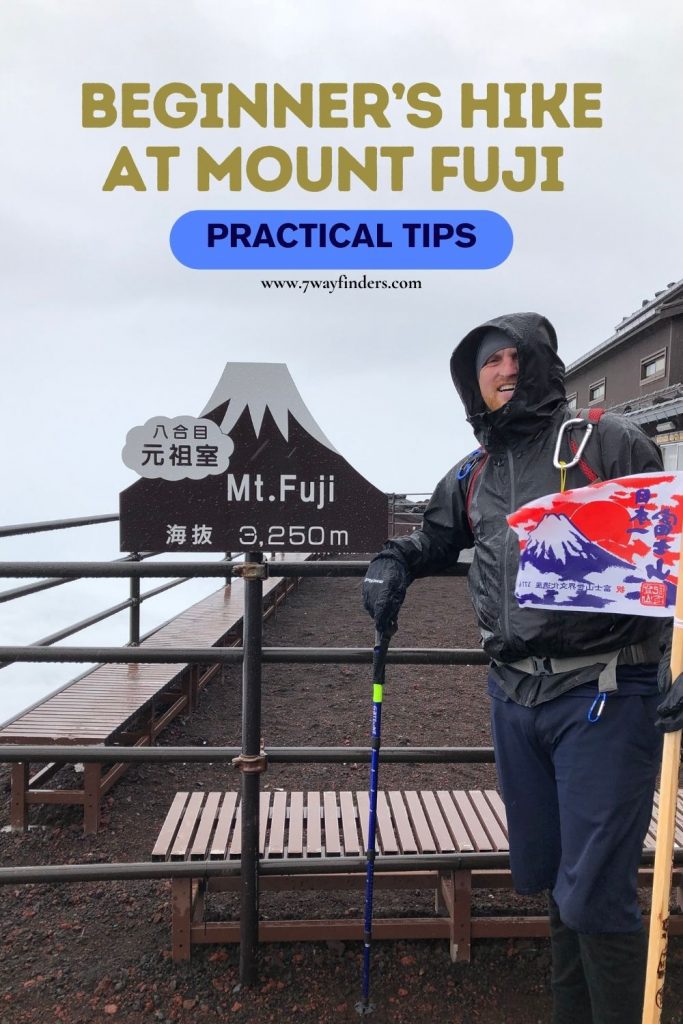
There are four trails to choose from: the Yoshida, Fujinomiya, Subashiri, and Gotenba trails. All depart from their own Mt. Fuji 5th station (around 2,000 – 2,400m). Again, note that each trail has its own starting point and its own 5th station. Mt. Fuji is divided into stations, with the 9th station being the top before the summit.
You are starting this mountain about halfway up, and the 6th station is considered about 60% up the mountain.
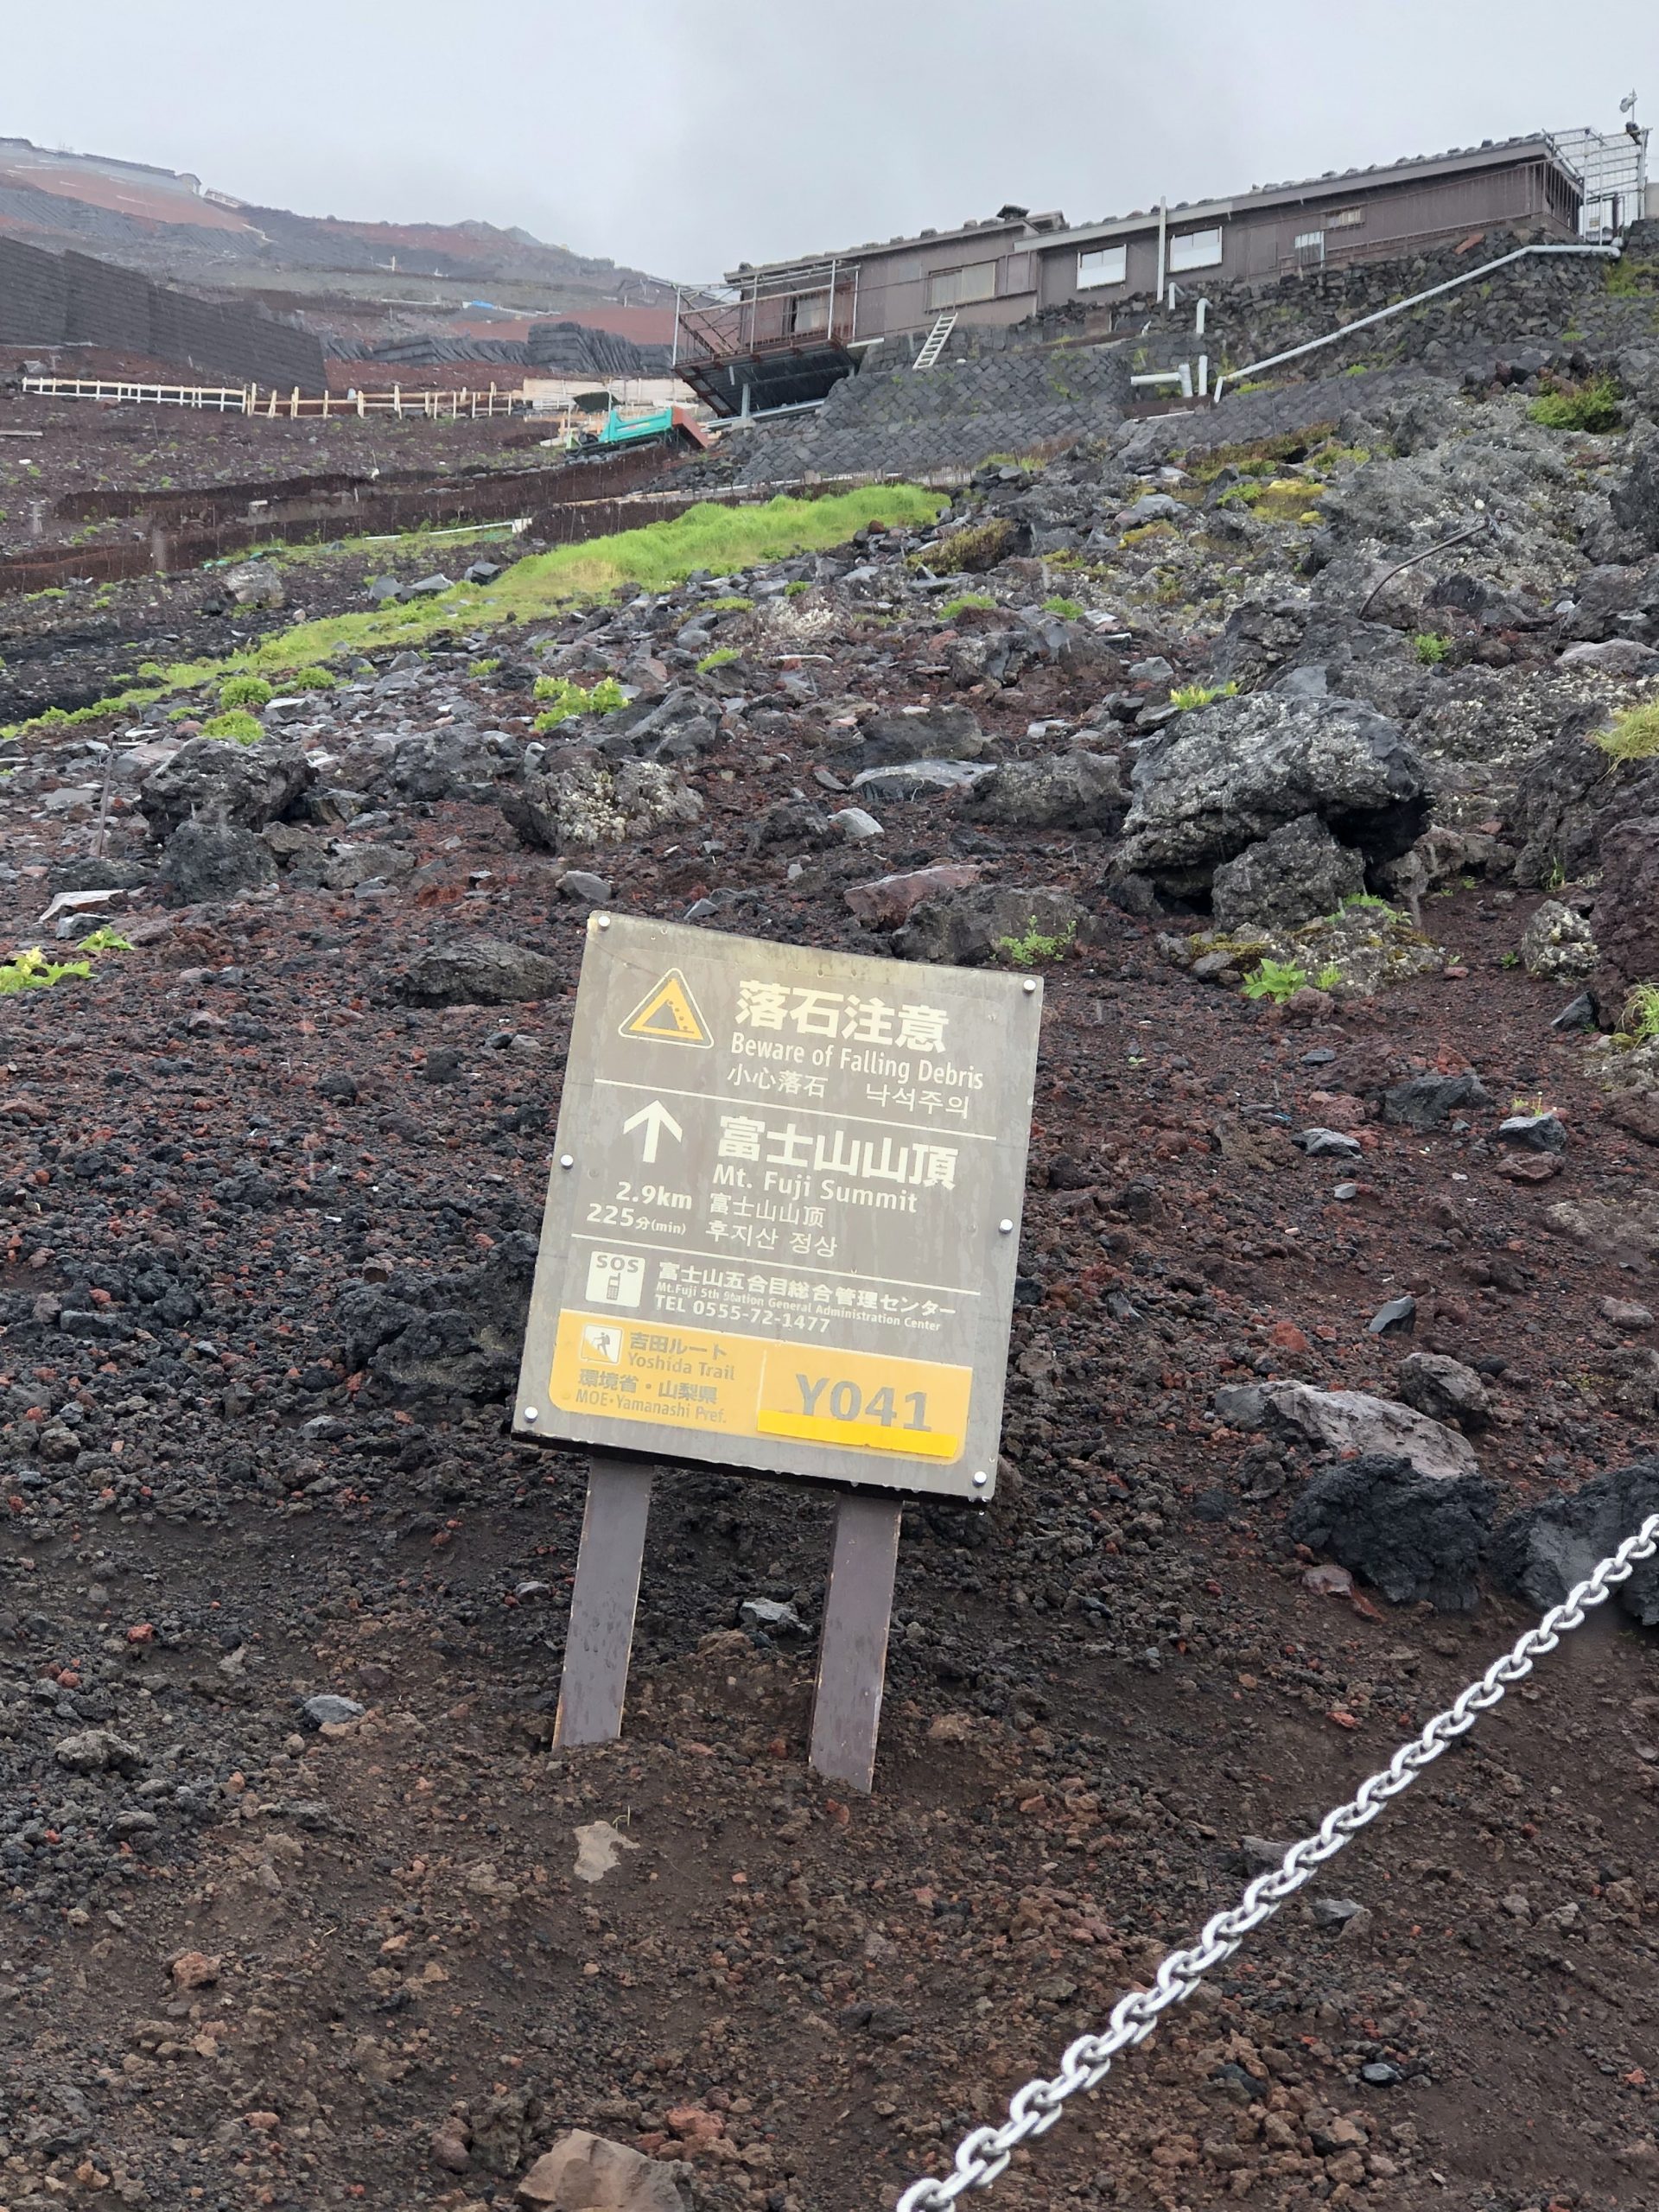
The Yoshida trail (opens on July 1) is the most popular and common route. It is stocked with the most huts and supplies and is considered the easiest. This is the trail we did and what I’d recommend to other beginners. It is also the most crowded.
This trail starts at an altitude of 2,300 meters. From here, the ascent to the peak takes about five to seven hours, and the descent three to five hours. It is the easiest trail to conquer, with plenty of mountain huts along the seventh and eighth stations of Mt Fuji and two first-aid facilities. If you’re a first-timer, this is your best choice.
The Subashiri trail (which opens on July 10) departs from an altitude of 2,000 meters. It takes about five to eight hours to hike up to the summit and then another three to five hours to get down.
Due to the lack of mountain huts along this trail, it’s a better option for experienced hikers. It’s less crowded compared to the Yoshida trail above and takes you through the occasional dense forests, which will protect you from sunlight. Near the eighth station of Mt Fuji, the trail merges into the Yoshida trail.
If you want to check out the other trails or read more about the trail, check out this Mount Fuji website.
Before you even get to Japan, you’ll need to book a mountain hut in advance. This can be done online with Google Translate and a credit card. We stayed at the 8th station as we didn’t want to have to cover much ground in the middle of the night on the hike to the summit. However, we were the only ones going up that high during our accent. The hut did fill to capacity over time (we arrived about 3 pm, which I loved).
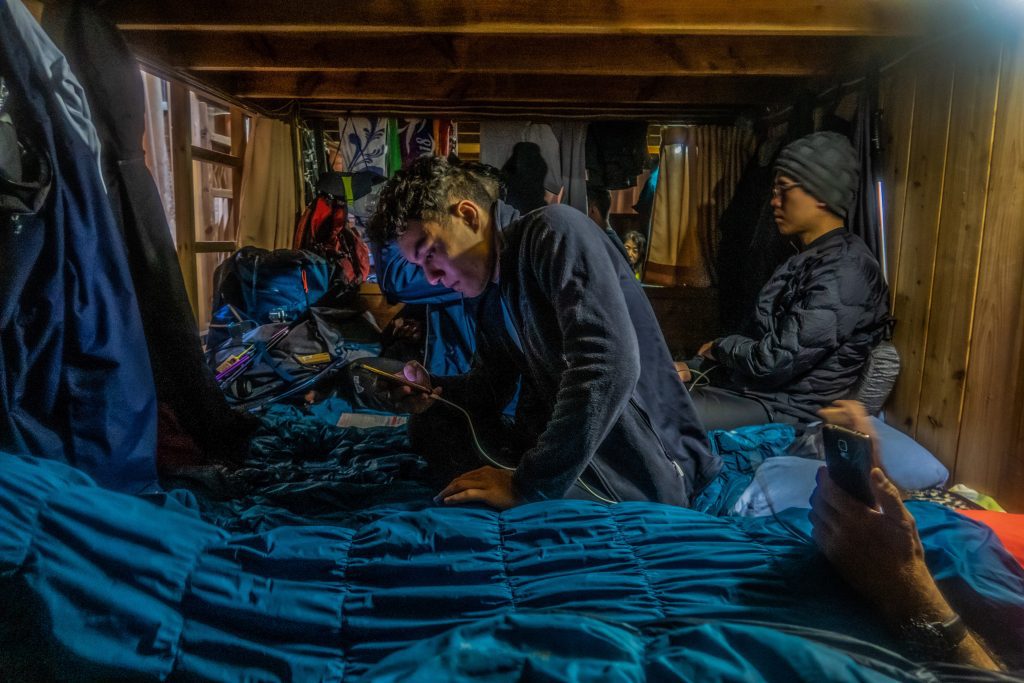
Overnight stays start around 7000 yen (around $50 USD), which includes at least one meal. These huts are not luxurious in any way but instead are hiking factories that take in and spew out hundreds of hikers each night. Be prepared to sleep with several other people on a giant bunk bed. A sleeping bag (with liner) or other bedding will be provided, but the pillow is up to you.
If you show up wet (as we did) to your hut, know they will not only dry you off but expect you to change into dry clothes. They will also pat you down to make sure you are, in fact, dry. They don’t want any moisture in their bedding.
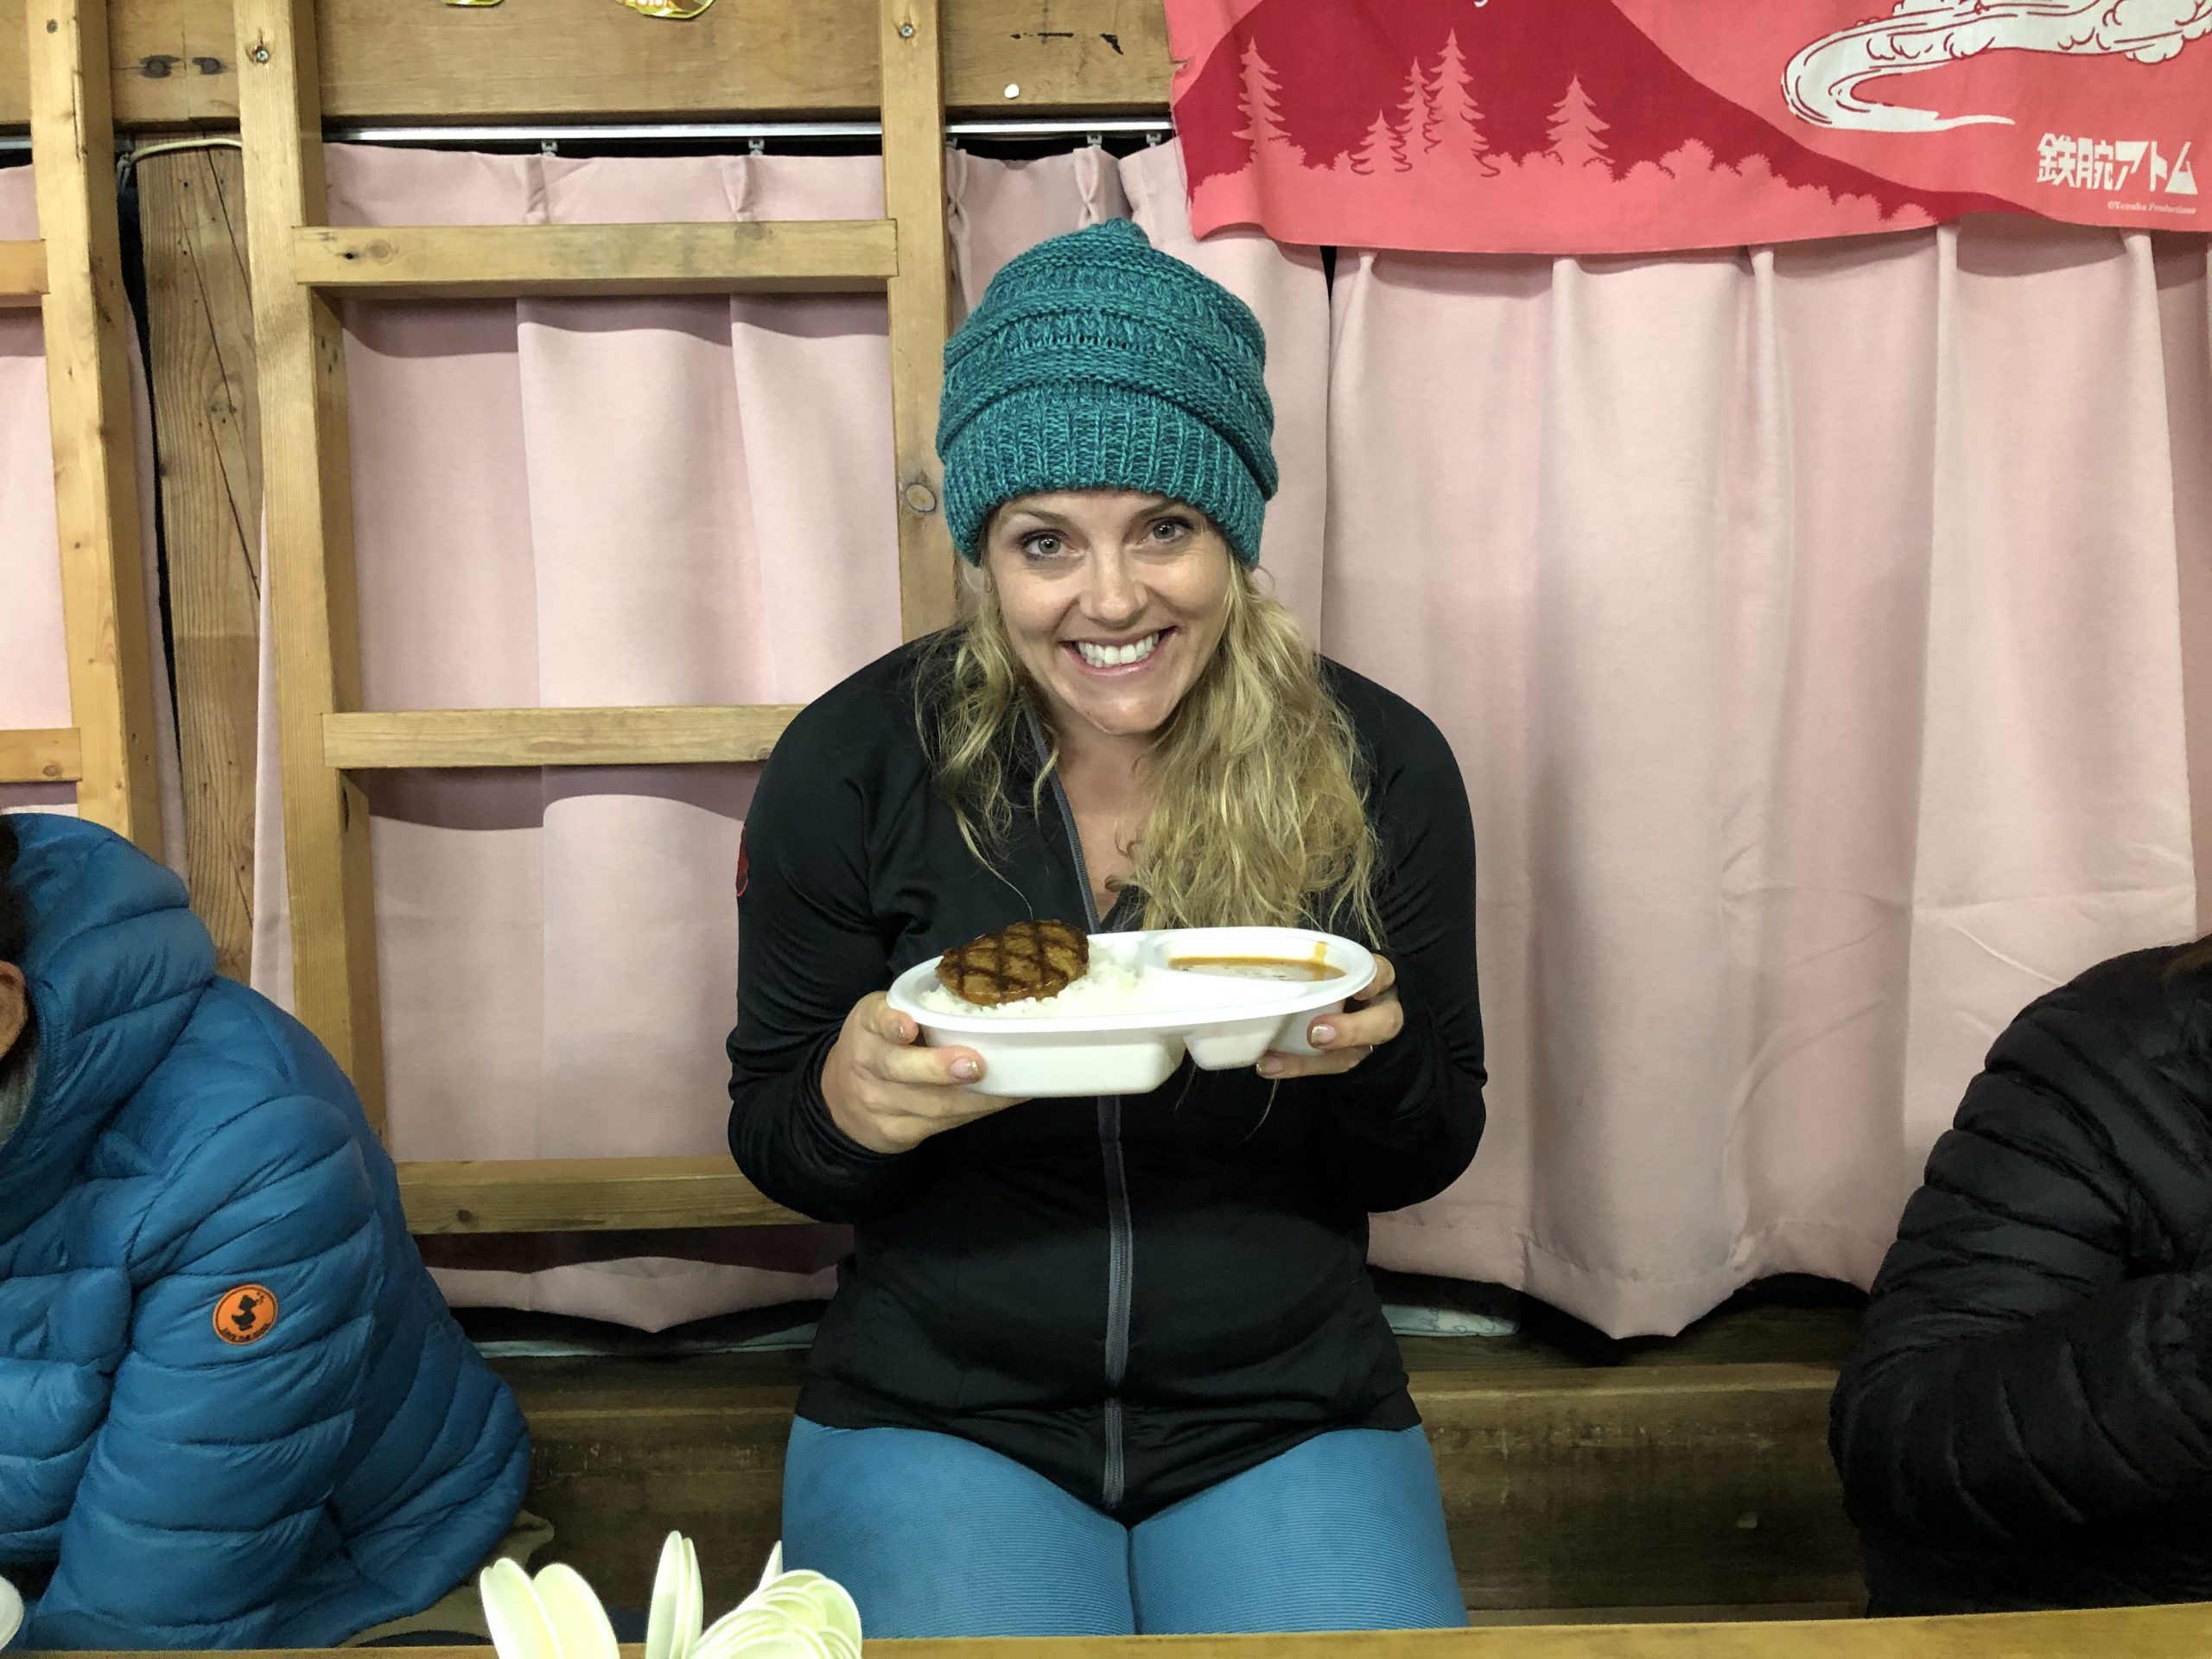
The dinner we were served was basic but tasted delicious after a day of hiking. We were called by groups to eat dinner. We were then woken by 2 am and offered a light snack before leaving.
For a full list of all the mountain huts along all Mt Fuji trails, visit here.

I was very nervous after reading several reviews about how difficult this climb was. We prepped in the gym months ahead of time (a stair stepper is probably the best machine to prep with). I’d recommend some weight lifting, especially for your legs.
However, I found the mountain to be easier than I expected. The descent is more difficult in ways (think slippery gravel down a steep mountain), but the climb up is also quick and steep. You can easily take breaks.
I’d highly recommend planning to go to an onsen or hot spring spa after your climb. It’s perfect for the post-climb jelly legs.
Even with all the effort to climb the mountain, you may not get amazing views of Japan from the top. My poor husband carried nearly 50 pounds of photography equipment up and down and never took it out of his pack. It started drizzling as we started up, poured rain all night and into the sunrise, and then was sunny on our way down (once there was no more view).
Recognize that the experience is what you are going for, and any amazing views or photos are a bonus.

Altitude sickness. This is a real problem. Even if you live at a higher elevation (I’m a Denver, Colorado native), you can experience altitude sickness on Mt. Fuji. One of the main reasons to stay in the hut for a few hours is to let your body rest and acclimate. My husband experienced a mild case with a headache. We bought some canned oxygen, which helped him immensely.
Sun exposure. The most common Yoshida trail has no trees, so on a sunny day, you can easily get a sunburn. Without proper hydration, you can also experience some heat stroke or other negative consequences.
Rain. The weather is unpredictable and can easily be a typhoon, in which you get soaked. This was the weather when we hiked, and it was miserable. I was so glad for the hut. Many hikers stopped into our hut and paid exorbitant prices to have a coffee in the warm, dry hut.
The summit. When you reach the “top” with the cafes and shops, this is not actually the top. If weather permits, you can climb for another hour or so to reach the true summit.
Going down. The descent is paved with small pebbles/gravel that can really wear out your legs. We found going quicker was easier, but we were sore the next day for sure! In fact, my husband Chris was nearly crippled for the next 3 days!
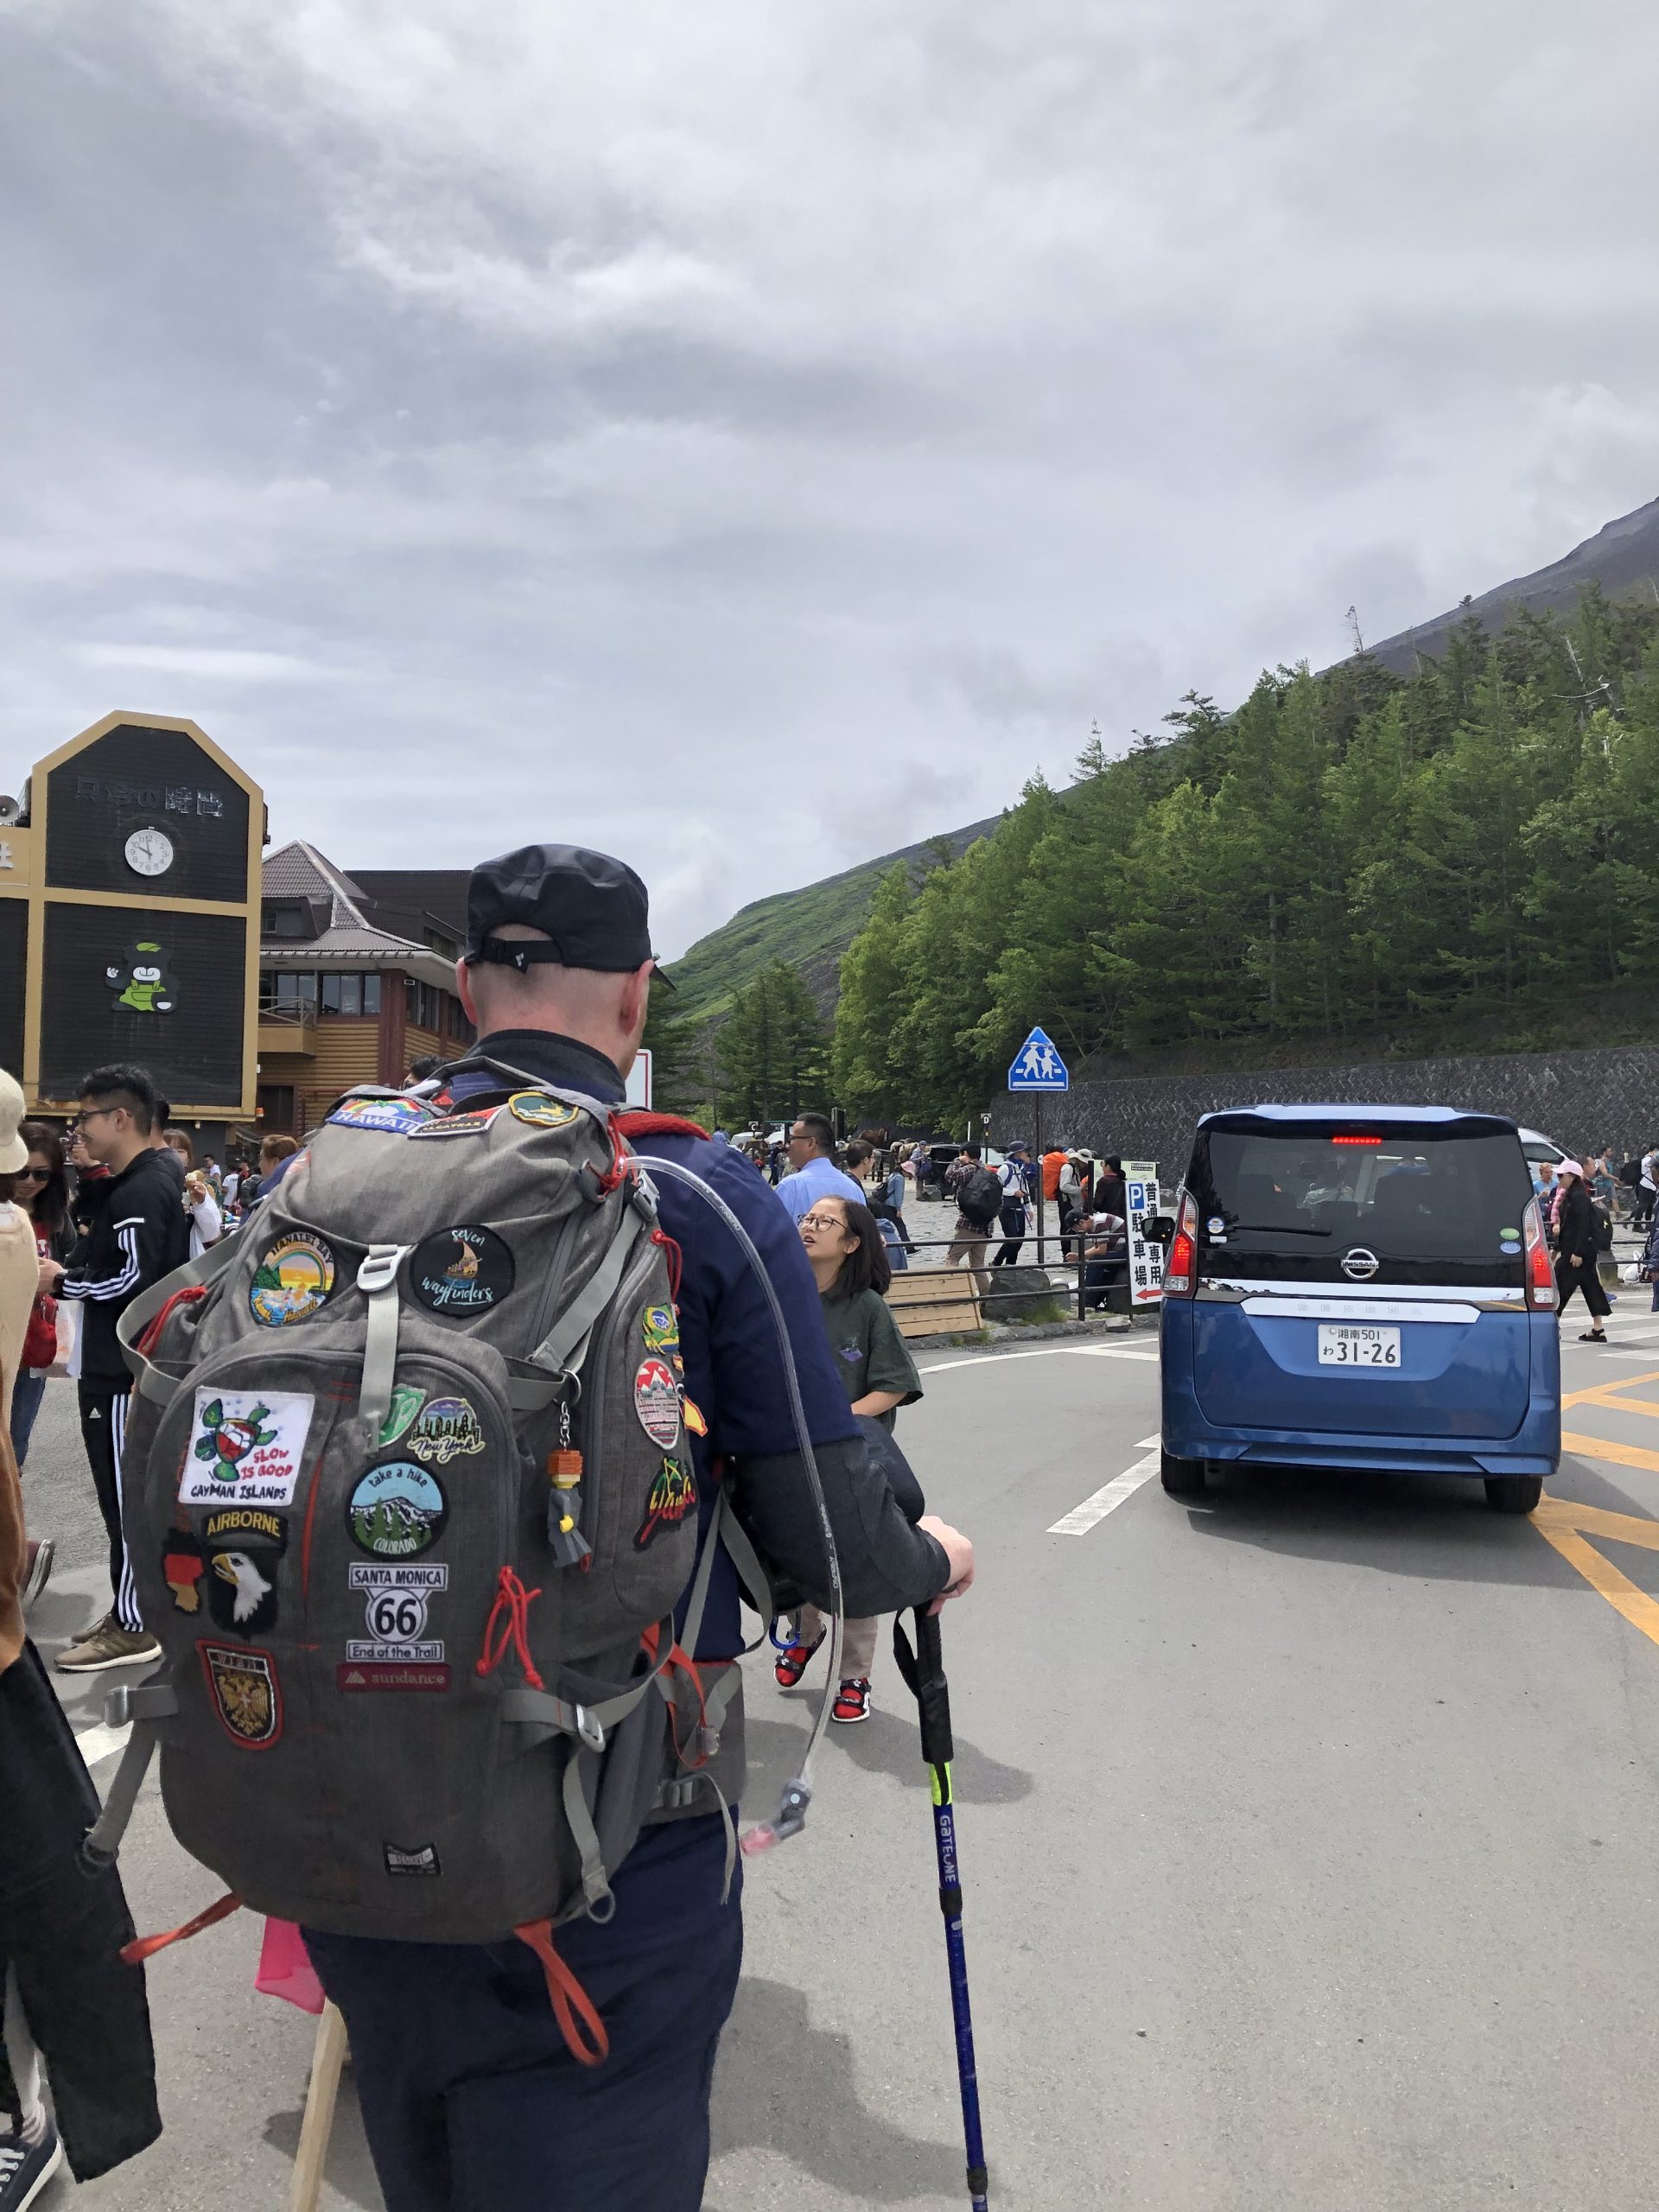
We arrived fresh to Mt. Fuji with optimism and the rush of being kid-free for a few days (we flew one of our favorite babysitters to Tokyo to watch our kids while we climbed!). We were full-time traveling at the time with our five kids, and were with them 24 hours a day.
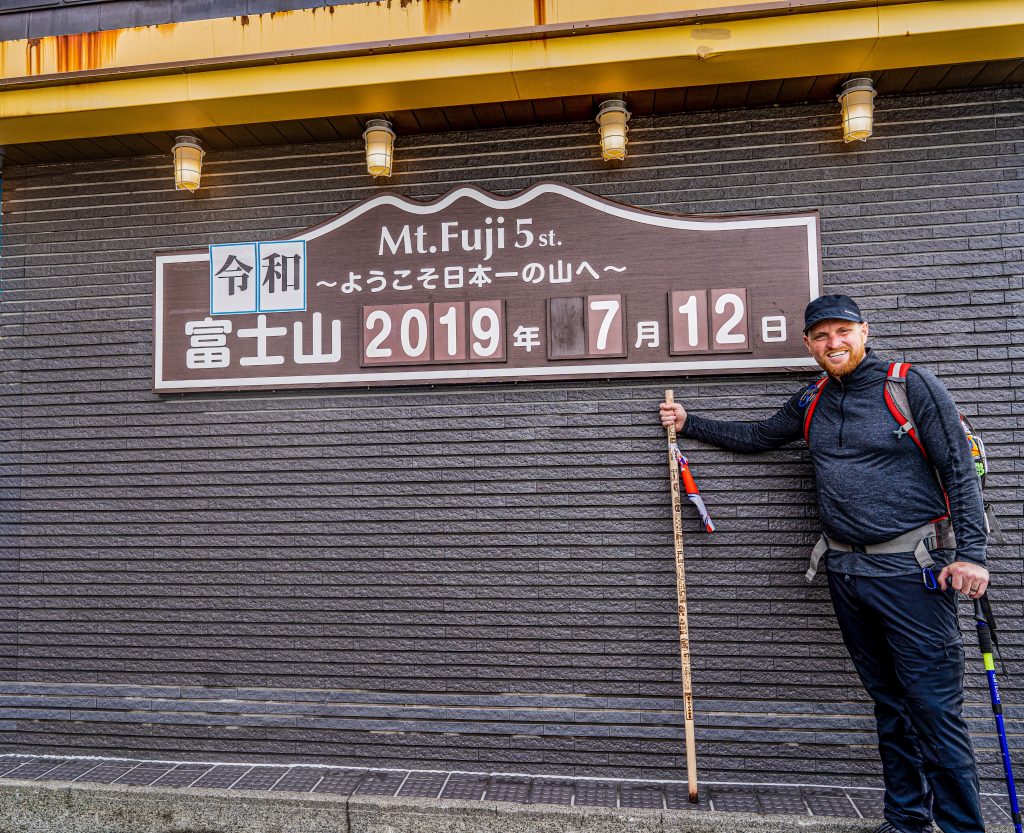
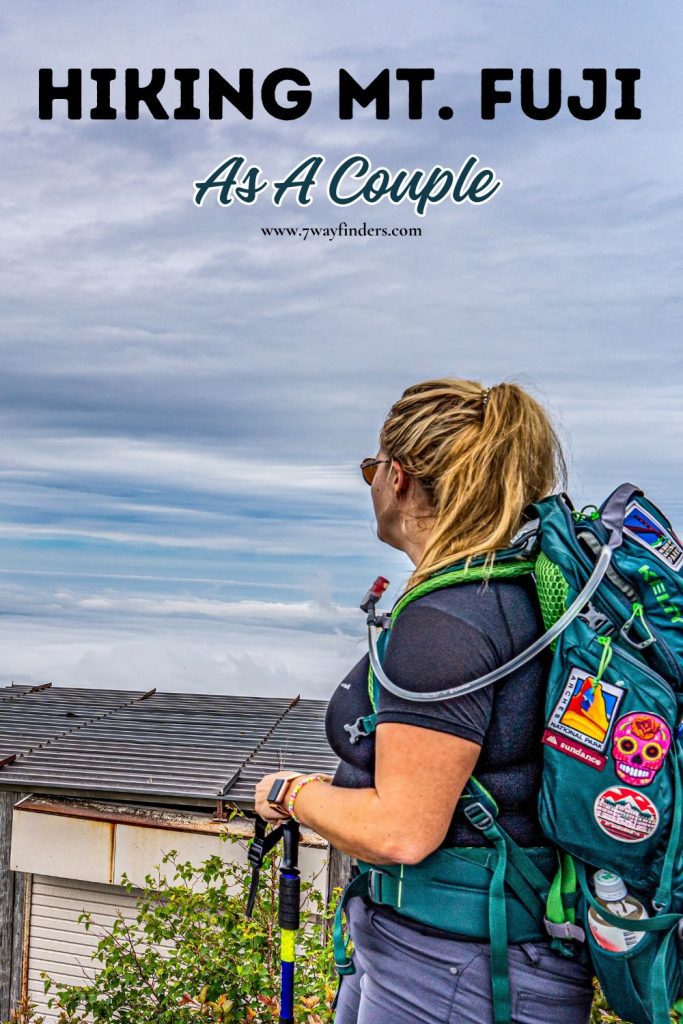
We bought good gear and packed well. We also had been hitting the gym regularly for a few months to prep. We found some walking sticks at the 5th station, had lunch, and set out to climb. We had our hut reservation and were excited to get there early in the afternoon.
Hiking up was fairly easy as the huts are plentiful and offer an automatic break. The higher you go, the more spaced out they are, but know that each station may have 10 huts or more. These are numbered 7.1, 7.2, etc.
About halfway up, it started to rain. We had prepped for this, but it was still getting chilly. We slogged on, now alone on the trail, to our station (or what we thought was the station).
Chris was so excited to tell me we had a private room on the mountain. I was also excited about this as I’d read it is usually lots of strangers packed into a large bunk bed together. We hiked on for probably about 5 hours.
We finally reached the name of our hut and were greeted by many men with leaf blowers! They quickly blew us off, took our backpacks, helped us strip off our outer gear, and more. It was an assembly line. Chris mentioned the private room and our name, but we soon could tell something was off. They kept saying “private room” and laughing. Turns out our private room was actually in station 6, several hours back down the mountain, almost near the bottom! Now, we were nearly up the mountain with no reservation!
Thankfully, they fit us in, and we ended up paying twice. Bummer. We also did NOT have a private room. We were the first to our bunk, but soon eight more grown men piled in with us, speaking all kinds of languages. With each arrival, I was jammed more and more into the side wall, trying to sleep. It was pretty uncomfortable!
We took a quick nap before being called for dinner. We then tried to get a bit more sleep, but it was tough. It’s kind of hot, stuffy, and uncomfortable. Chris awoke with a bad headache (altitude sickness), so we spent some time in the hut lobby getting him some oxygen. We watched lots of freezing, rain-soaked night hikers trickle in for a $15 cup of coffee or noodle cup. They didn’t care about the price; they just wanted to sit somewhere warm.
Eventually, Chris felt better, and we suited up to leave. We got a quick snack from the hut and checked out around 2:30 am. There was the normal heavy congestion on the trail, and we made our slow way up with our headlamps.
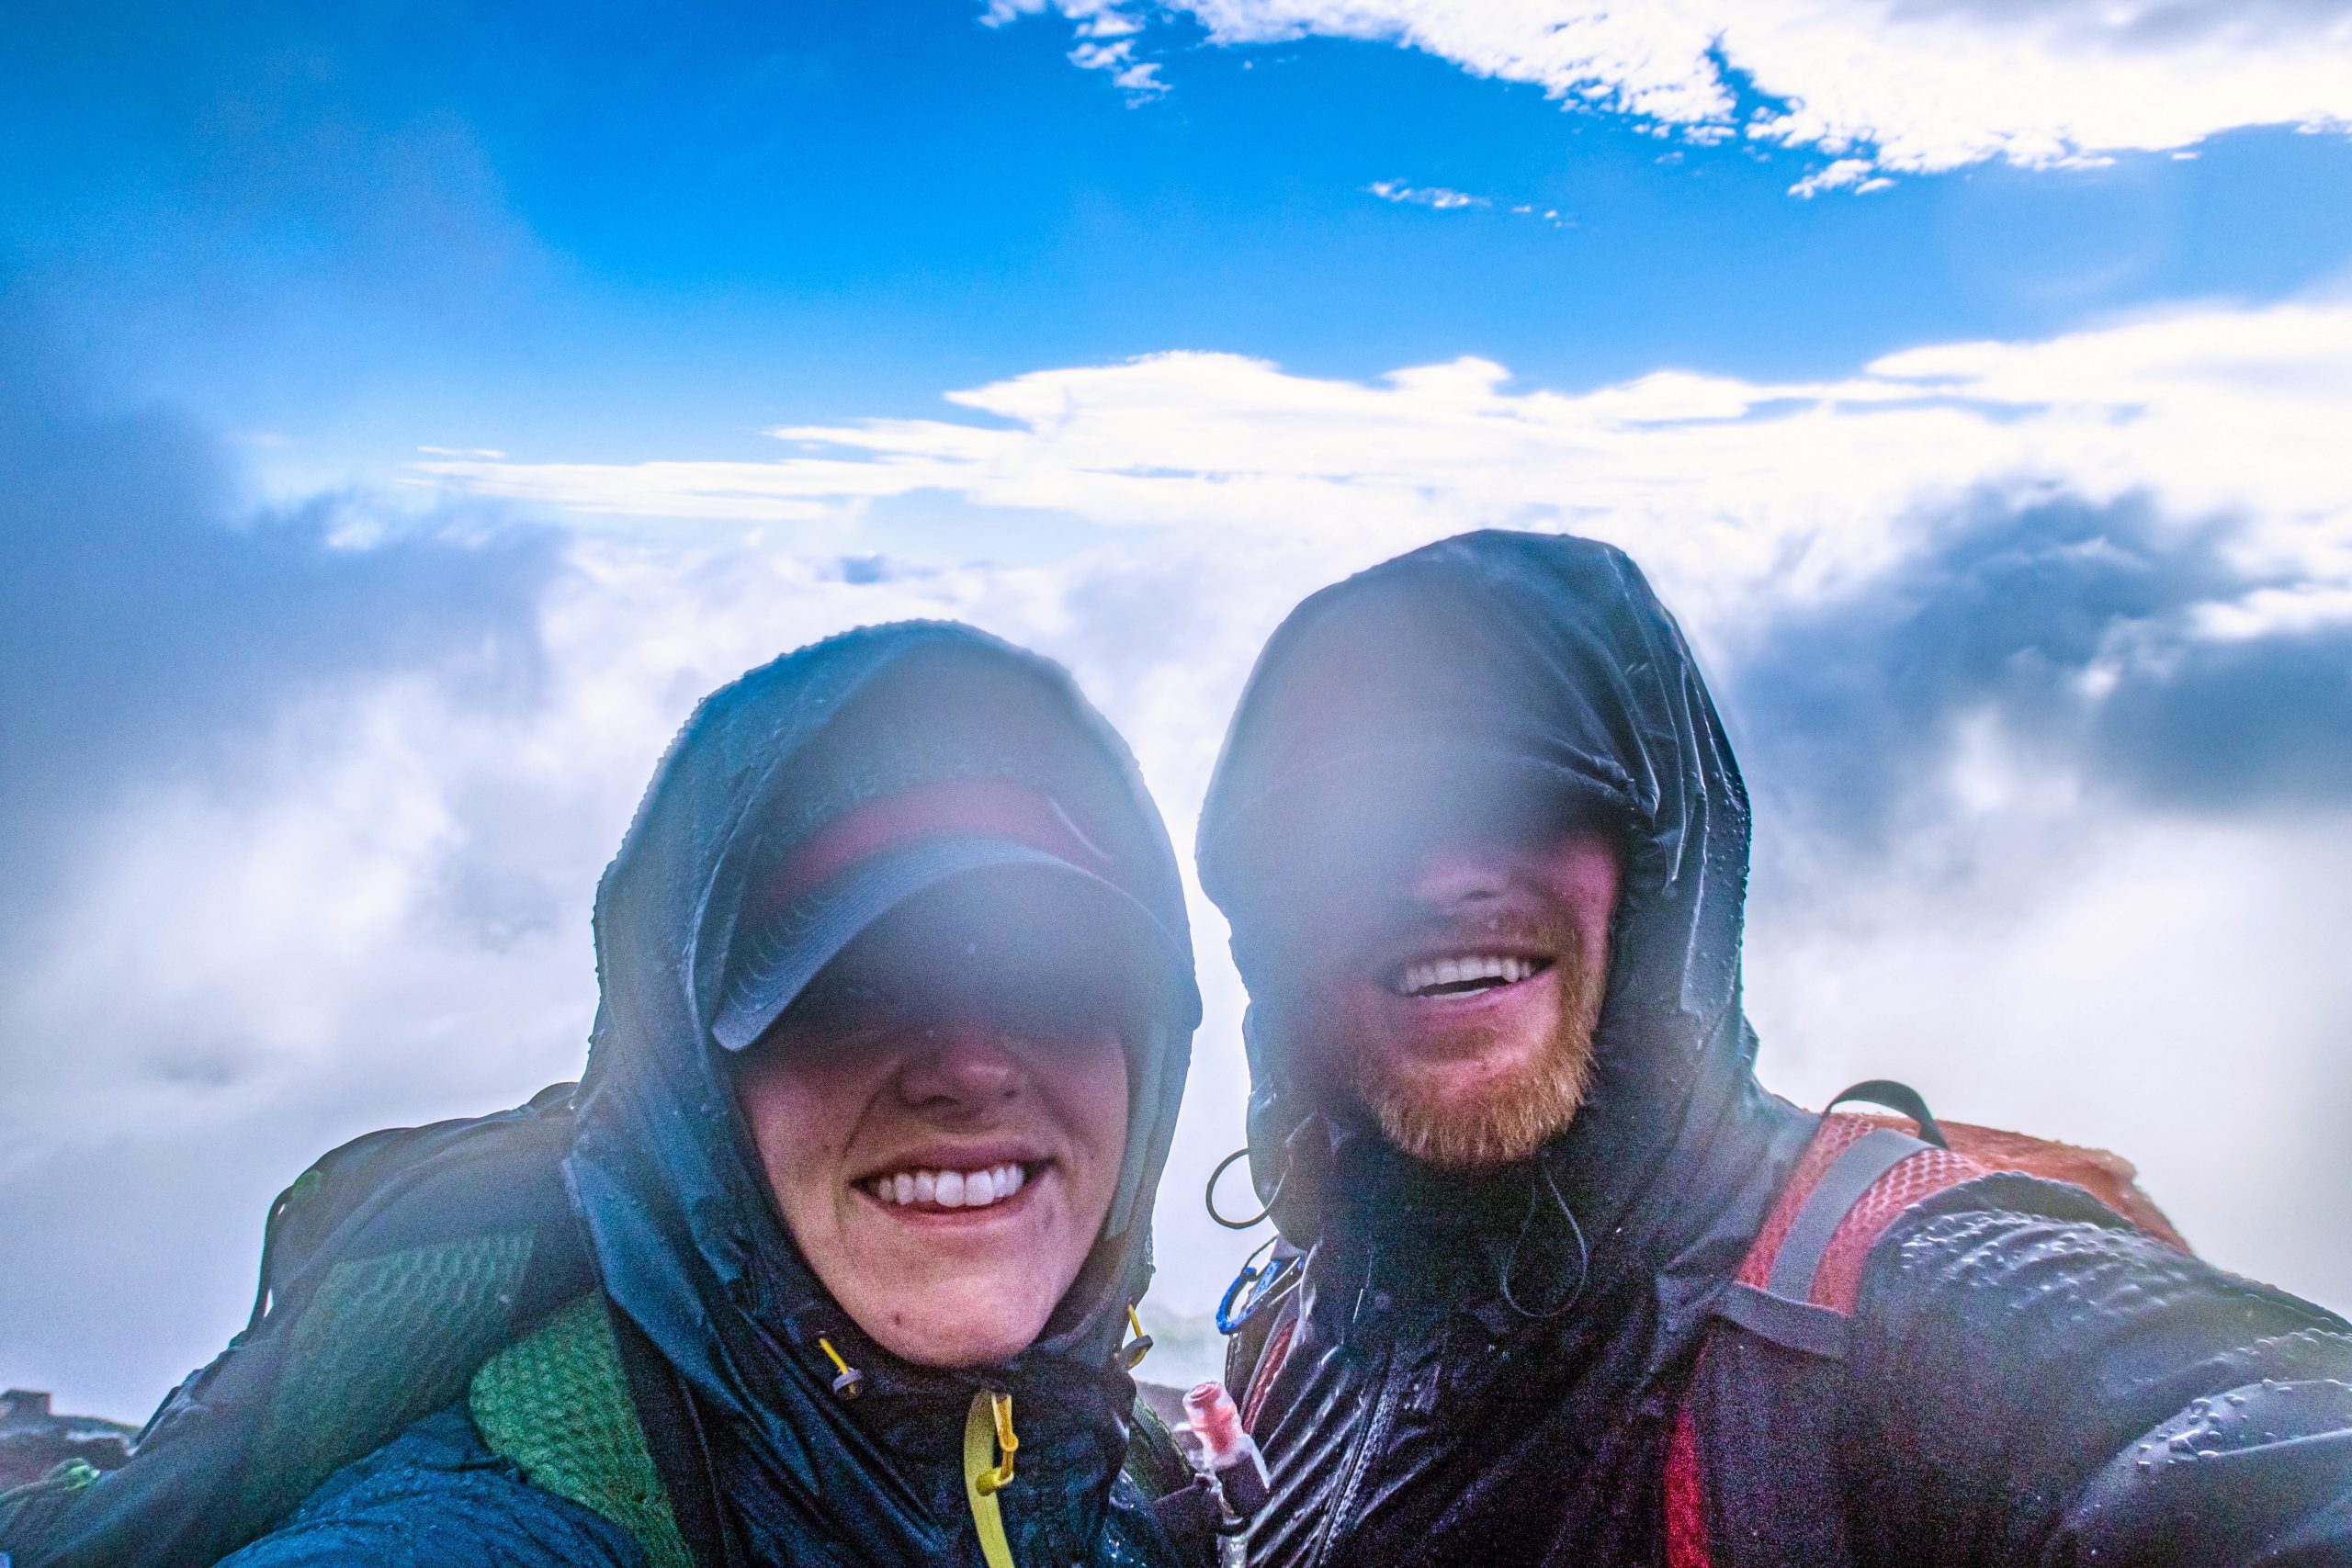
The weather continued to deteriorate as we went, and the top was miserable. It was so windy we couldn’t get anywhere near the edges. We huddled into a shop, bought some hot chocolate, and tried to wait. However, the weather did not improve.
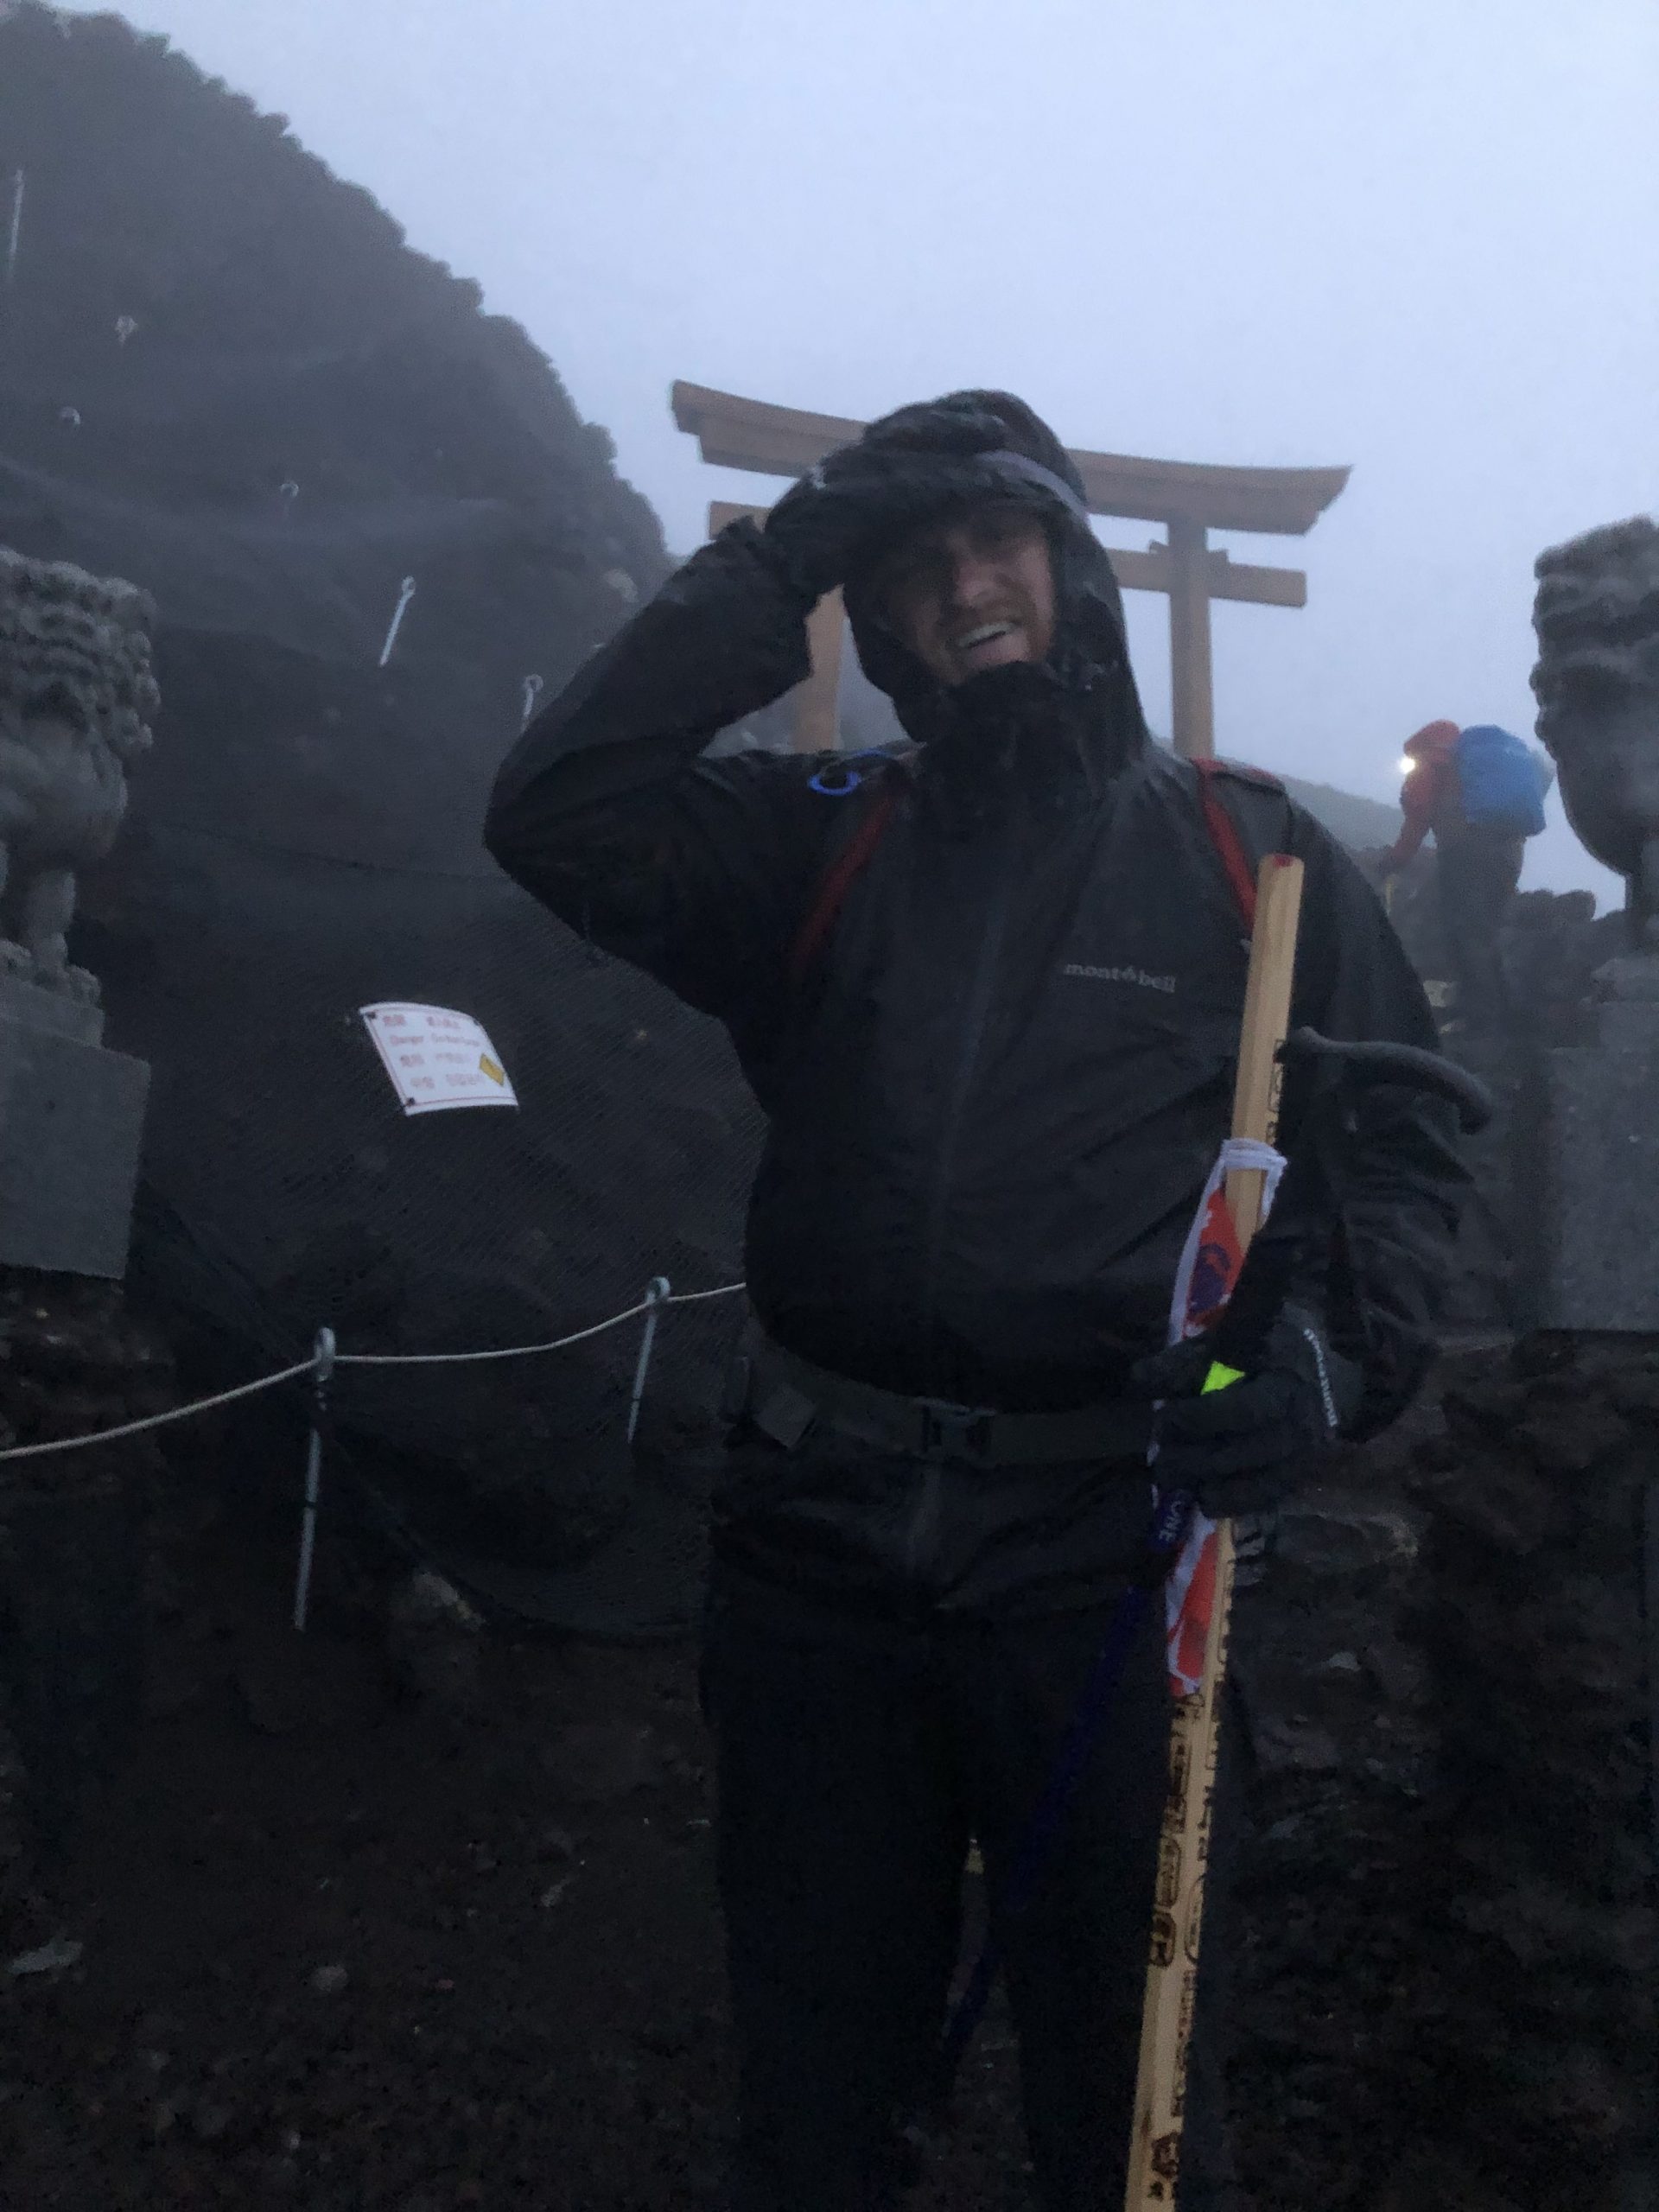
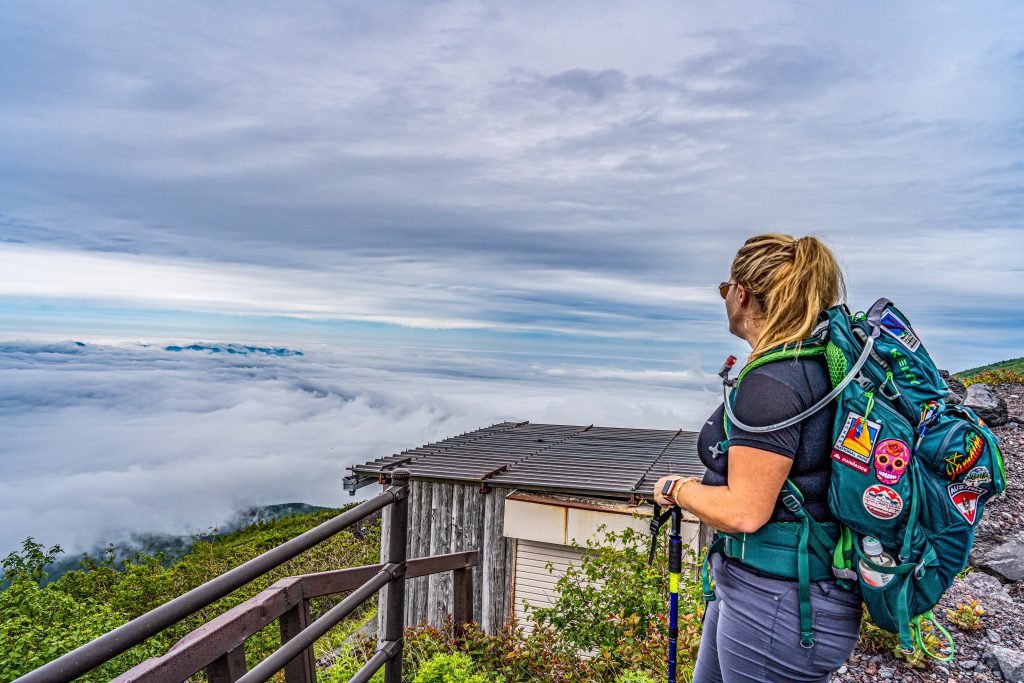
Eventually, we snapped one terrible selfie and headed back down. The lower we got, the better the weather. Eventually, we were sweating in the sunny heat. We were so relieved not to be in the rain anymore, and our moods improved dramatically.
The descent was challenging in a different way, and Chris’ legs cramped often. His heavy backpack did not help, and a walking stick was a necessity here. However, the overall descent felt very rapid and easy.
We eventually returned to our bus, climbed on board, and were so happy to sit down. We talked to another couple that had just gotten back as well, and they raved about the amazing views from the top. What?! Apparently, they went just after sunrise, and it was clear and beautiful. Ugh. What a defeat!
After this depressing news, we both fell asleep on the bus back to our hotel and headed straight for the onsen to soak.
One final funny story- we decided to stay the night in Tokyo at the Ritz Carlton. It was a total splurge, but also a mistake! We arrived in our gear and dirty clothes and felt horribly out of place. It was very embarrassing. We also submitted some clothes for laundry, which was very expensive, and some pieces were rejected from washing! Hint: don’t book a fancy hotel after your hike!
Here are practical and essential tips to make your journey to Mt. Fuji safer and more enjoyable:
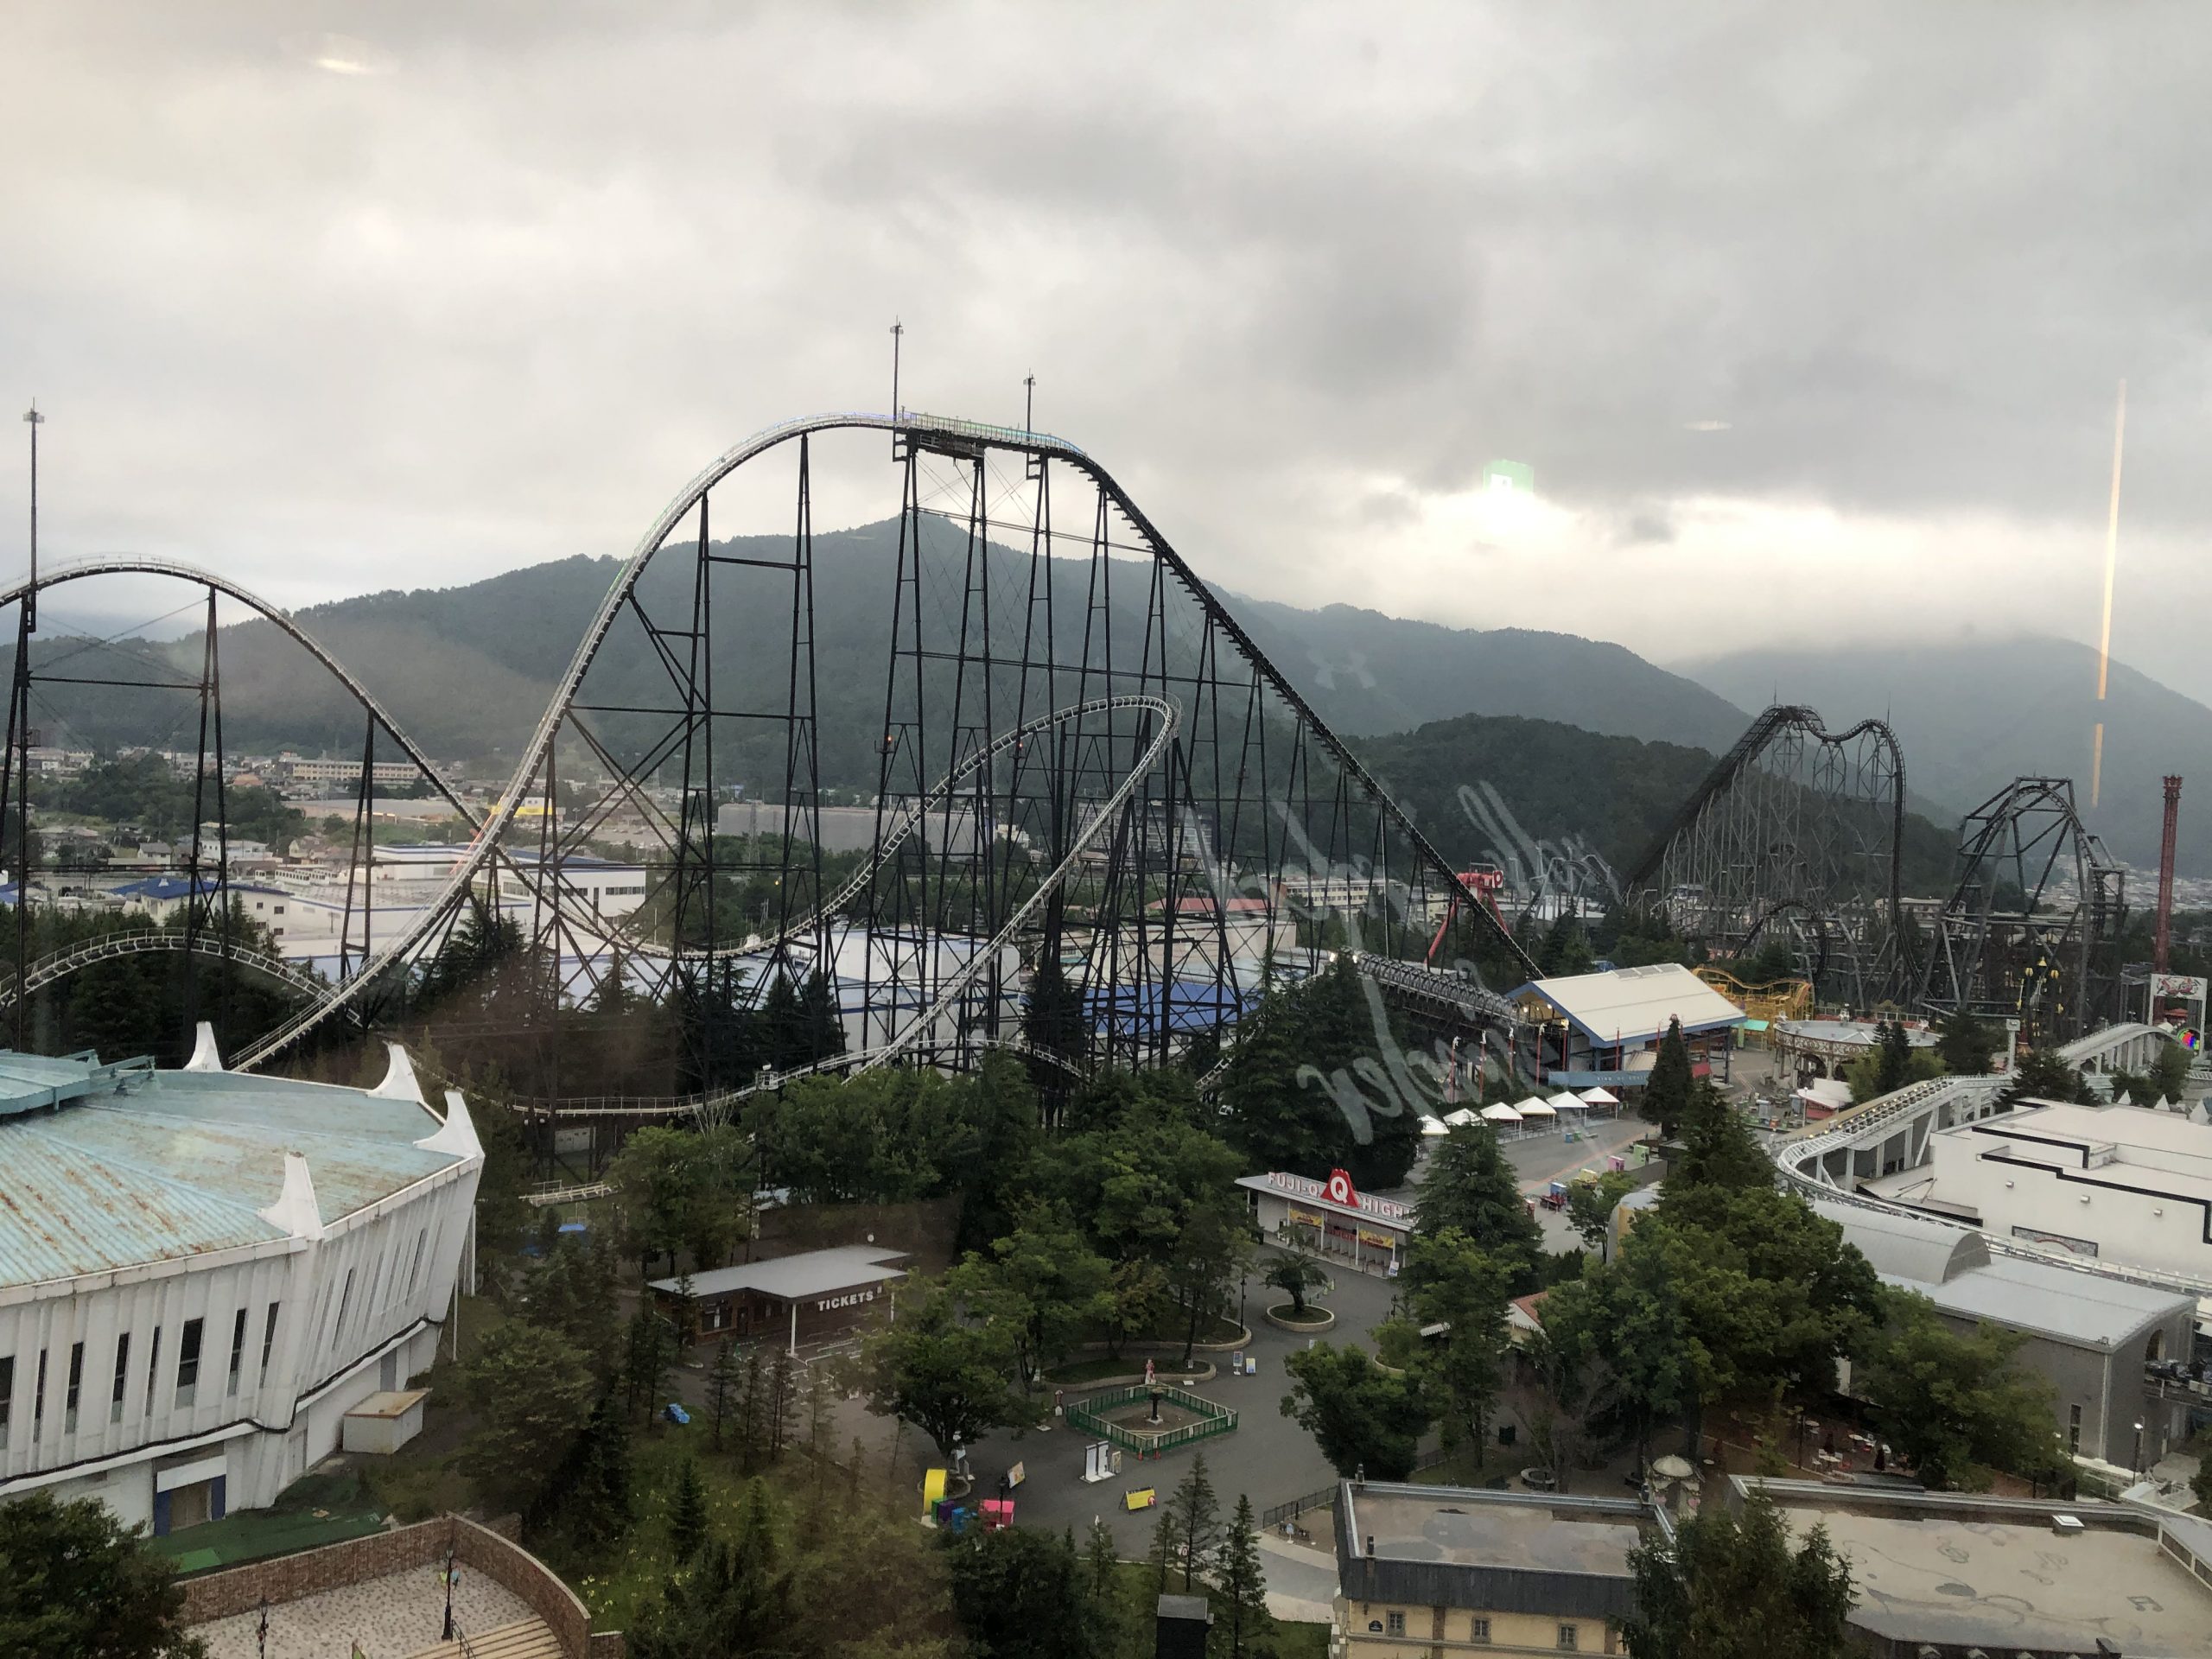
We loved Fuji Q! We will definitely go back. It is full of amazing roller coasters and has a somewhat Disney feel. However, these coasters are intense! You cannot even ride some rides if you are over 65, and one felt like what Harry Potter describes as a portkey… your body twisted, turned, and stretched in too many ways.
Seeking for a clean, private accommodation near Mount Fuji? Here are some lodging options:
While it may initially sound daunting, hiking Mount Fuji is completely do-able as an average person. If you do the proper research and planning in advance, you can enjoy the experience of a lifetime. Adventures are out there waiting for you – take the leap!
Xoxo,
Leslie
Going for a hike at Mt. Fuji? Catch great fare deals from Booking.com, Skyscanner, Kiwi.com, or Expedia
Find a nice hotel near Mt. Fuji from Expedia, or Vrbo, (we also love Tripadvisor and Hotels.com)
Discover more of Japan while having fun through exciting activities from GetYourGuide, Airbnb Experiences, or Viator
Need to rent a car to navigate the city? Visit Rentalcars.com.
Get insured while traveling with World Nomads.
Want to have a photo shoot while traveling? Check out flytographer!
Capture your best hiking memories in Mt. Fuji as we do with a GoPro, Sony camera, or our favorite drones: DJI FPV, Air, and Mini
Check out your travel necessities from a comprehensive list of all the 7Wayfinders Travel Must-Haves. Click Here!

Things To Know When Hiking Mt. Evans: Colorado 14’er
Hiking The Tongariro Alpine Crossing with Kids in New Zealand
Best Bangkok Markets for Families at Night


 Facebook
 Pinterest
 Youtube